When Michael reached out to us, he had a clear goal: a modern, polished media wall that fits his everyday routine.
He works from home, loves video games, and wanted a setup that hides the mess while feeling custom and high-end. And—like many Toronto homeowners—he was especially concerned about cables and visible wires.
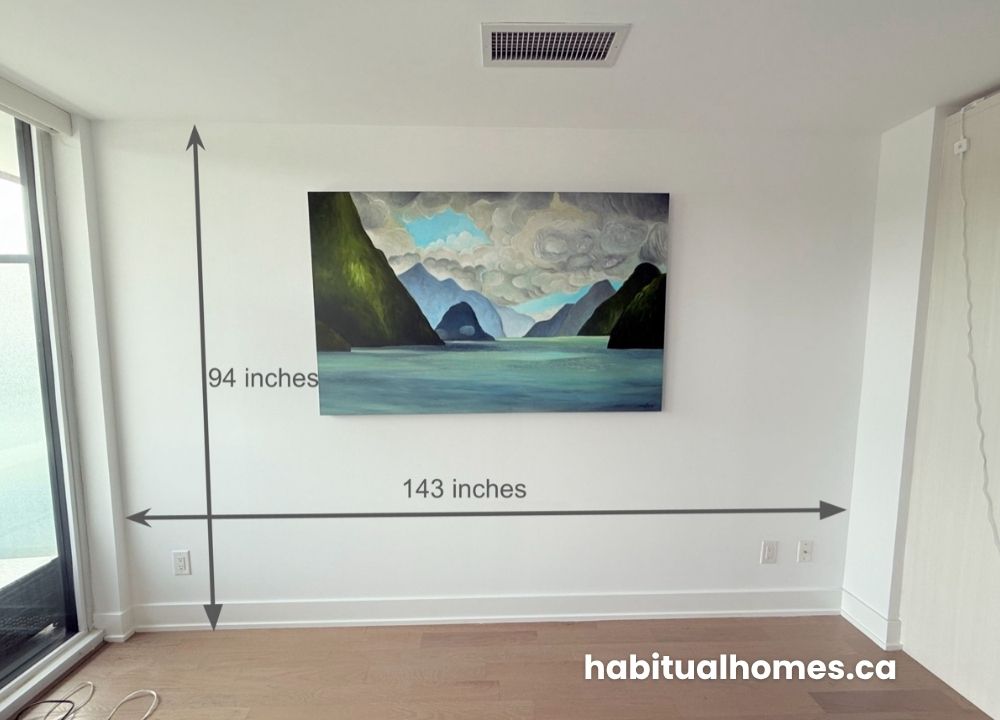
This post covers the design and planning phase of the project. We’ve finalized the design, showed him material samples in person, and the installation is booked to begin in about 4 weeks. It will take 2 days to complete. Once it’s installed, we’ll share the final photos in a future update.
Michael’s Wishlist
From the start, Michael had a detailed vision. He wanted:
- A TV wall that looks built-in, not pieced together
- Concealed cable management
- A floating console with hidden but accessible outlets
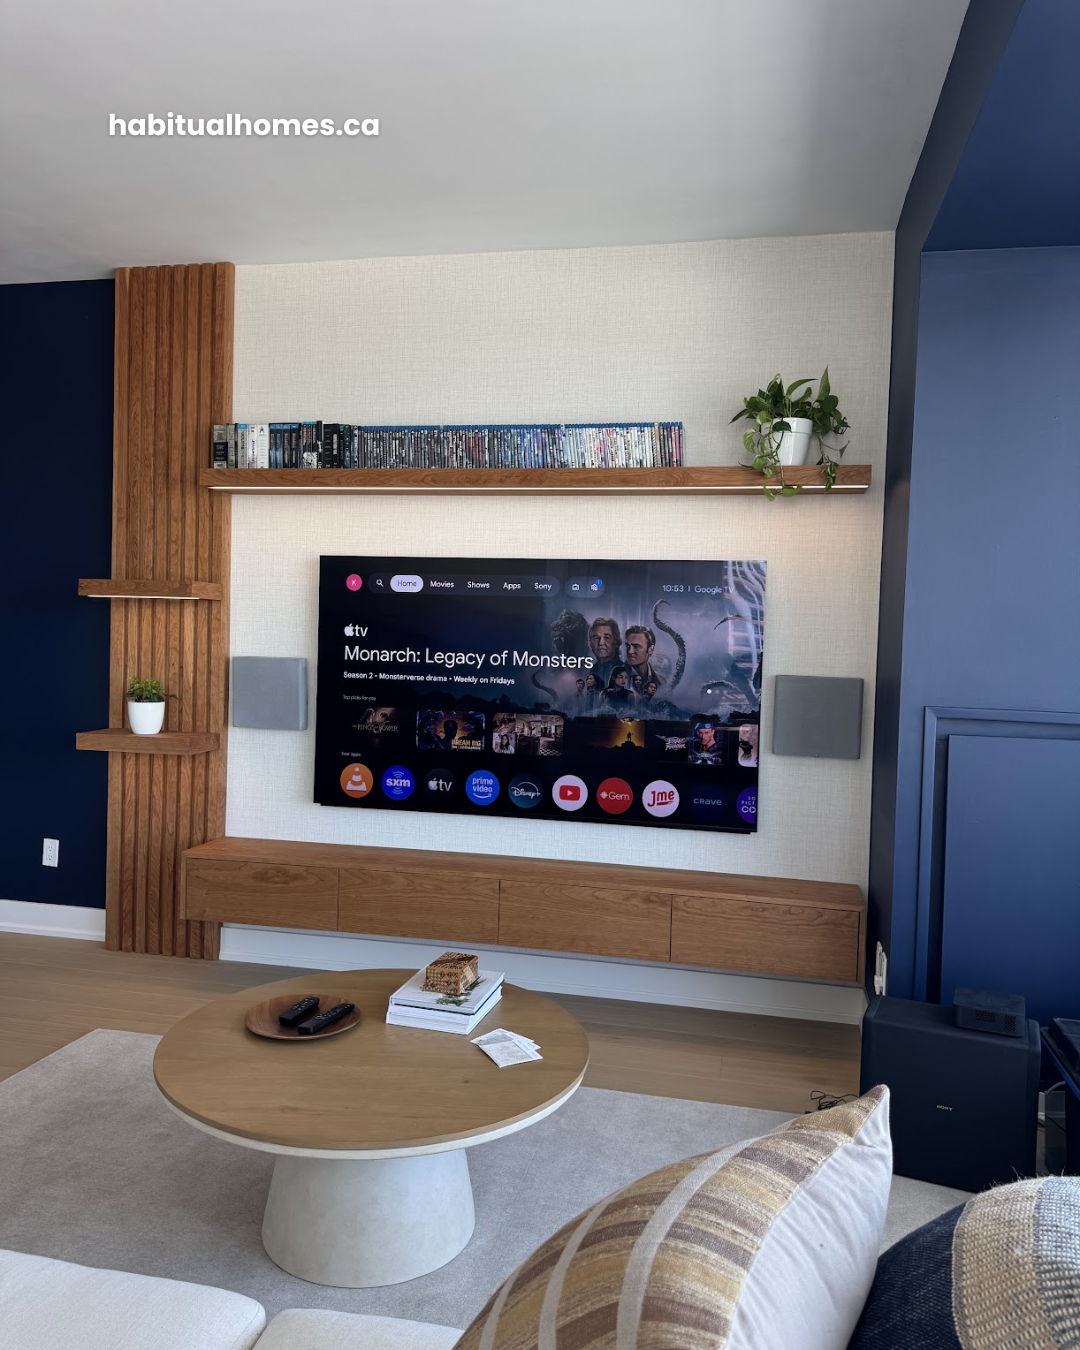
- Vertical wood slats for texture and warmth
- A sleek center panel that felt substantial and high-end
- A design that felt modern, not trendy
- A layout that worked for his soundbar and gaming devices
He also mentioned he was open to skipping some features—like upper floating shelves—if it helped keep the budget manageable.
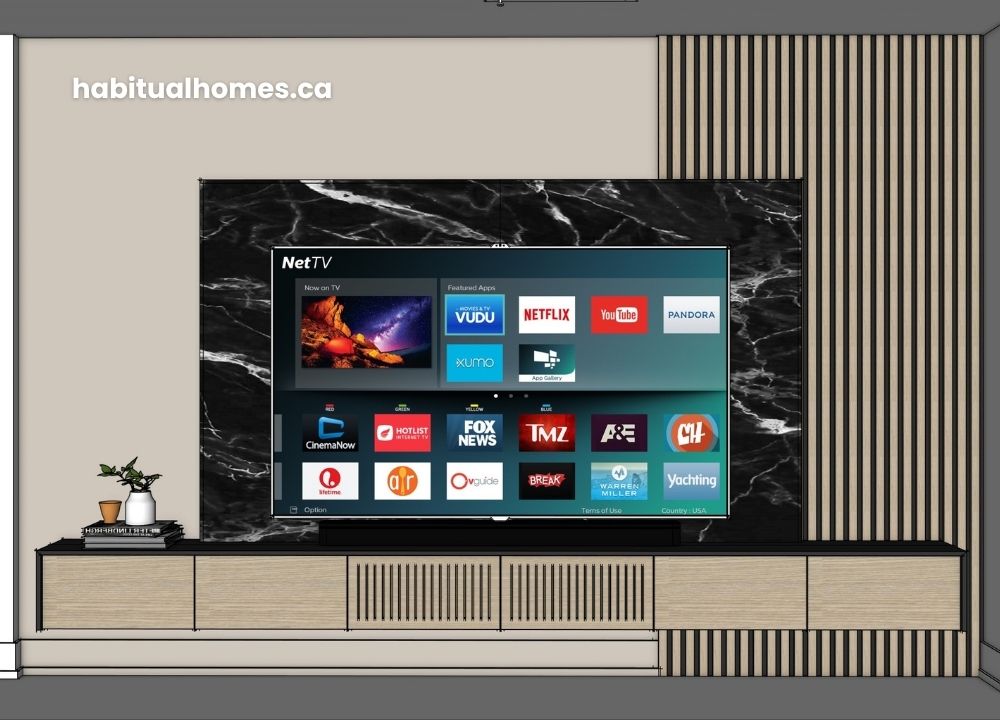
Our Site Visit: Samples, Layout & Real-Life Planning
We visited Michael’s home to go over the layout and walk through material options. Seeing everything in context made it easier to finalize the design and catch small details that matter in daily life.
During the visit, we:
- Reviewed paint samples and finishes
- Measured the exact TV height and outlet locations
- Talked about electrical access and HDMI ports
- Discussed console depth, drawer function, and internal cable holes
- Finalized panel height to keep the soundbar in the sweet spot
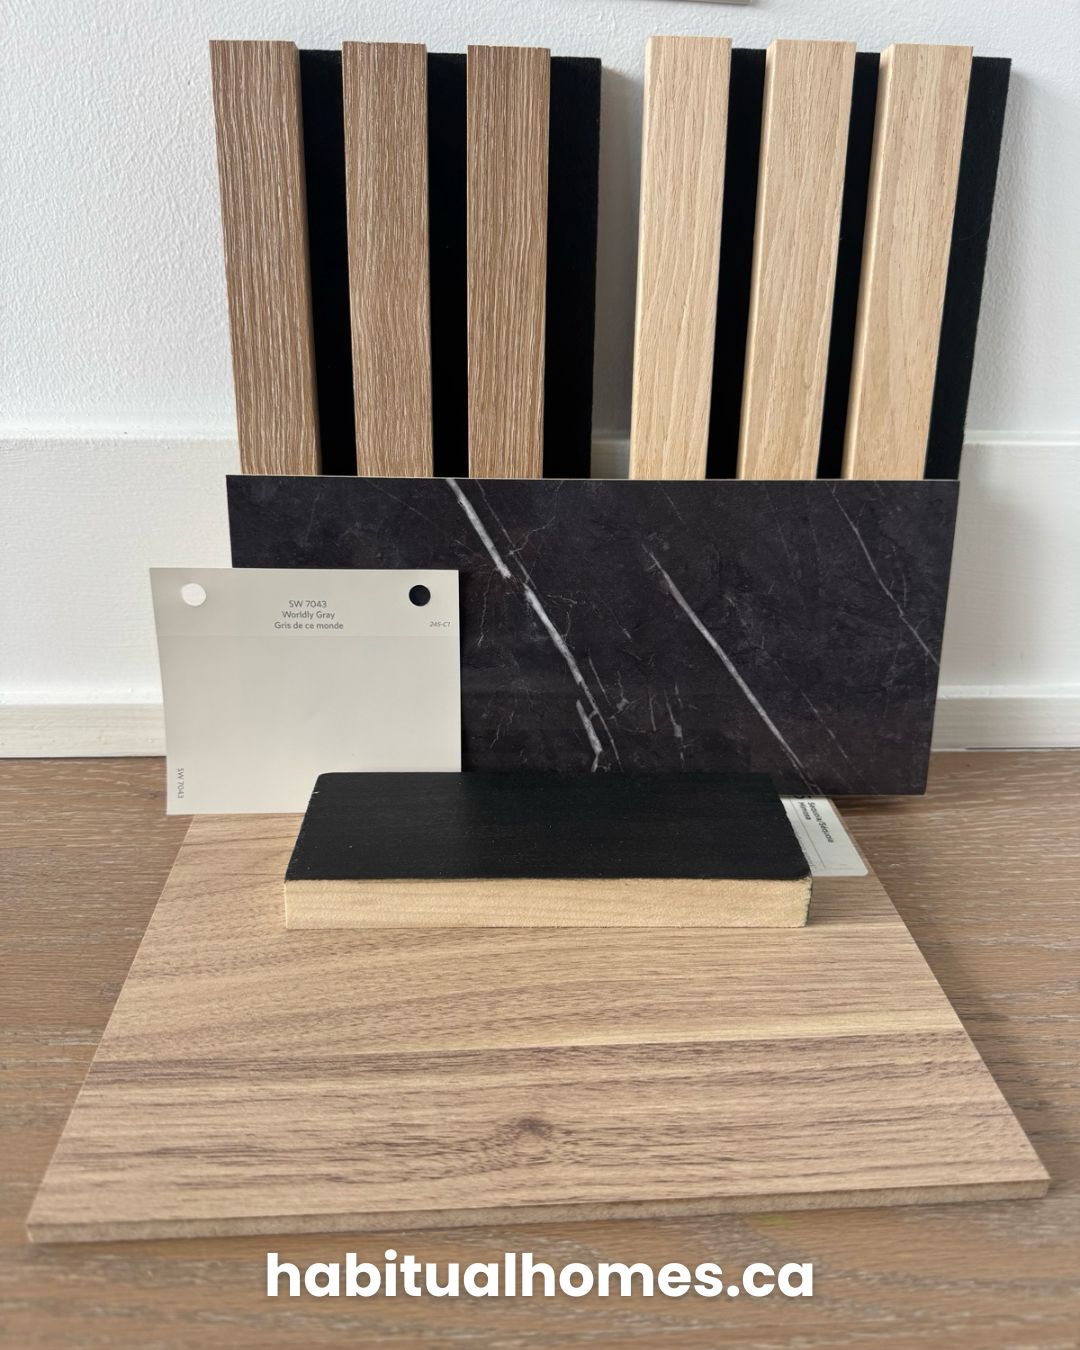
The Final Design
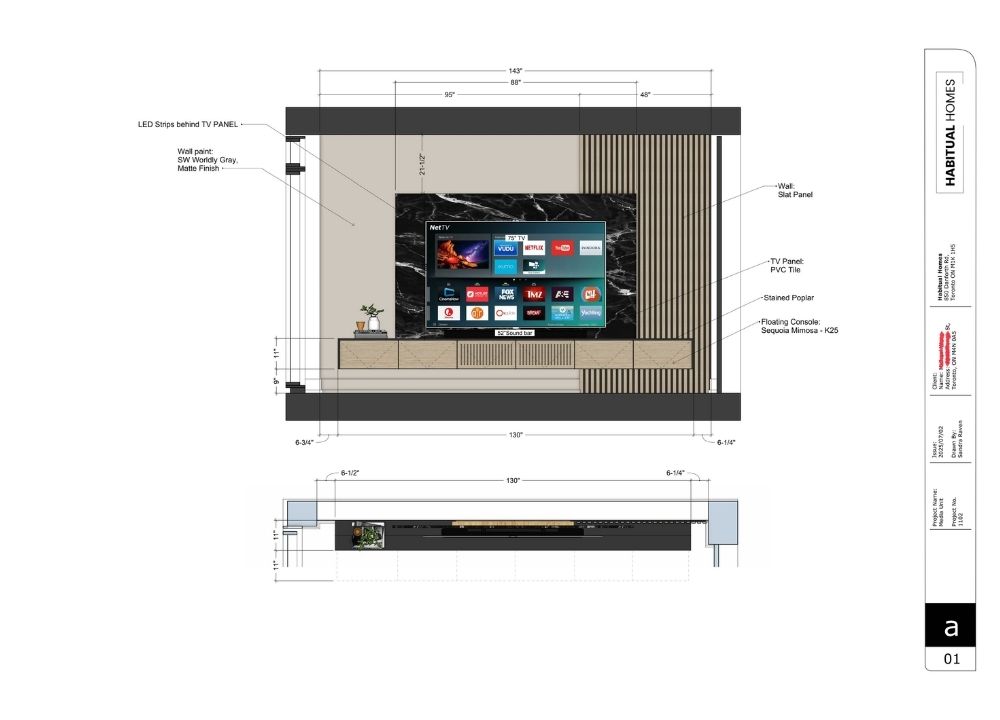
Here’s what we planned, together with Michael.
1. Accent Slats (Left 1/3 of Wall)
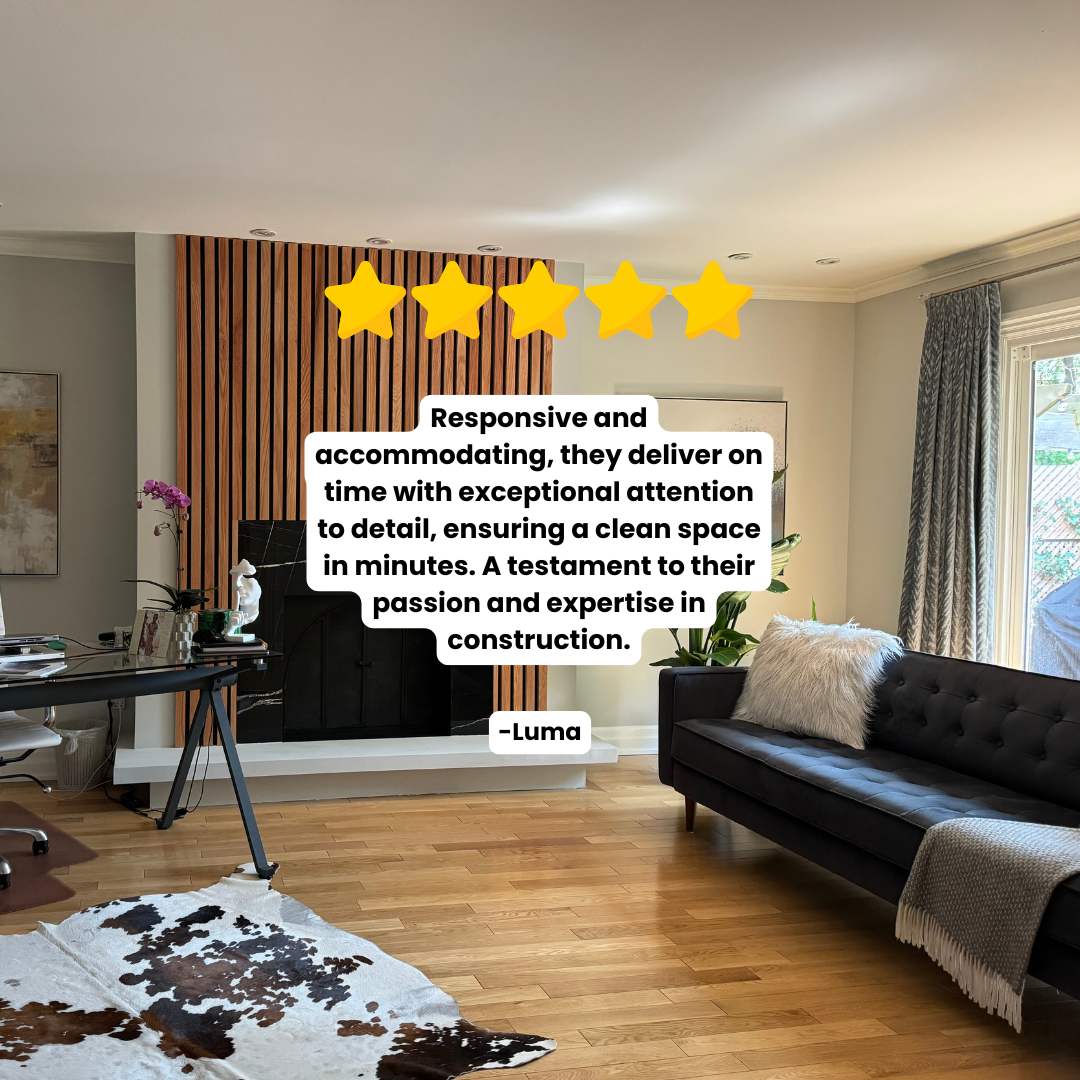
We’ll install MDF slats with a wood veneer finish to match the cabinet. These will run floor to ceiling on the left third of the TV area, adding rhythm and warmth without overwhelming the space.
It’s a clean, modern detail that helps visually balance the wall.
2. TV Panel (Center)
Instead of paint or wood, Michael chose a black marble-look PVC tile for the TV backing panel. It’s textured, easy to clean, and gives a high-end feel without the weight or cost of natural stone.
We framed the panel to be 53 inches high, leaving space above and below for breathing room and the soundbar. It also gives us flexibility for future upgrades or changes.
3. Wall Paint
To keep everything cohesive, we’re painting the entire wall behind the unit in Sherwin-Williams Worldly Gray. It’s a warm greige tone that softens the contrast between the slats, panel, and cabinetry. Clean, neutral, timeless.
4. Floating Console
The console will be built in wood-look melamine, selected for durability and visual warmth.
Key features include:
- Extended width to cover all visible outlets
- Push-to-open doors with clean lines—no handles
- A center compartment with a vented, remote-friendly panel so Michael can use devices like Apple TV or game consoles without opening the cabinet
- Small, clean cable ports at the back for easy plug-and-play access
- Wall-mounted with a flush, floating effect
This is where form meets function.
Design Choices That Matter

Every choice we made served a purpose:
- Slats add warmth and rhythm.
- The PVC tile makes the TV feel like it’s floating on a finished surface.
- The floating console stretches wider than the screen, anchoring the whole wall.
- The soft gray paint brings it all together.
And we intentionally kept the upper section of the wall clean—no shelves. It saved budget and kept the overall look sleek and minimal.
Soundbar & TV Placement
One of Michael’s concerns was spacing: Would the soundbar block the TV’s remote sensor if the panel wasn’t tall enough?
By adjusting the panel height to 53 inches, we made sure there’s enough room for the soundbar to sit directly beneath the screen—without interfering with controls. It’s a small detail that makes a big difference in daily use.
Cables, Outlets & Hidden Access
Cable clutter was a top concern. So we added:
- Hidden wall openings behind the console for existing outlets
- Cable holes at the top and bottom of the cabinets for clean entry and exit
- An open section inside the center cabinet for easy HDMI access
Now everything can stay connected—without the tangle.

Installation Timeline
Michael has approved the design and finishes. We’ve ordered the materials, and the project is scheduled to be installed in about 4 weeks.
Installation will take 2 days from start to finish.
We’ll handle:
- Area protection and prep
- Full install of the console, panel, slats, and paint
- Clean-up and walkthrough
Once the work is complete, we’ll return to photograph and share the finished space in a future post.
A Clean, Built-In Look That Works for Real Life
What makes this project special isn’t just how it looks—it’s how it works. Michael wanted a setup that could handle work calls, evening gaming, movie nights, and everything in between. Together, we planned a media wall that supports his lifestyle, hides the mess, and looks sharp doing it.
Stay tuned—we can’t wait to show you the finished product soon.
👉 Want to start planning your own custom media wall?
Explore our media wall design service in Toronto
FAQ – Michael’s Custom Media Wall Design
1. How much does a custom media wall like this typically cost?
It depends on the size, materials, and complexity. A setup like Michael’s—with PVC tile, floating cabinet, vertical slats, and cable management—typically ranges between $8,000–$12,000+ including design, materials, and installation.
2. Can I customize the materials, like using real wood or a different tile?
Absolutely. We work with you to choose finishes that fit your style and budget. For example, Michael selected wood-look melamine for the cabinet and a black marble-look PVC tile for the TV panel, but we can explore real wood veneer, natural stone, or painted MDF too.
3. Will the floating console support my devices and wiring setup?
Yes. We plan for custom openings, hidden cable ports, and vented panels to accommodate routers, Apple TV, game consoles, HDMI, and power cables. In Michael’s case, we even extended the console to fully cover his outlets and keep them accessible.
4. How long does a project like this take from start to finish?
Once the design is finalized, we usually need 3–4 weeks to order materials and schedule installation. The actual install takes about 2 days. For Michael, we finalized the design in person and booked installation 4 weeks out.
5. Can you design around existing outlets and wall conditions?
Yes. We always assess the existing space during a site visit. For Michael, we designed the console to extend over two outlets and included clean openings to keep them usable without needing an electrician.
6. What if I don’t want upper shelves or sconces—can we skip things to reduce the budget?
Definitely. During planning, Michael decided not to include upper shelves, which helped simplify the layout and reduce costs. We design based on your must-haves, not a one-size-fits-all model.
7. Do I need to hire a separate electrician or installer?
Nope. We handle the design, build, and installation. We don’t do full electrical rewiring, but we make sure your existing setup is integrated cleanly and safely into the final design. If special electrical work is needed, we’ll let you know upfront.