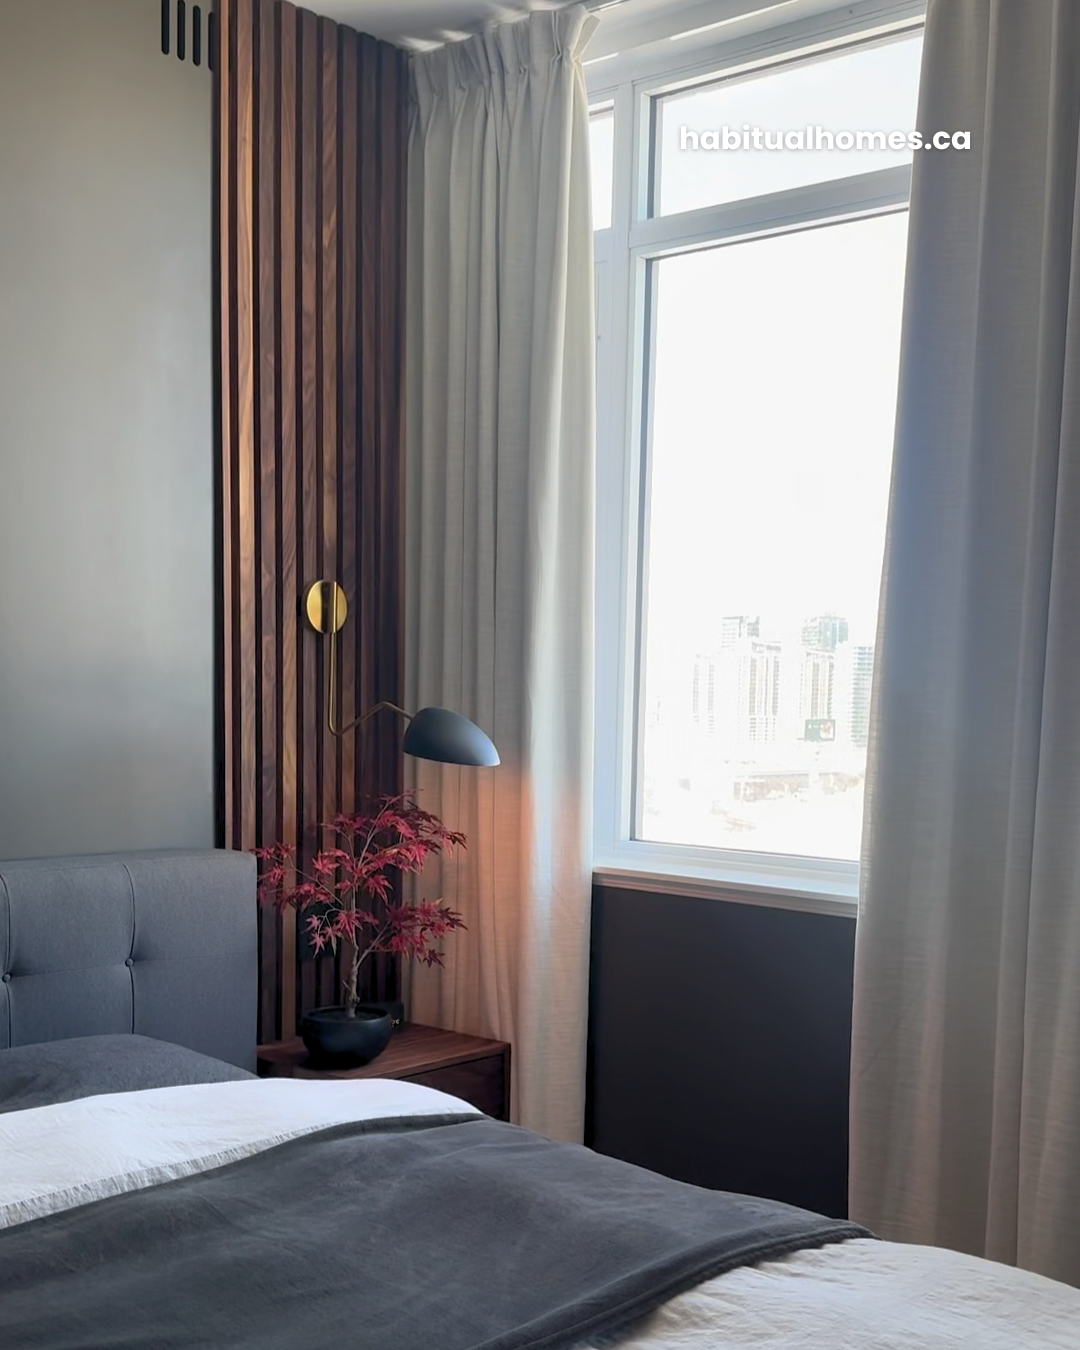
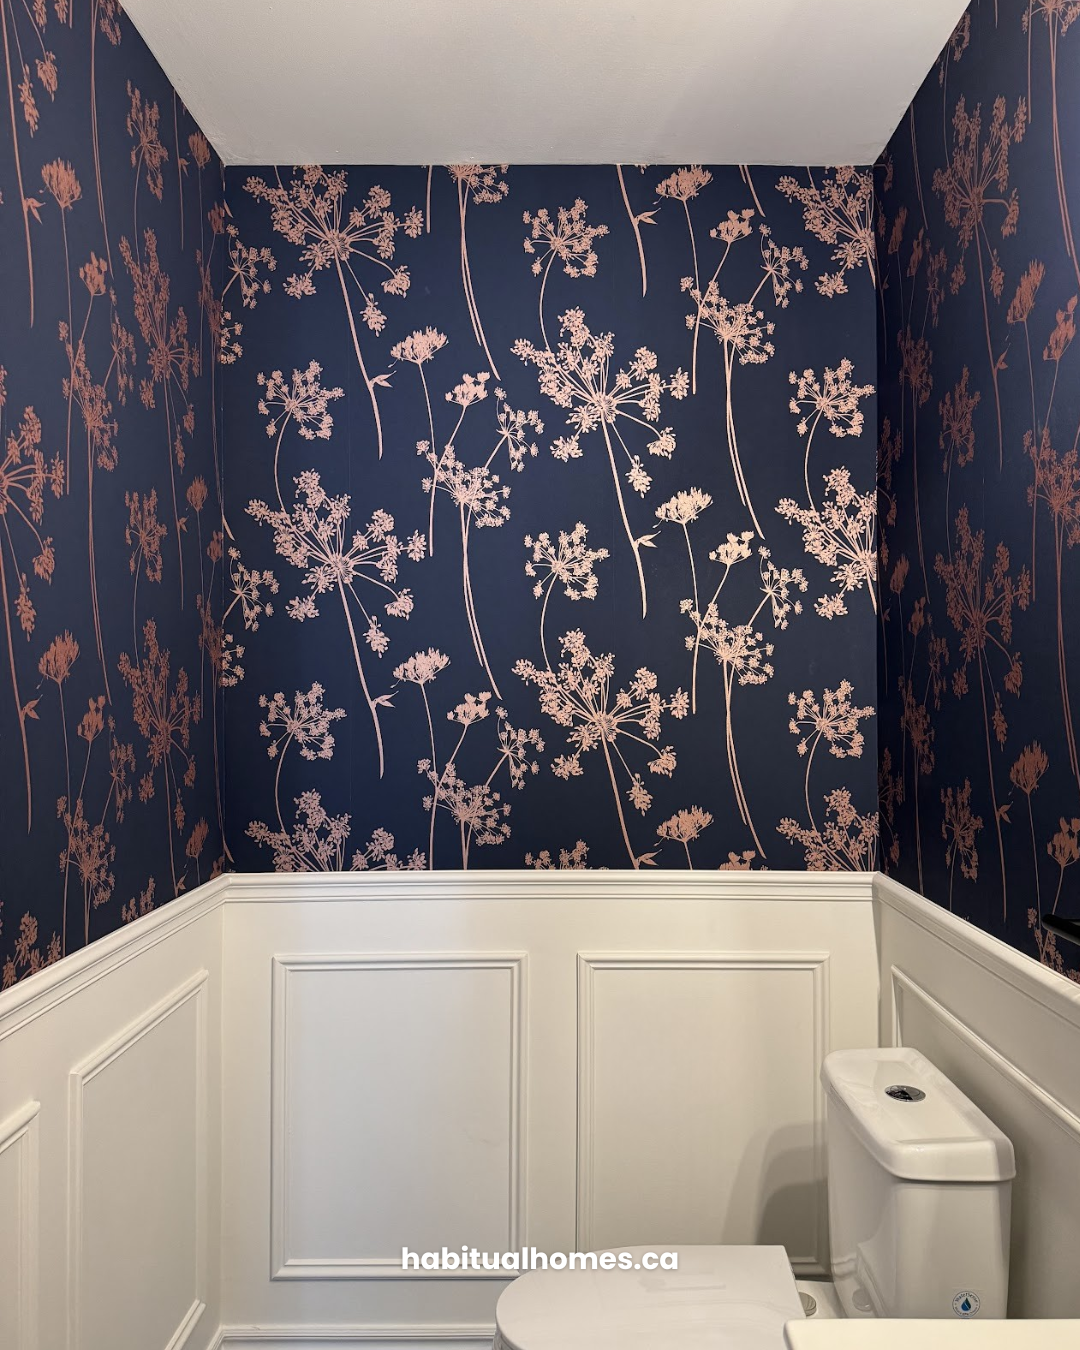
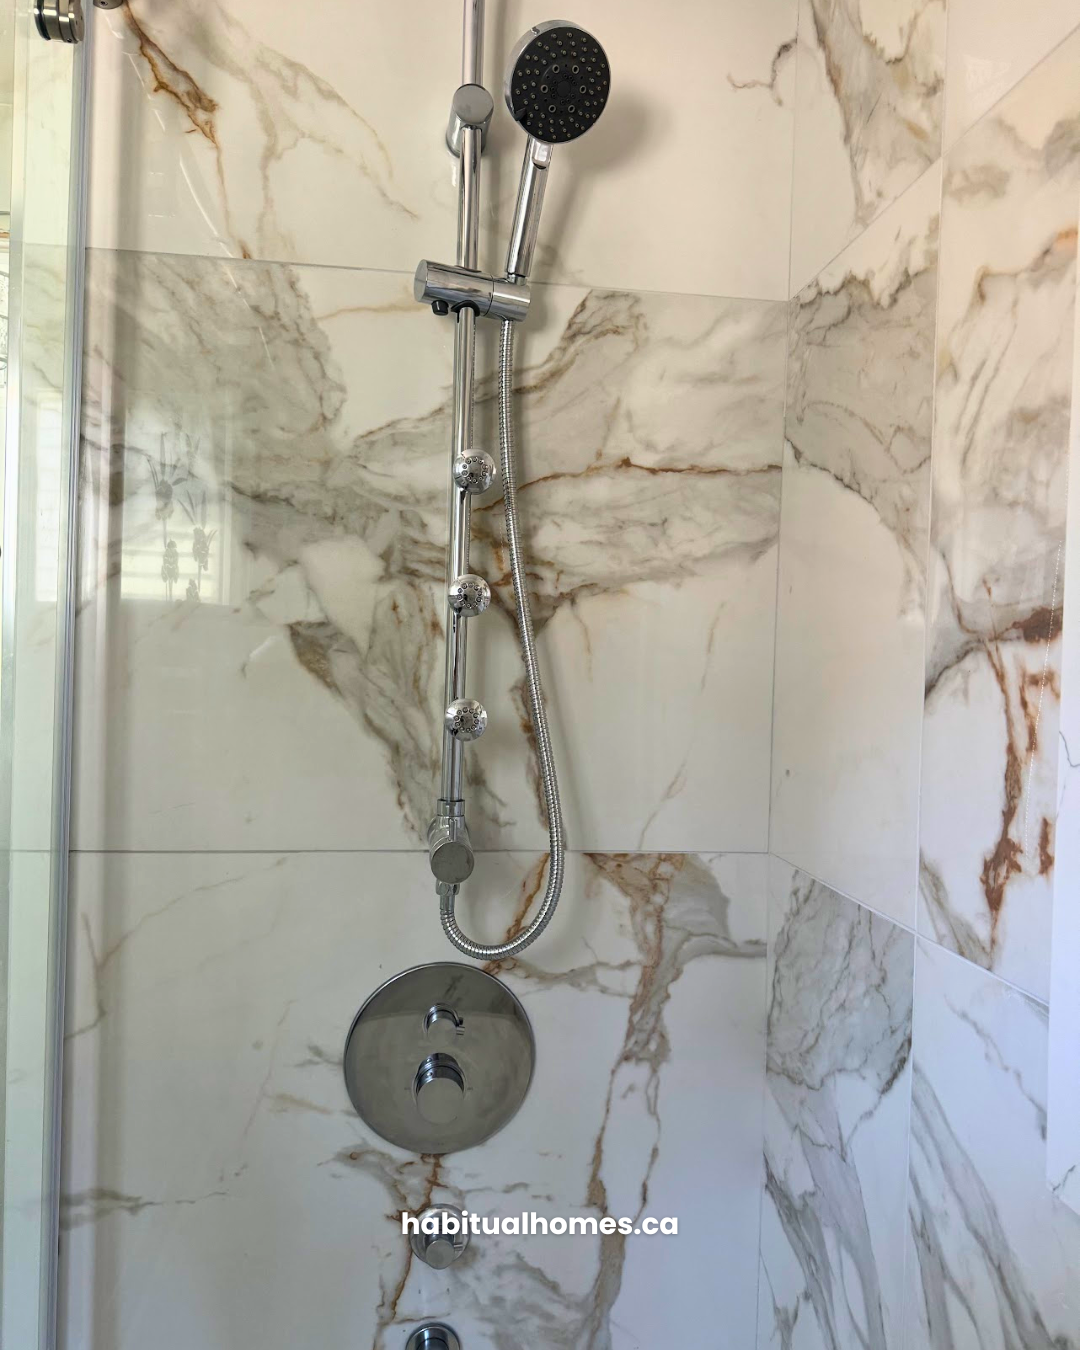
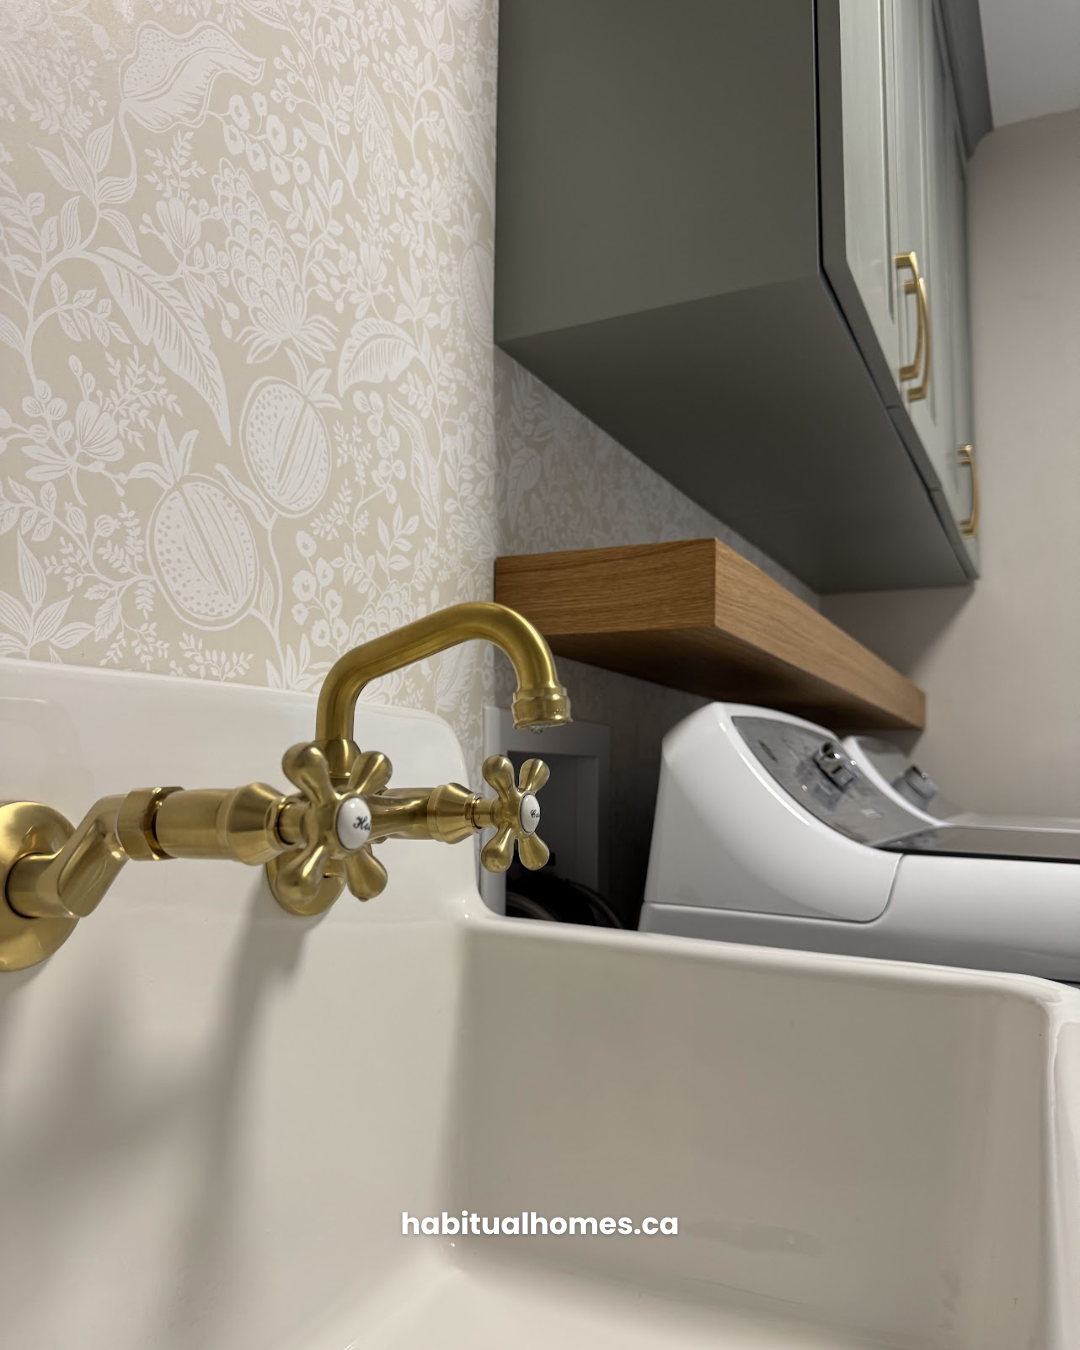
Before you bring in a single box, there is a window of time that most condo buyers underestimate. Once you are living in the space (furniture placed, daily routines running) certain decisions become much harder to reverse. Renovating a condo before moving in lets you treat every surface and system as a clean starting point rather than a workaround.
This guide covers what to plan, what the building will require from you, and how to sequence the work so the space is ready to live in from the first day.
Key takeaways:
- Renovating before move-in gives trades unobstructed access to all surfaces and systems, making the work faster and less disruptive than working around furniture and daily life.
- Condo renovations require building-specific approvals including alteration agreements, condo board review, and coordination with freight elevator schedules and restricted work hours, factors that extend project timelines well beyond a typical house renovation.
- Flooring, electrical upgrades, plumbing changes, and custom millwork are significantly more disruptive and costly to complete after move-in and should be prioritized in the pre-occupancy window.
- Most Toronto condo buildings require building permits for structural work, electrical upgrades, plumbing modifications, and mechanical system changes. Unpermitted work creates legal and financial complications at resale.
- A design-build approach consolidates coordination between building management, permit offices, and trades under one point of contact, reducing the risk of miscommunication and timeline delays in condo-specific projects.
Why the Timing Matters More in a Condo
In a house, you can phase a renovation over months and continue living through it. In a condo, the constraints are tighter. You have one entrance, shared hallways, a freight elevator with limited booking windows, and neighbours on the other side of every wall.
Doing the work before you move in solves most of these problems at once. The space is empty, every surface is accessible, trades can work without navigating around your belongings, and the building’s disruption is concentrated into a single defined period rather than stretched across months.
The decisions you make in this window also tend to be more deliberate. There are no compromises driven by what is already in place.
The Real Cost of Renovating After Move-In
Most condo owners focus on contractor fees when comparing pre- and post-move-in renovation costs. The actual difference goes further than that.
When you renovate after moving in, you typically absorb three compounding costs that do not exist in an empty unit: temporary storage for furniture and belongings, professional moving costs to relocate items out and back in, and higher contractor fees for working in an occupied space. Trades move slower when they need to protect existing finishes, manage access windows, and work around daily routines.
The result is that the same scope costs meaningfully more after move-in, with no additional value delivered. The pre-move-in window is not just more convenient. It is the more economical choice.
What to Tackle Before Move-In
Not every renovation needs to happen before you move in. The goal is to identify the work that is genuinely harder, or more disruptive, to do later.
| Renovation Type | Do Before Move-In | Can Wait Until After |
|---|---|---|
| Flooring (hardwood, tile, laminate) | Yes | No |
| Electrical upgrades and pot lights | Yes | No |
| Kitchen and bathroom renovations | Yes | No |
| Custom millwork and built-ins | Yes | No |
| Window treatments and decorative lighting | Optional | Yes |
Flooring
Flooring is the clearest example of something that should happen first. Replacing or refinishing floors after furniture is in requires multiple moves, temporary storage, and often results in patched transitions rather than a clean installation throughout.
If you are installing hardwood floors, laminate flooring, or large-format tile, do it while the unit is empty. This also applies to subfloor work, levelling, or waterproofing that sits underneath the finished surface.
Electrical and Lighting
Recessed pot lights, panel upgrades, additional circuits for kitchen appliances, and any changes to the electrical layout are significantly easier to complete in an empty unit. Drywall patches and ceiling work that follow an electrical upgrade are simpler when there is nothing to protect.
If you want a specific lighting plan (task lighting in the kitchen, dimmers in the living room, integrated lighting in millwork), this is the moment to run the wiring, not after cabinets are installed.
One important note: running electrical after drywall is closed costs significantly more than completing it at rough-in stage. Every outlet, switch, or fixture added post-drywall requires cutting, patching, sanding, and repainting. Finalize your electrical plan before walls close.
Plumbing
Changes to plumbing, including relocating fixtures, adding water lines, upgrading the plumbing system, or converting a tub to a walk-in shower, involve opening walls and ceilings. In a condo, this work requires coordination with the building’s plumbing system and almost always requires formal approvals before construction begins.
If a bathroom renovation or kitchen upgrade is part of the plan, it is worth completing it now rather than revisiting it after you have settled in.
Millwork and Storage
Custom built-ins, kitchen cabinets, media walls, closet systems, and any custom millwork should be designed and installed before you move in. Millwork is the layer that makes a condo feel intentional rather than assembled over time. Designing it early also means the electrical and lighting plan can be coordinated around it, rather than adapted to it.
Painting
Painting is dramatically easier in an empty space. Bold accent walls, full-room colour changes, and ceiling work all happen without masking furniture or managing fumes around daily life.
Bathroom and Kitchen Updates
Even if you are not doing a full renovation in either room, surface-level updates like bathroom fixtures, cabinet handles, light fixtures, and tile work are easier to complete before move-in. Coordinating delivery and installation is simpler when trades have unobstructed access to the unit.
If a full kitchen renovation is on the table, this window is when to do it.
What the Building Will Require From You
This is where condo renovations differ most from house renovations. The design decisions are yours, but the logistics involve the building, and that process takes longer than most condo owners expect.
The Condo Board Approval Timeline
One of the most underestimated parts of a condo renovation is how long the approval process takes before a single tool is picked up. Most owners assume a few weeks. The reality is closer to two to three months when the full sequence is mapped out.
Here is what the process typically looks like:
Weeks 1 to 2: Document preparation. Your contractor prepares drawings, insurance certificates, and the alteration agreement. Many boards require architectural drawings even for work that would be considered cosmetic in a house.
Weeks 3 to 4: Board submission. Documents are submitted to property management. Most condo boards only review renovation requests at monthly meetings, which means the submission window matters as much as the submission itself.
Weeks 5 to 6: Board review and feedback. Boards commonly request revisions: additional detail on plumbing routing, noise mitigation measures, or engineering stamps. Each revision cycle adds time.
Weeks 7 to 8: Final approval and insurance coordination. Once approved, contractors must provide updated insurance naming the condo corporation as an additional insured party. Processing this takes additional business days.
Week 9 and beyond: Elevator booking. Even with approval in hand, freight elevator availability is not guaranteed. High-demand buildings book weeks out, and some restrict construction moves to specific days of the week.
Plan for eight to twelve weeks from your first contractor meeting to the first day of demolition. Owners who budget two or three weeks for approvals typically miss their move-in window entirely and end up renovating while living in the space.
The Condo Association and Alteration Agreements
Before any renovation work begins, you will need to submit plans to the condo board or property management for review. Most buildings require an alteration agreement, a formal document that outlines the scope of work, the contractors involved, and the owner’s liability for any damage to common elements.
Some buildings have strict rules about what can be changed. Load-bearing walls, front doors, windows, and anything that affects the building envelope or shared systems typically require condo board approval and may be restricted entirely.
Read your building’s declaration and rules before finalizing your renovation plan. What is standard in a house renovation may require additional steps, or may not be permitted at all.
Condo renovation approval checklist:
| Required Document | Submitted To | Typical Processing Time |
|---|---|---|
| Renovation drawings and scope | Condo board / property management | 2 to 4 weeks |
| Alteration agreement (signed) | Condo board | 1 to 2 weeks after board approval |
| Contractor insurance certificate | Property management | 3 to 7 business days |
| Building permit (if required) | City of Toronto | 4 to 8 weeks |
| Elevator booking request | Property management | 2 to 3 weeks in advance |
Building Permits
A building permit is required for structural work, electrical upgrades, plumbing changes, and any modification to the mechanical systems in the unit. In Toronto, this means submitting drawings to the City and waiting for approval before construction starts.
Working without a required permit creates problems at sale. Buyers’ lawyers will identify unpermitted work during due diligence, and the cost to remediate it falls on the seller.
A general contractor who works regularly in Toronto condos will know which scopes require permits and how to coordinate the permitting process alongside the building’s own approval timeline.
What requires a permit in a Toronto condo:
| Type of Work | Permit Required | Board Approval Required |
|---|---|---|
| Painting and cosmetic finishes | No | Usually no |
| Flooring replacement (non-structural) | No | Often yes |
| Electrical upgrades or new circuits | Yes | Yes |
| Plumbing changes or fixture relocation | Yes | Yes |
| Structural modifications or wall removal | Yes | Yes |
Elevator Bookings and Work Hours
Most condo buildings restrict construction work to specific hours, typically weekday business hours and sometimes limited to certain days. Elevator bookings for material delivery are usually required in advance and are subject to availability.
These constraints directly affect how long the renovation will take. A scope that would take three weeks in a house might take five in a condo, simply because of the freight elevator schedule and work hour restrictions. If a flooring delivery misses its booking slot, the next available window could be a week later, delaying the project from that point forward.
Build this into your timeline before you commit to a move-in date.
Material Storage
There is no garage, no driveway, no staging area outside the unit. All materials need to be delivered, moved through the building, and stored inside the condo until they are installed. This affects how materials are ordered, delivered, and sequenced, and it is something an experienced contractor will plan for from the start.
The Right Sequence for Condo Renovation Work
The sequence matters as much as the scope. Work that happens in the wrong order creates rework, and rework in a condo is expensive.
Common sequencing mistakes and what they cause:
Installing flooring before millwork means cabinet and built-in installers use the finished floor as a work surface. Hardwood, tile, and laminate get scratched and chipped during installation, requiring patching or replacement.
Painting after cabinets are installed means masking finished surfaces, which adds labour and still results in overspray that needs to be touched up.
Running electrical after drywall is closed means cutting, patching, sanding, and repainting for every outlet or fixture added. Work that costs a fraction at rough-in stage becomes a much larger scope after walls are finished.
An empty unit gives you the flexibility to sequence work properly, without the pressure of daily life forcing shortcuts.
A general order that works for most condo renovations:
- Demolition: remove what is being replaced before anything new goes in
- Structural work, if walls are being opened or modified
- Rough-in plumbing and electrical, before walls close
- Inspections, required by permit before closing walls
- Insulation and drywall
- Flooring, typically before cabinets and millwork in most scopes
- Painting, easier without cabinets and fixtures in place, though some contractors prefer to prime before flooring and finish coat after
- Cabinets, millwork, and built-ins
- Fixtures, hardware, and appliances
- Final electrical trim: switches, outlets, light fixtures
- Touch-ups and cleaning
How long each phase actually takes in a condo:
| Renovation Phase | Typical Duration | Why It Takes Longer in Condos |
|---|---|---|
| Demolition | 2 to 4 days | Debris removal via elevator, restricted hours |
| Rough-in plumbing and electrical | 3 to 7 days | Building system coordination, limited work windows |
| Permit inspections | 1 to 3 days (wait time varies) | City scheduling, inspector access to building |
| Drywall and finishing | 5 to 10 days | Material delivery coordination, drying time |
| Flooring installation | 3 to 7 days | Elevator booking for delivery, material acclimation |
This is the same general sequence used in any residential renovation. For a deeper look at how the order works and why, see The Renovation Order Architects Use. In a condo, the main difference is that each phase needs to be coordinated around elevator bookings, building approvals, and work hour restrictions.
What Can Wait Until After Move-In
Not everything needs to happen before move-in day. Some work is easier to assess once you have lived in the space for a few weeks.
Decorative decisions like art placement, furniture arrangement, and secondary lighting are worth waiting on. They are low-disruption and benefit from actually living in the space before committing.
Window treatments can wait unless there are privacy concerns from day one.
Non-structural cosmetic updates in rooms you are not prioritizing can be phased in over time.
The goal is not to finish everything before you move in. The goal is to finish the things that require an empty unit, the things that create the most disruption when done around daily life, and the things that set the structural and visual foundation for everything else.
Why Condo Renovations Benefit From Design-Build
In a house, you can find a contractor, hand them drawings, and manage the process yourself. In a condo, the number of parties involved (building management, the permit office, multiple trades, elevator scheduling) makes coordination the hardest part of the project.
A design-build approach, where the same firm handles both the design and the construction, simplifies that coordination significantly. There is one point of contact, one timeline, and decisions made at the design stage are carried through to installation without translation.
Design-build vs. traditional contractor model in condo renovations:
| Factor | Design-Build | Traditional Model |
|---|---|---|
| Number of contracts | One (designer and builder) | Two or more (architect, contractor, trades) |
| Accountability for mistakes | Single point of contact | Split between designer and contractor |
| Building approval coordination | Managed by one team | Owner coordinates between parties |
| Design changes during construction | Faster, no third-party approvals | Requires designer sign-off, delays common |
This is especially useful in condos because the constraints of the building, including what can be modified, what the structural drawings show, and where plumbing and electrical can be rerouted, need to be understood at the design stage, not discovered during construction.
For more on what to work through before the first contractor walks in, The First Step of a Good Renovation covers the planning foundation in detail.
Before You Wrap Up: What to Remember
If you take nothing else from this guide, these are the points that make the biggest difference:
Renovating before move-in eliminates the compounding costs of temporary storage, double moving, and working in an occupied space, expenses that add up to a meaningful difference with no additional value delivered.
The condo board approval process takes eight to twelve weeks in most Toronto buildings, not the two or three weeks most owners assume. That timeline needs to be built into your schedule from the start.
Flooring, electrical rough-in, plumbing changes, and custom millwork should always be completed in an empty unit. Doing them after occupancy is not just inconvenient. It costs more and takes longer because every trade is working around constraints that do not exist in an empty space.
Sequencing mistakes create rework. Installing flooring before millwork, painting after cabinets, or running electrical after drywall is closed each add avoidable cost and time to the project.
A design-build firm consolidates coordination between building management, permit offices, and trades under one contract, which reduces the accountability gaps that occur when designers and contractors operate independently.
Frequently Asked Questions
Can I live in my condo during the renovation if I only have a small scope of work?
Yes, but even small scopes become more disruptive than anticipated in a condo setting. Contractors working in occupied units move slower, require additional protective measures, and often have limited access when you are home. If the work involves flooring, painting, or anything that generates dust or fumes, living in the space significantly extends the timeline and increases cost.
What happens if I start renovating without condo board approval?
Most condo corporations have the legal authority to issue stop-work orders, levy fines, and require removal of unauthorized work at the owner’s expense. Beyond immediate penalties, unapproved renovations create title issues that surface during resale when the buyer’s lawyer requests a status certificate. The cost and complexity of retroactively obtaining approvals, or reversing completed work, far exceeds the effort of securing permission upfront.
Do I need a permit to renovate a condo in Toronto?
It depends on the scope. Cosmetic work like painting, replacing fixtures, and installing laminate flooring generally does not require a permit. Electrical upgrades, plumbing changes, structural modifications, and anything that affects the building’s mechanical systems typically do. Your contractor or the City of Toronto’s building department can confirm what applies to your specific scope.
Do elevator restrictions really add that much time to a condo renovation?
Yes. Buildings with a single freight elevator and high construction activity often book weeks out, and many restrict deliveries to specific time windows on weekdays. If a flooring delivery misses its booking slot, the next available window might be a week later, delaying the entire project from that point forward. Elevator coordination is one of the most underestimated timeline factors in condo renovations and should be planned at the same time as material ordering.
Is it worth doing a pre-move-in renovation if I am planning to sell within a few years?
Yes, particularly if the updates align with what buyers in your building expect. Renovations done before move-in cost less, finish faster, and avoid the disruption of living through construction later. A move-in-ready unit with updated finishes consistently performs better at resale than one requiring work, especially in competitive condo markets where buyers prioritize turnkey condition.
What does a condo board need to approve?
Most boards require a written renovation request with drawings, contractor information, proof of insurance, and a signed alteration agreement before work begins. The scope requiring approval varies by building. Structural work, plumbing changes, and anything affecting common elements almost always requires it.
What is the first thing to renovate in a condo before moving in?
Start with the work that requires the space to be empty and that sets the foundation for everything else: flooring, electrical rough-in, plumbing changes, and structural modifications. These create the substrate that cabinets, millwork, and finishes are built on. Doing them first avoids having to undo finished work later.
Planning a Condo Renovation in Toronto?
The pre-move-in window is real, and using it well sets the tone for the entire space. The decisions made in those first weeks, about the layers, the systems, and the storage, are harder to undo once daily life is running.
If you are working through what to tackle and what to leave, our team can help you sort the scope, work through the building requirements, and put together a plan that makes the timeline manageable. Start with a consultation and we will take it from there.
You can also see how we approach renovation planning in detail in our guide to planning a full renovation in Toronto.