When Yusuf’s family was in the middle of a home renovation, they realized they needed a specialized team to help with one key feature—their custom entertainment center. While they had already hired contractors for other parts of the renovation, they needed a unique and functional design for the living room’s focal point. With specific ideas in mind for materials and features, they contacted us to bring their vision to life.
The Problem: A Missing Centerpiece
The family was eager to create a space that tied together their new kitchen’s walnut tones with a sleek, modern media wall in the living room. However, their previous contractors hadn’t included the entertainment center in the scope of work. With a clear design vision, they needed help from a contractor who could craft a functional yet elegant custom solution.
The Solution: Custom Design with Functionality and Style
During our first conversations, we discussed Yusuf’s family’s preferences and requirements, including measurements and materials. They provided inspiration photos, helping us understand their vision. We promptly sent them a preliminary estimate that fell within their budget, which led to an in-home consultation where we finalized the design details and took precise measurements.
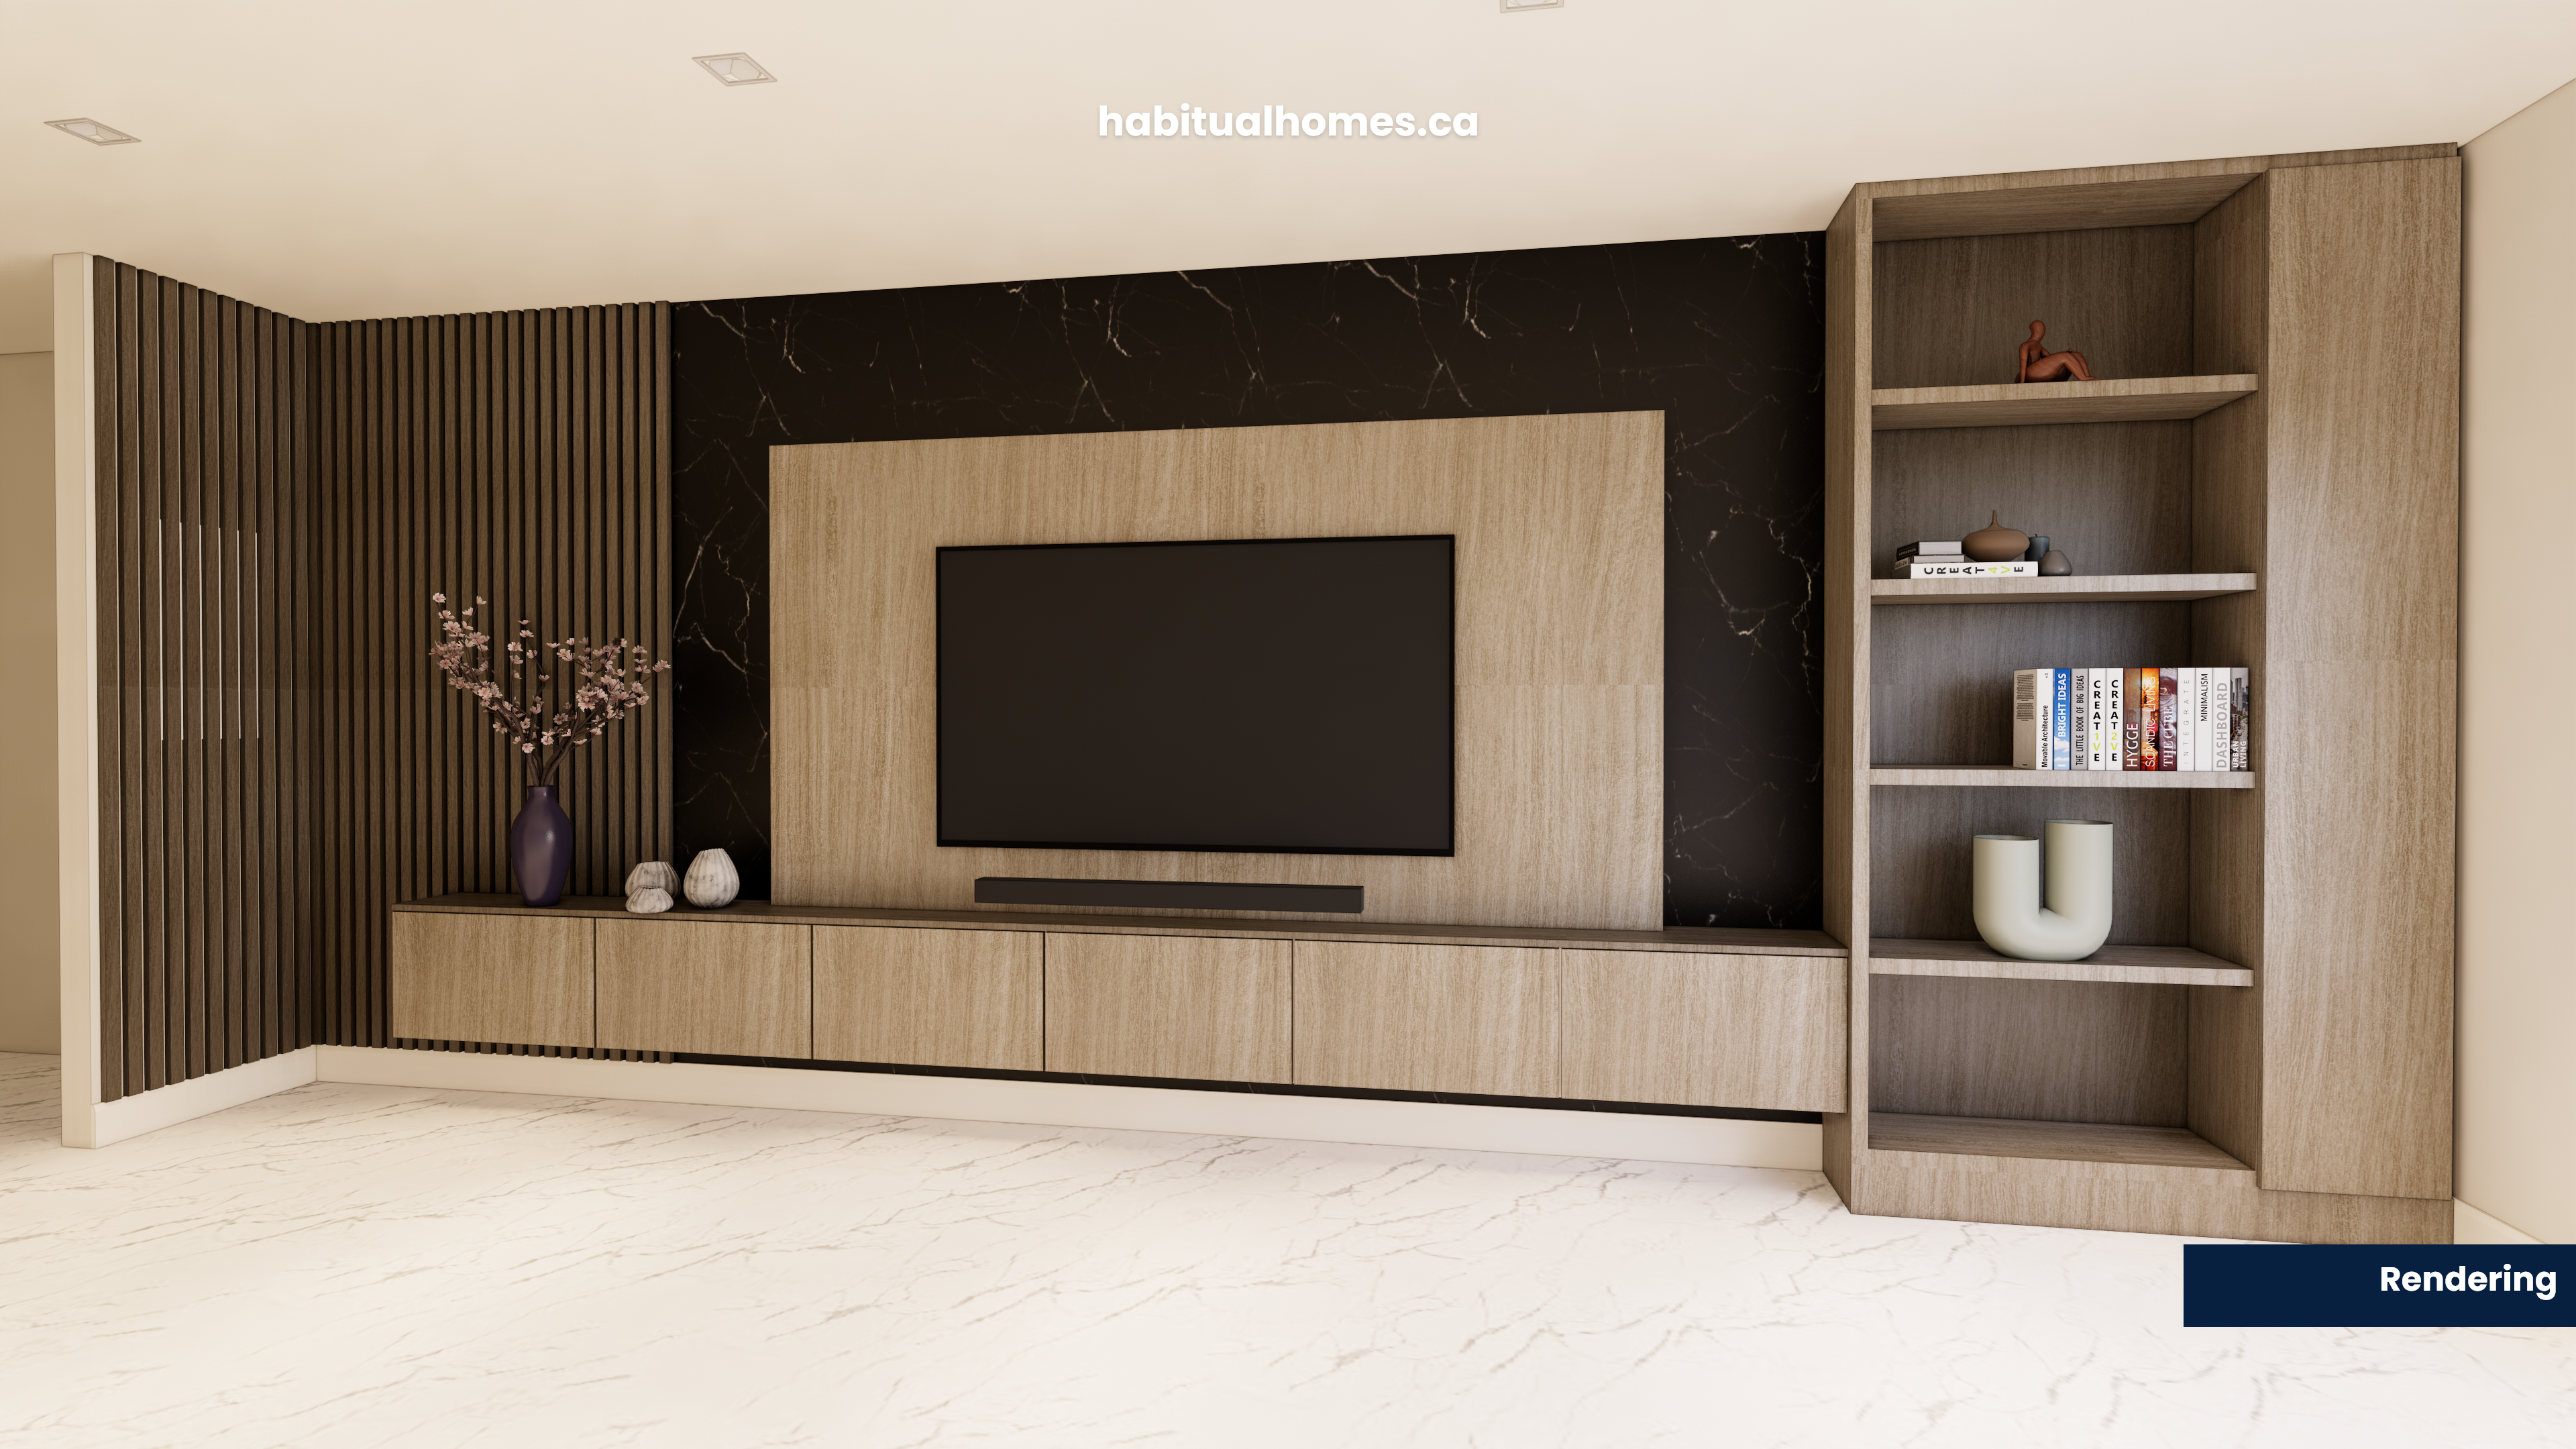
Our final proposal, complete with 3D renderings and a detailed scope of work, met all of their needs. They loved how it visualized the final result, and after receiving material samples, they were confident in their choices. From there, we moved forward with fabricating and installing the entertainment center.
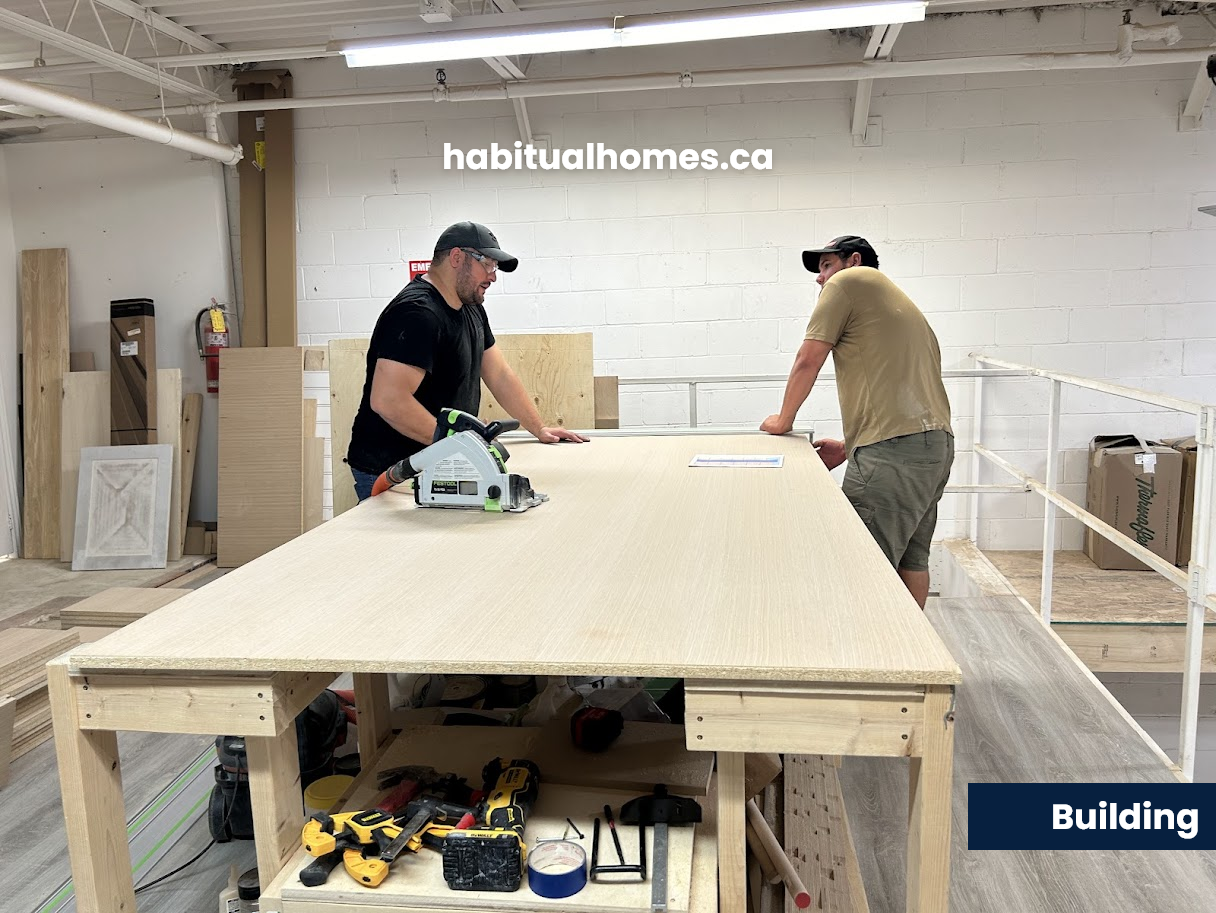
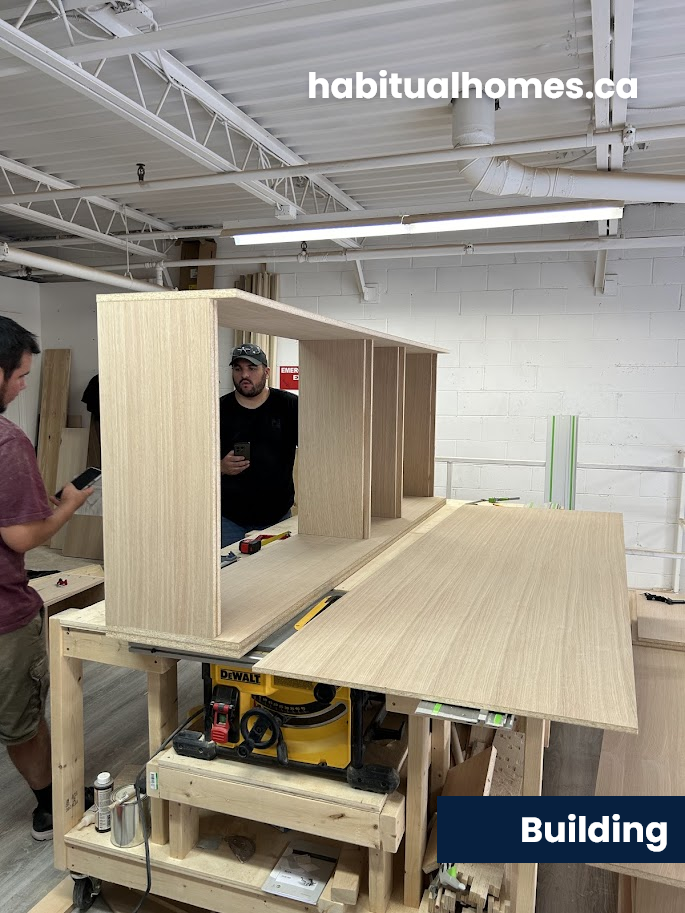
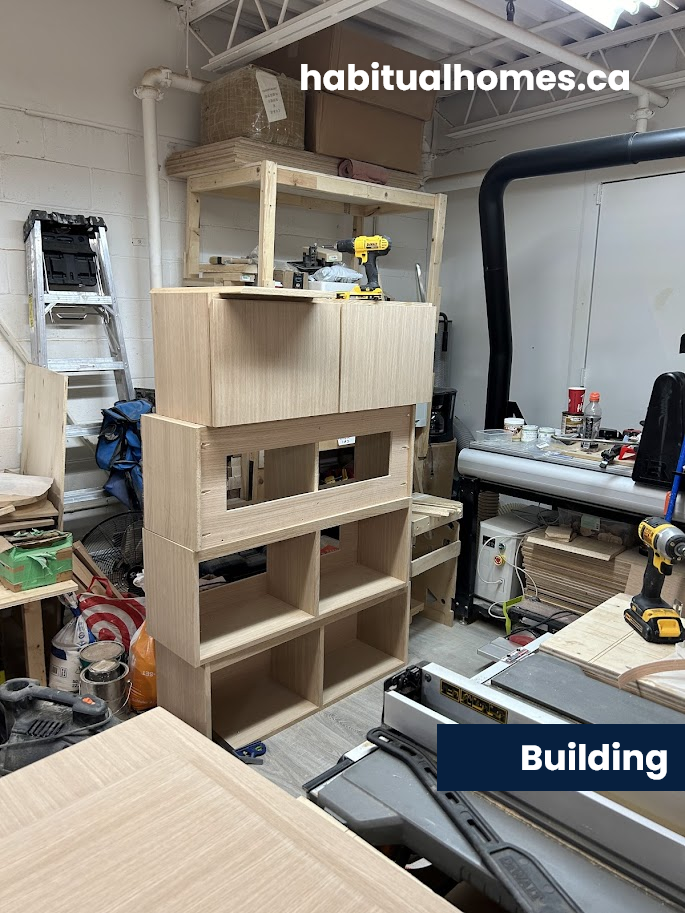
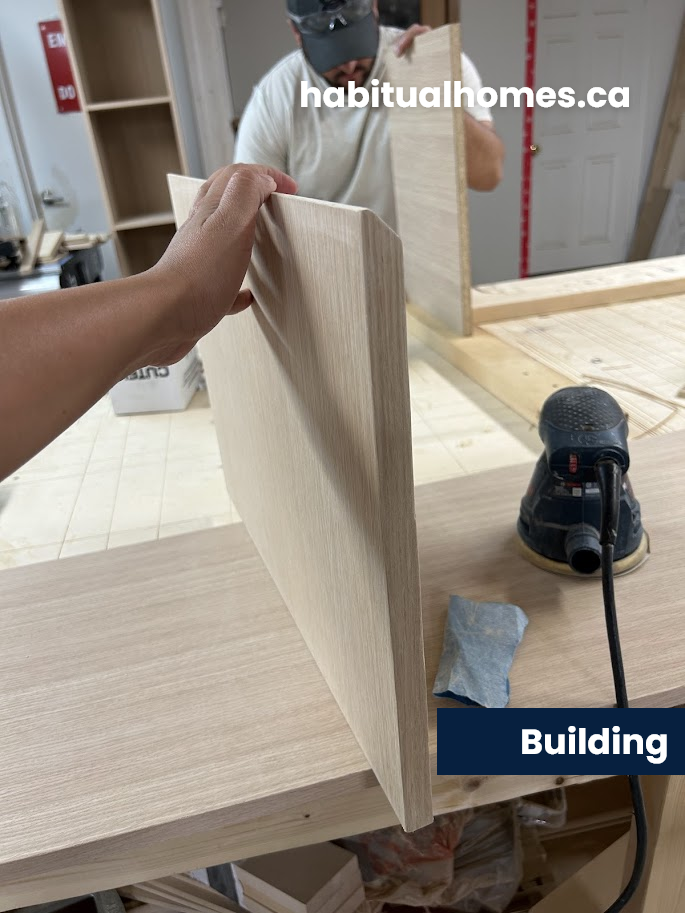
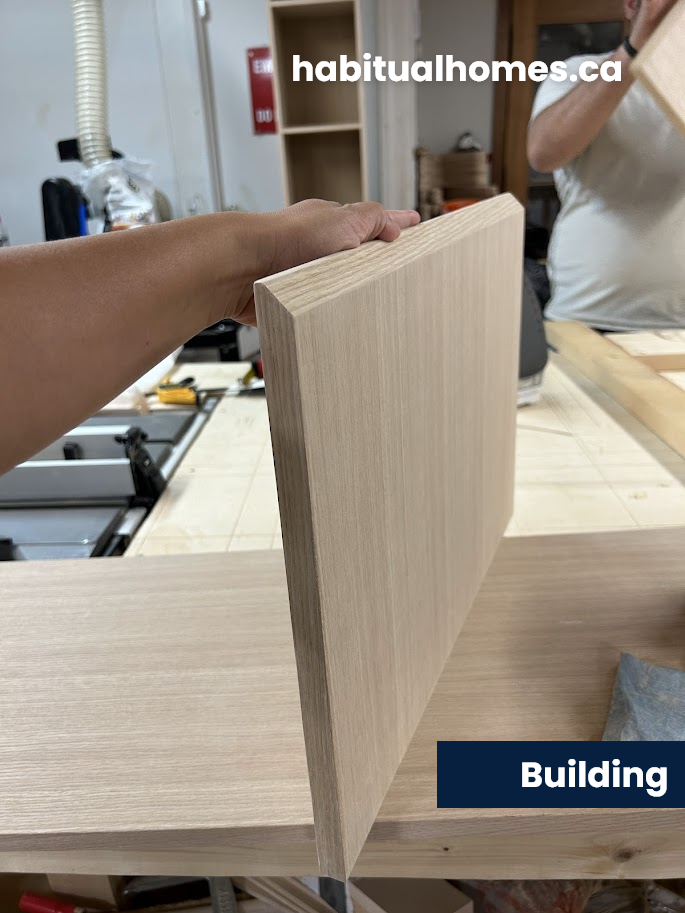
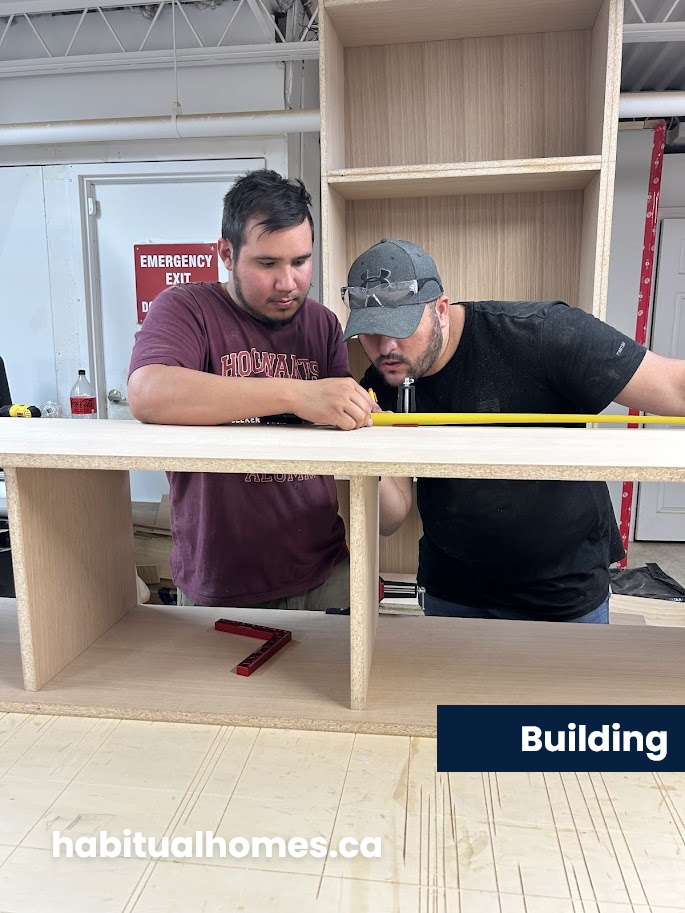
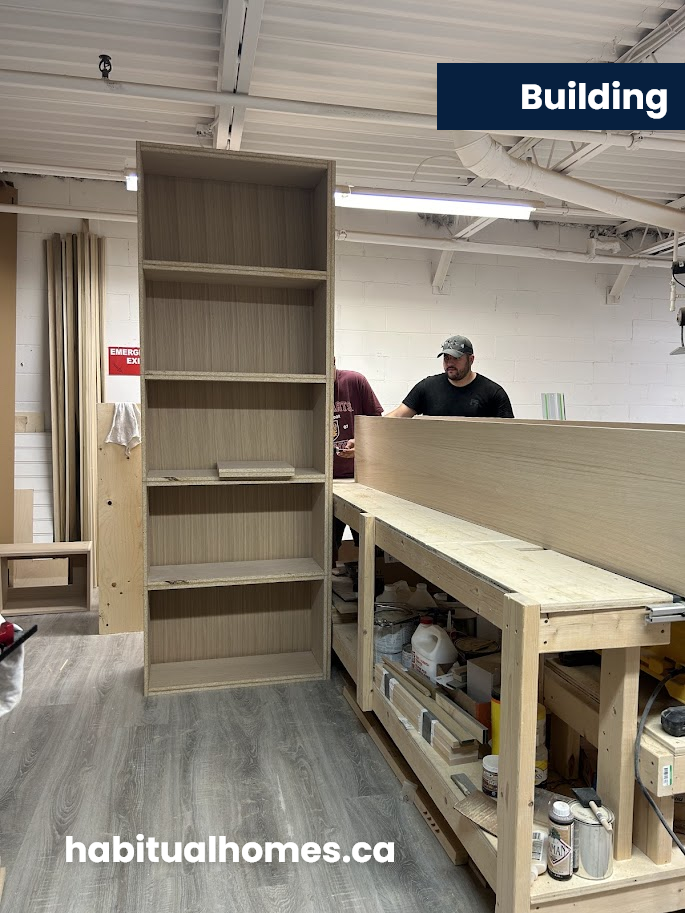
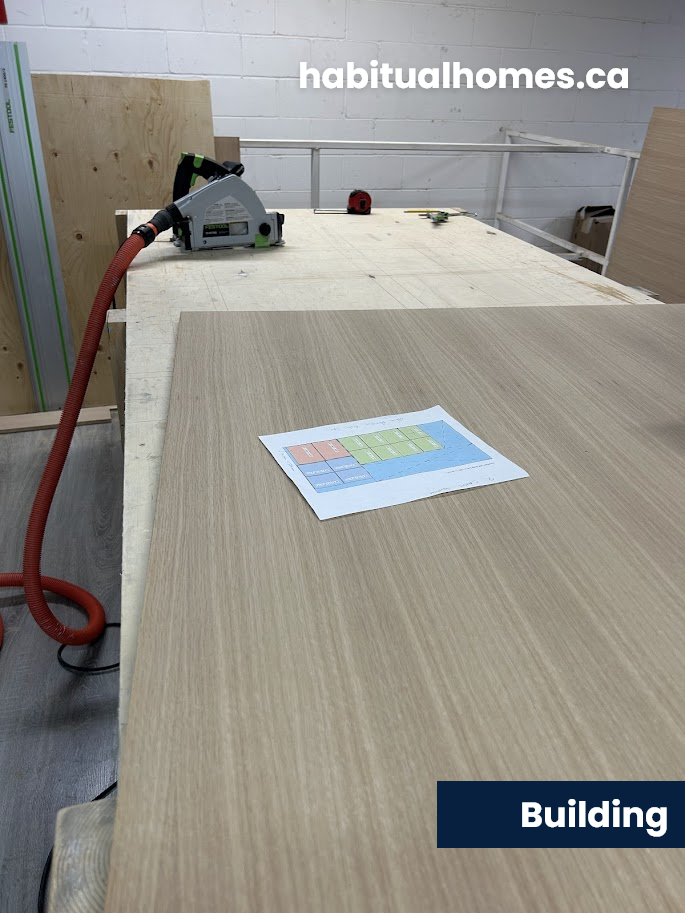
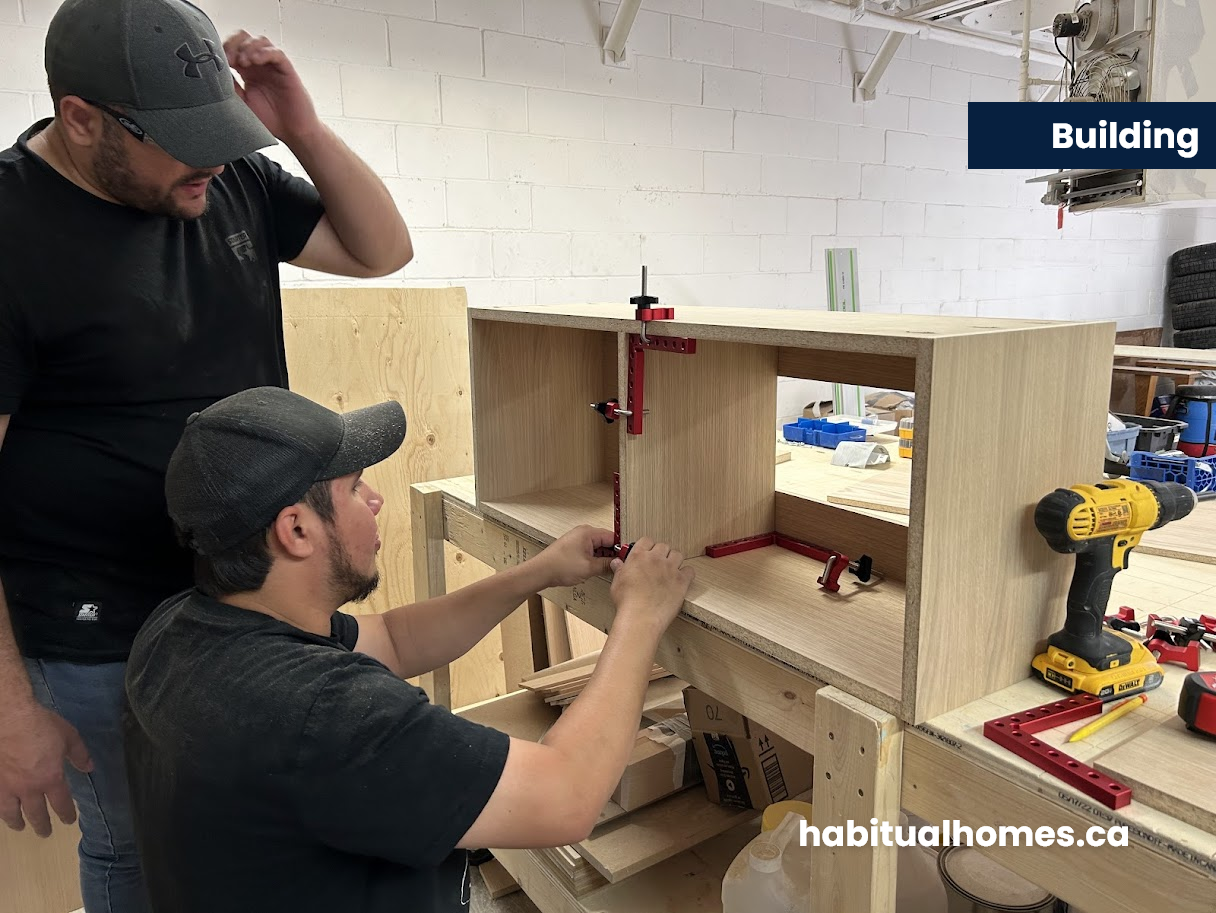
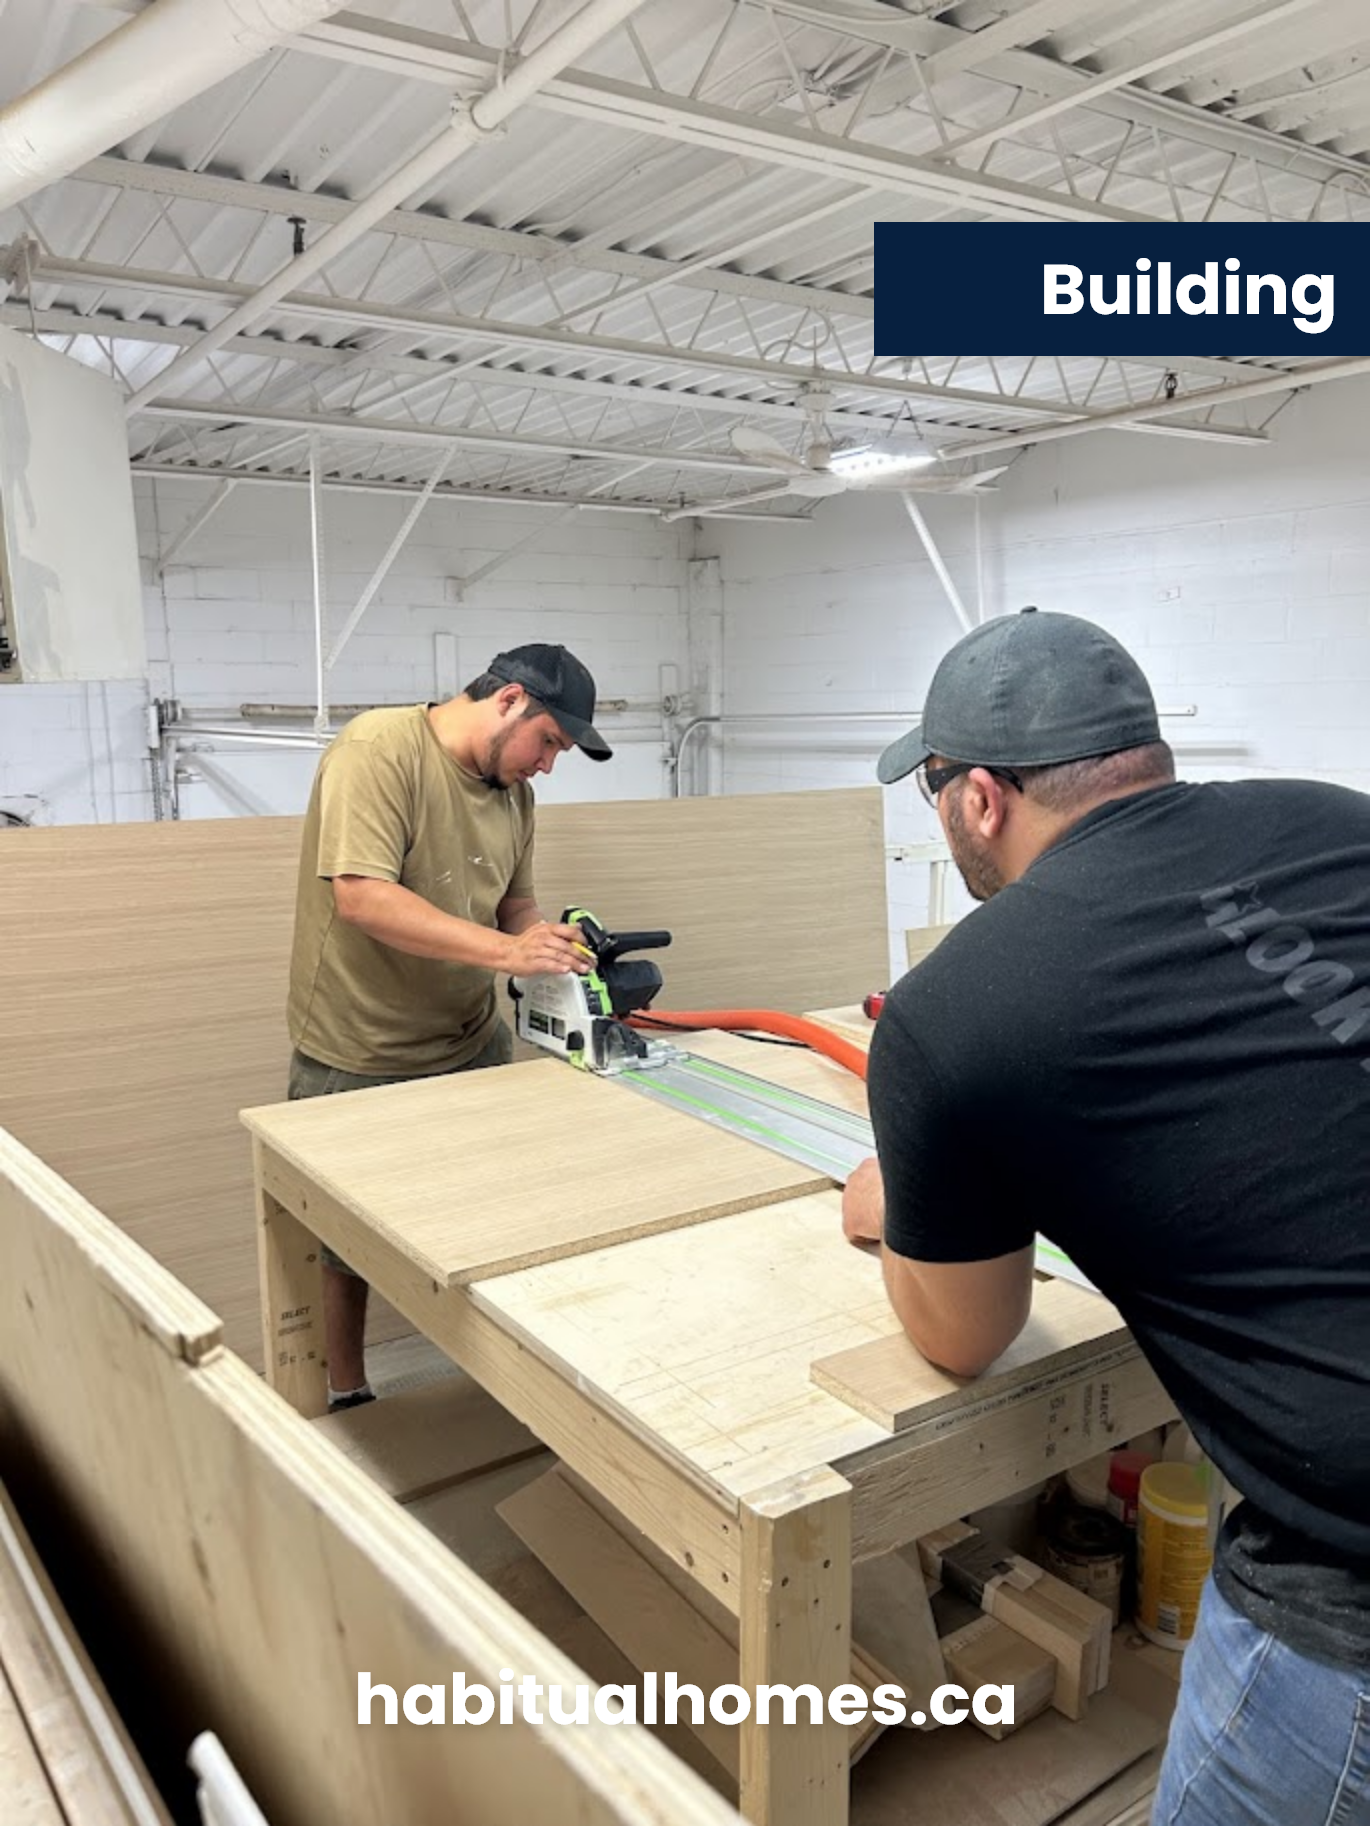
The Build: Crafting the Entertainment Center
Scope of Work:
For this project, we:
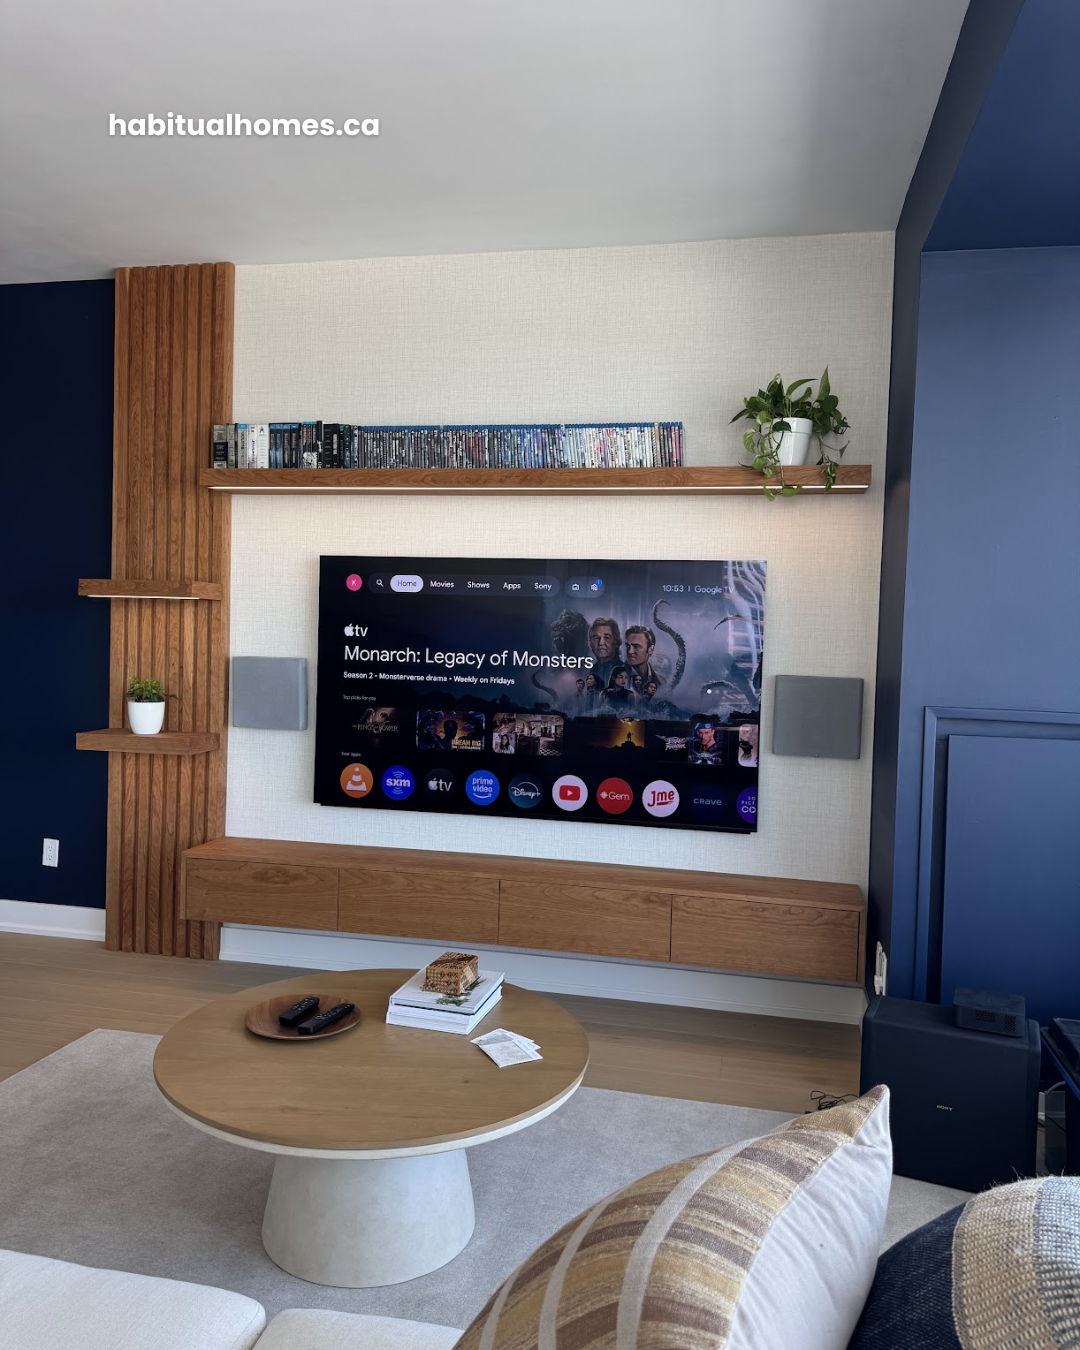
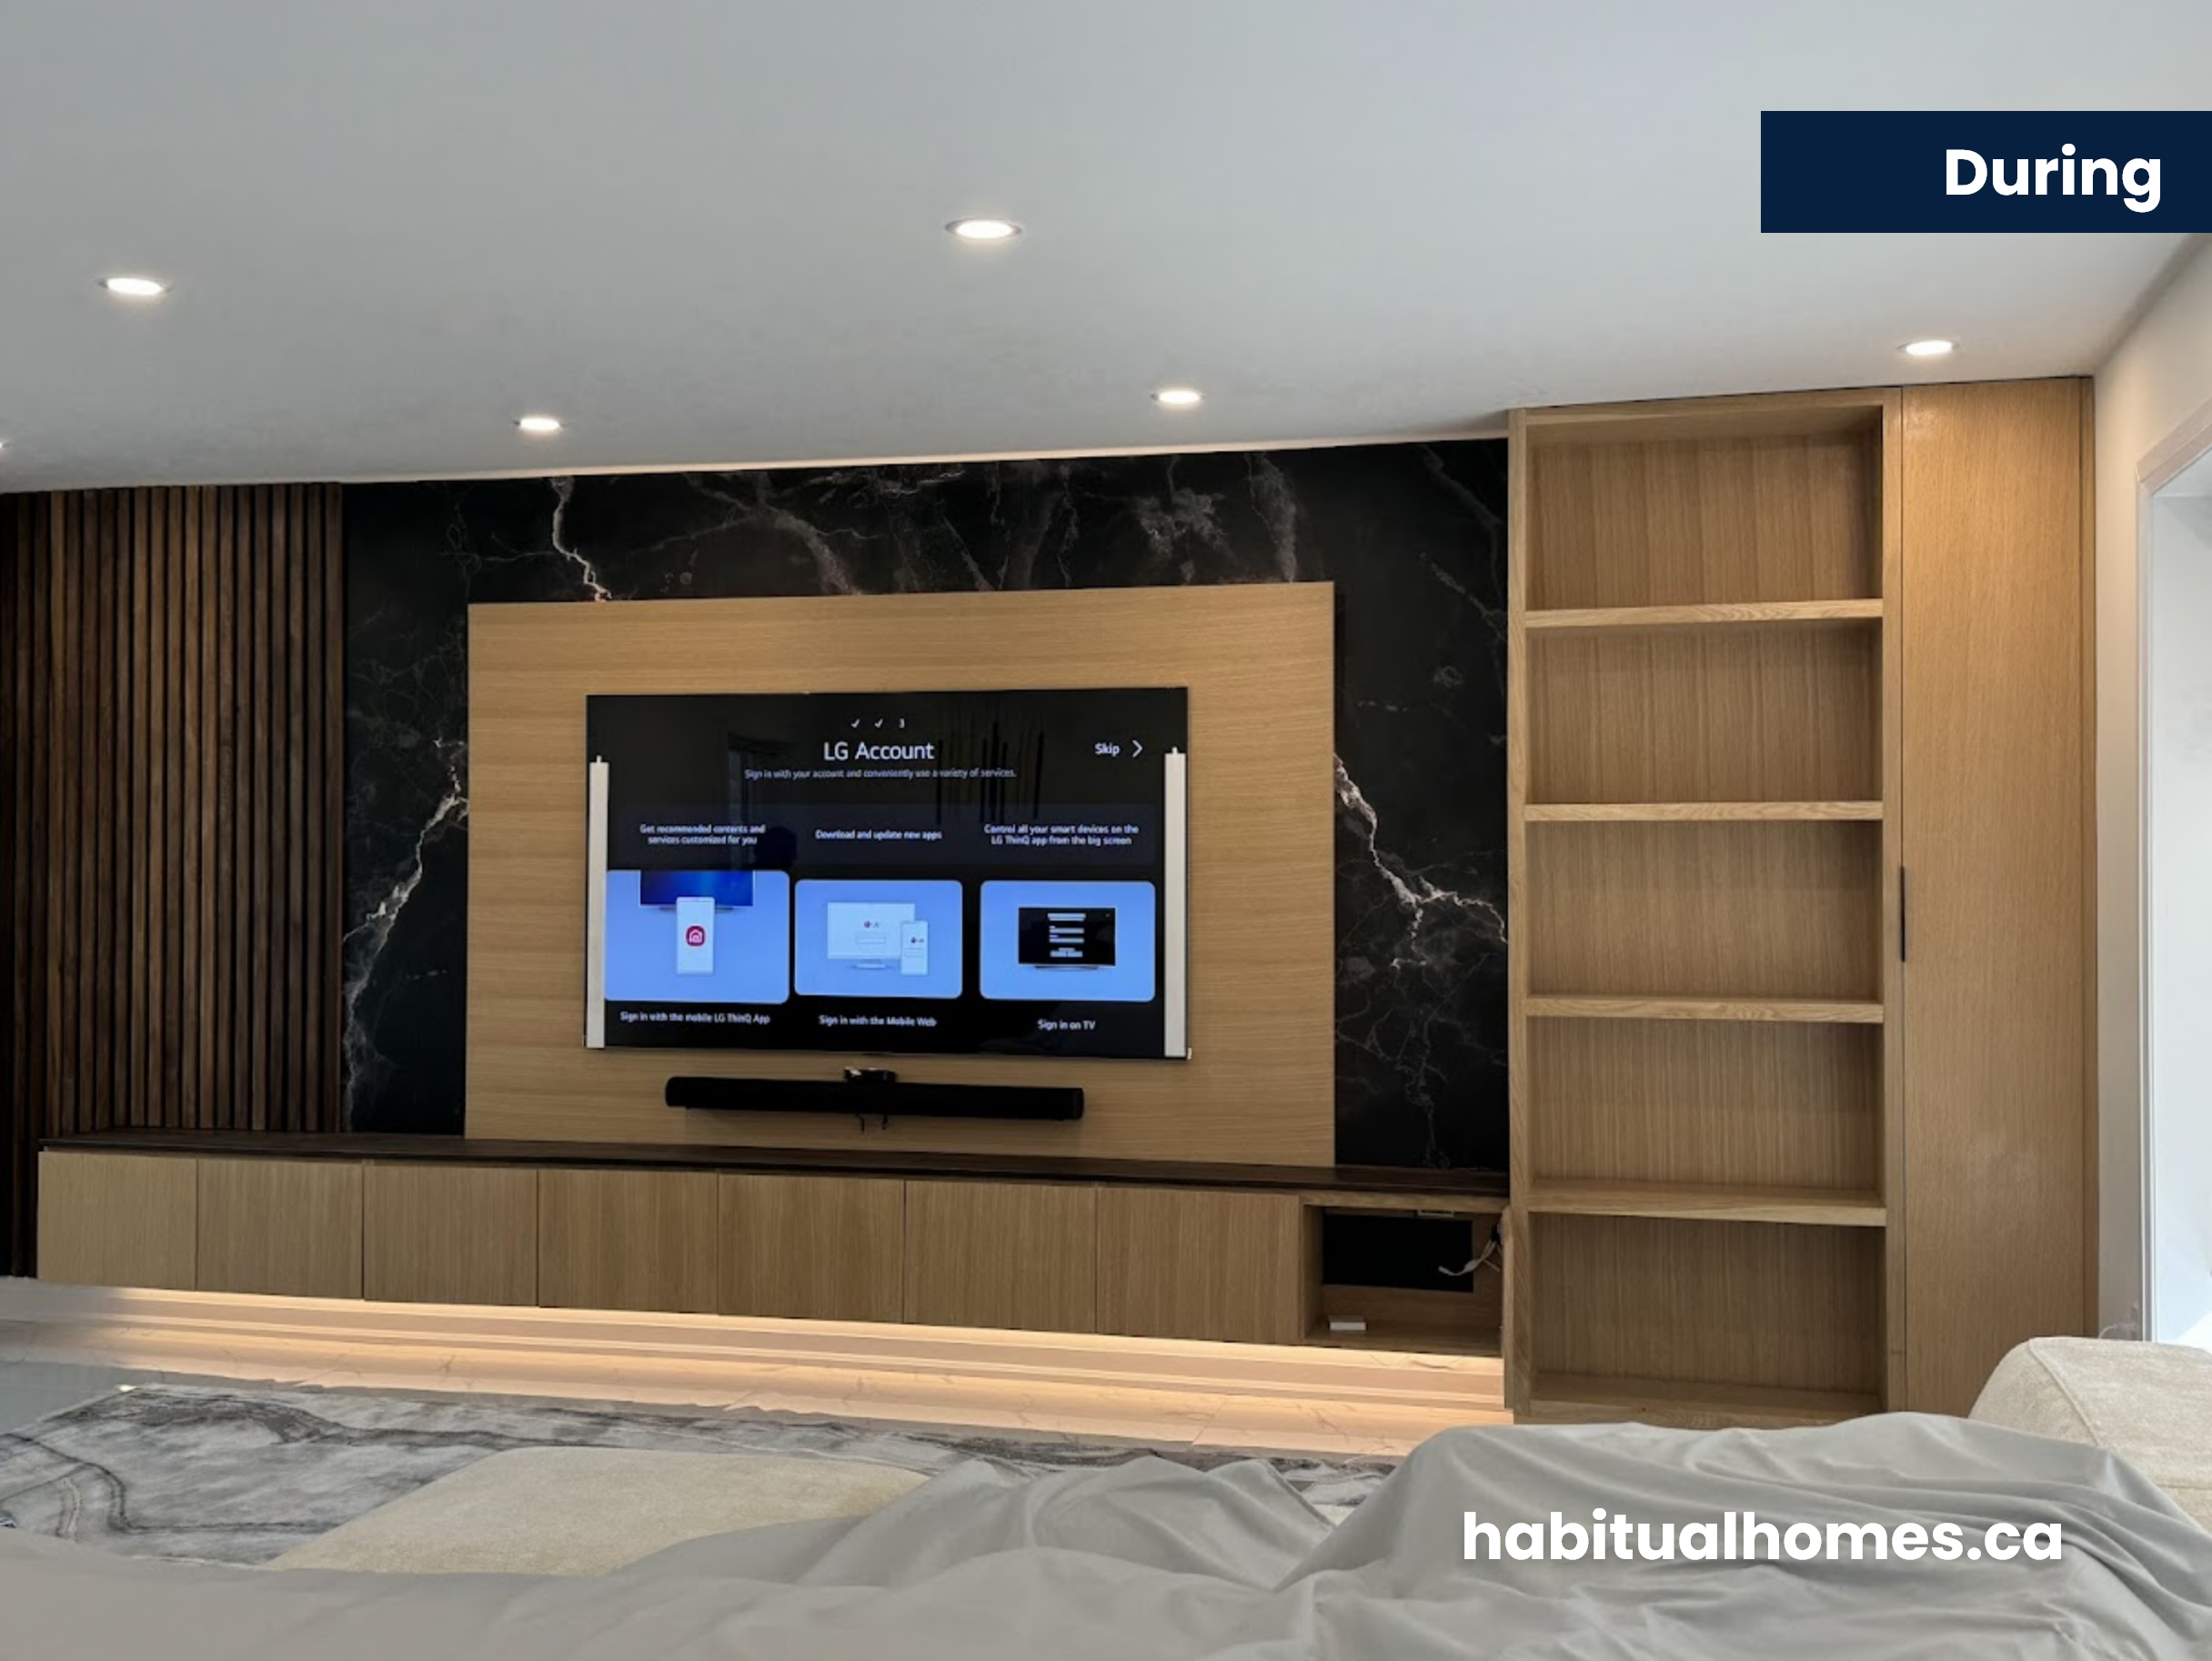
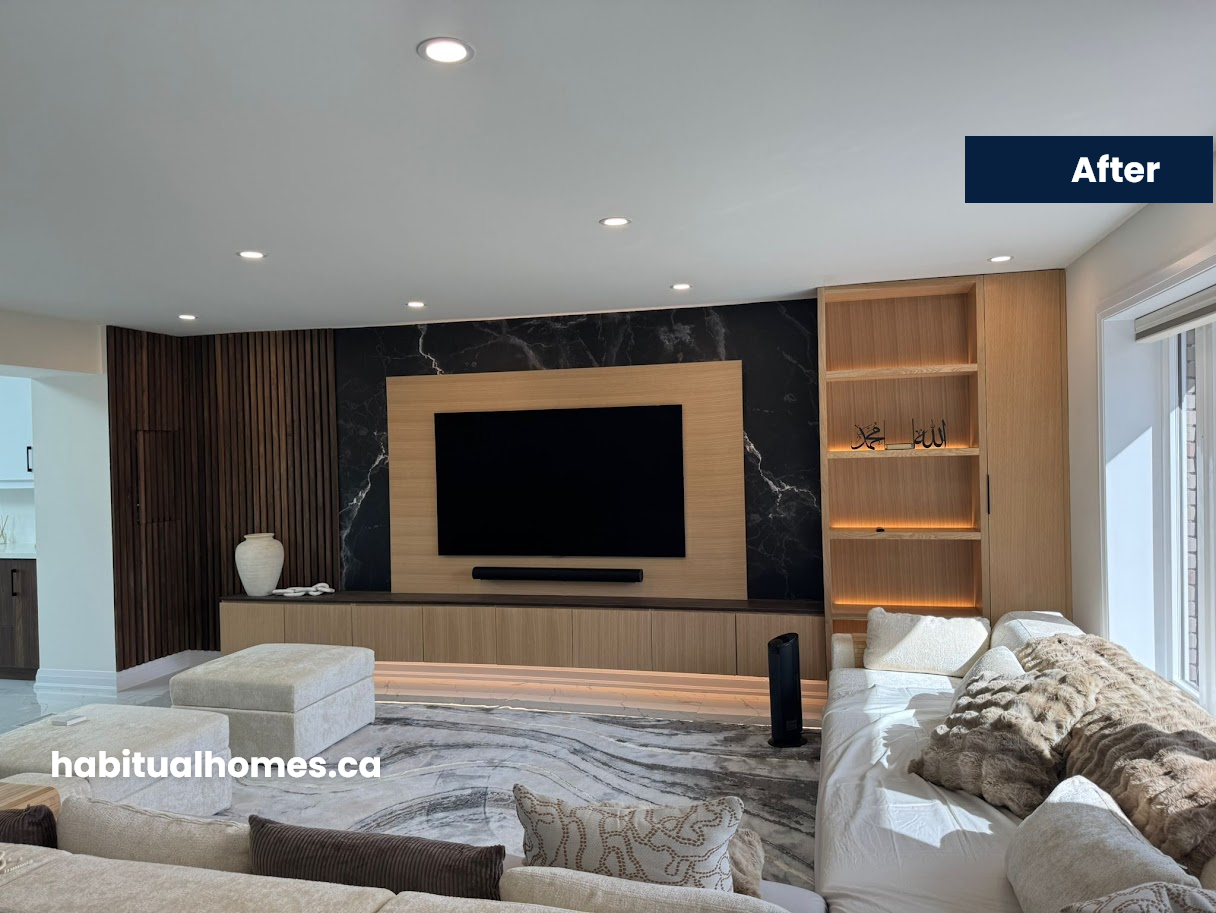
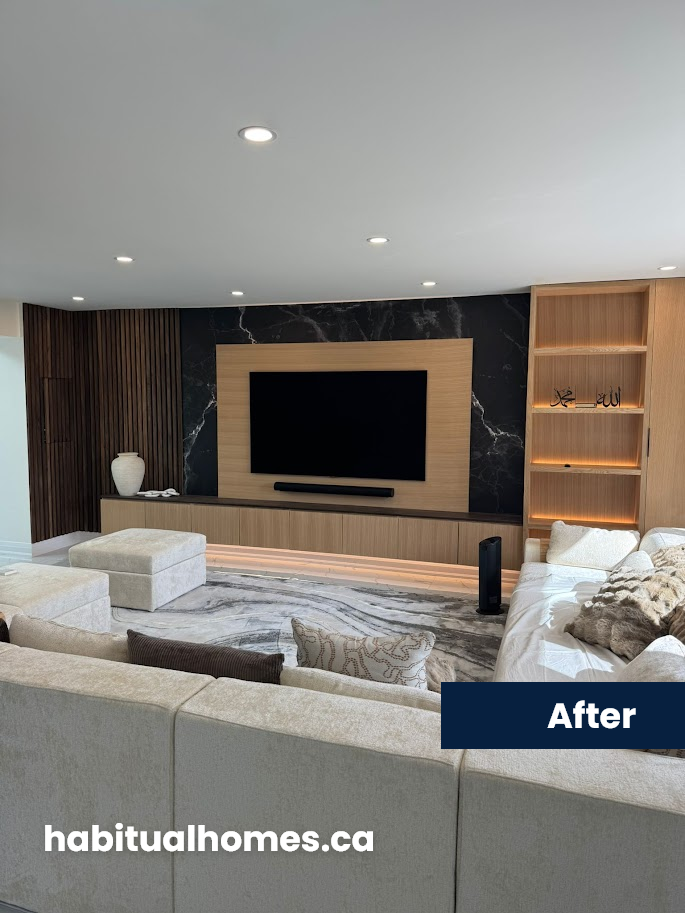
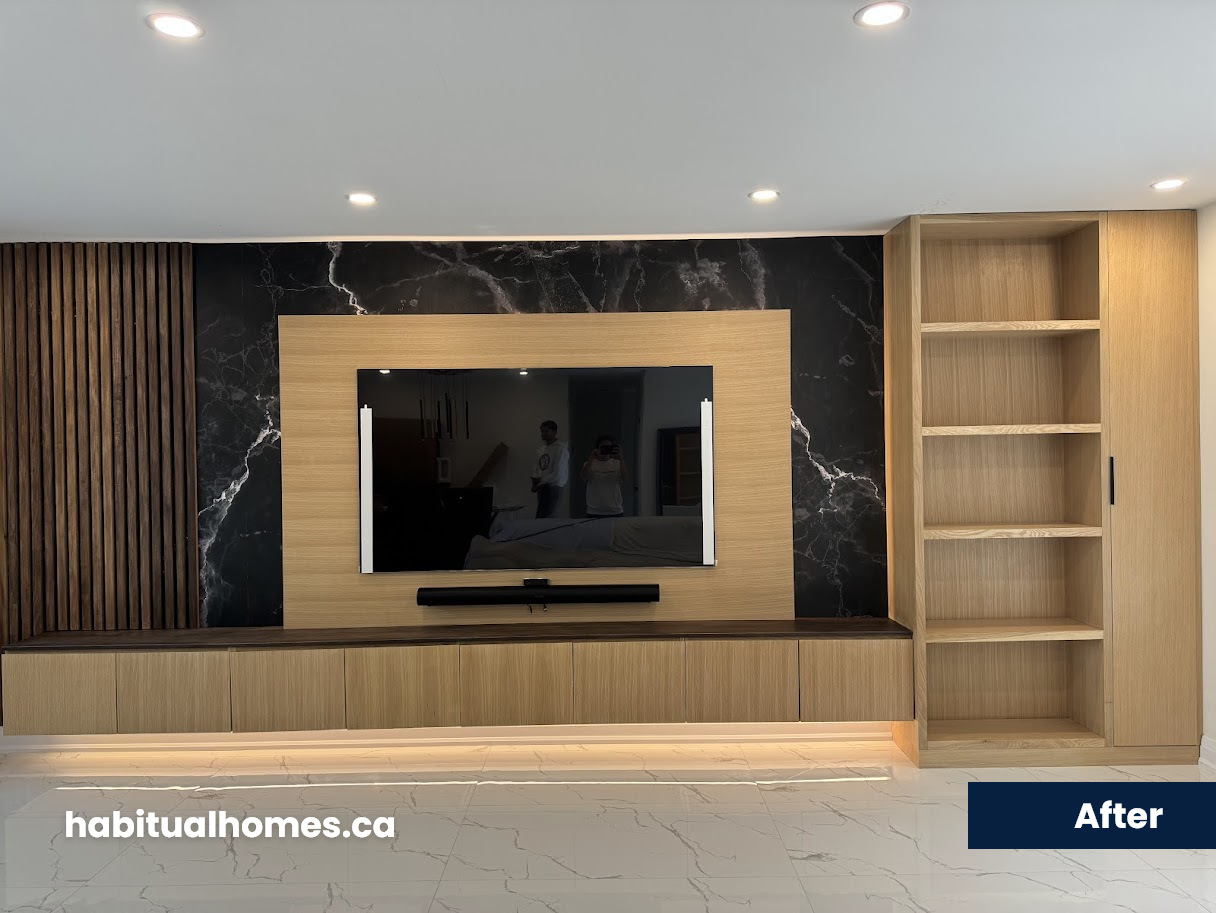
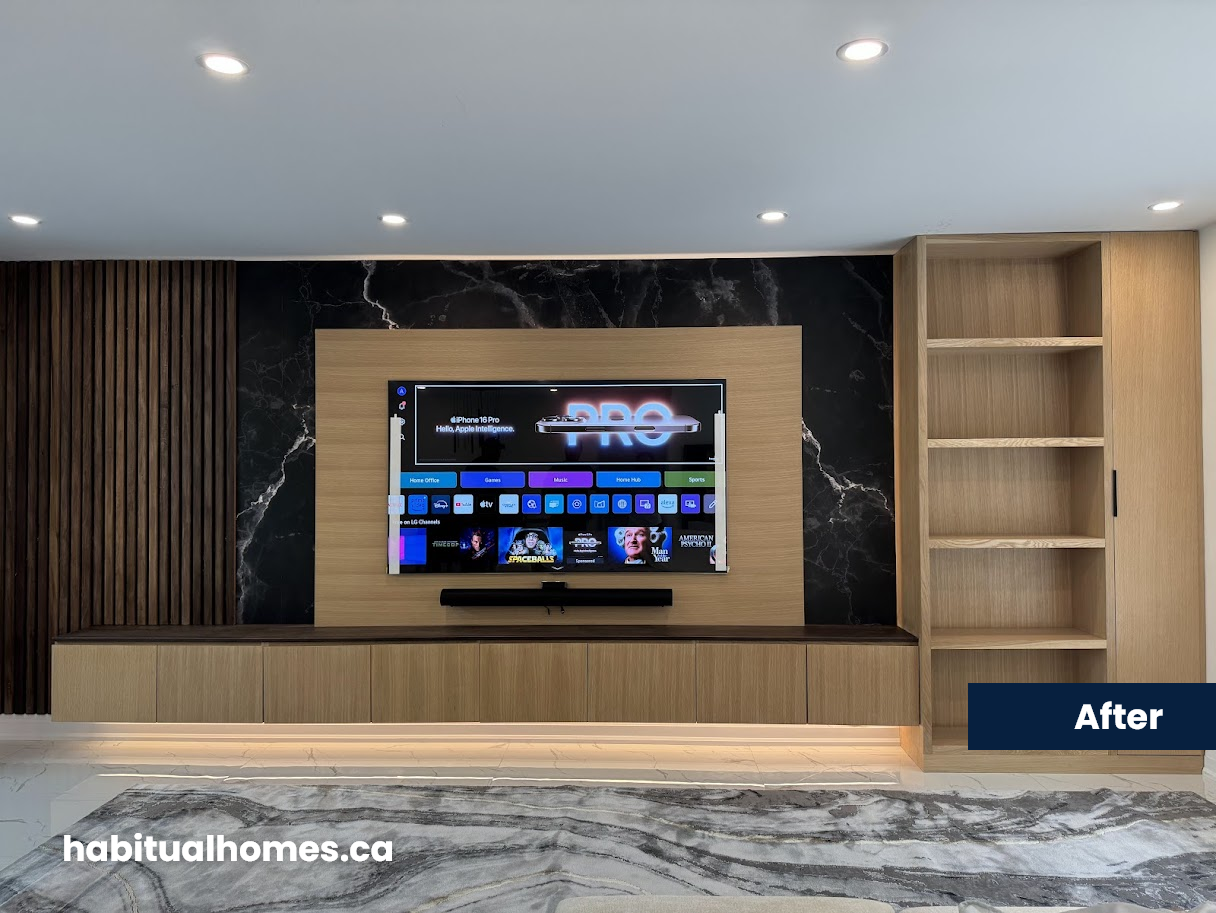
- Designed and installed a custom floating console and built-in shelving
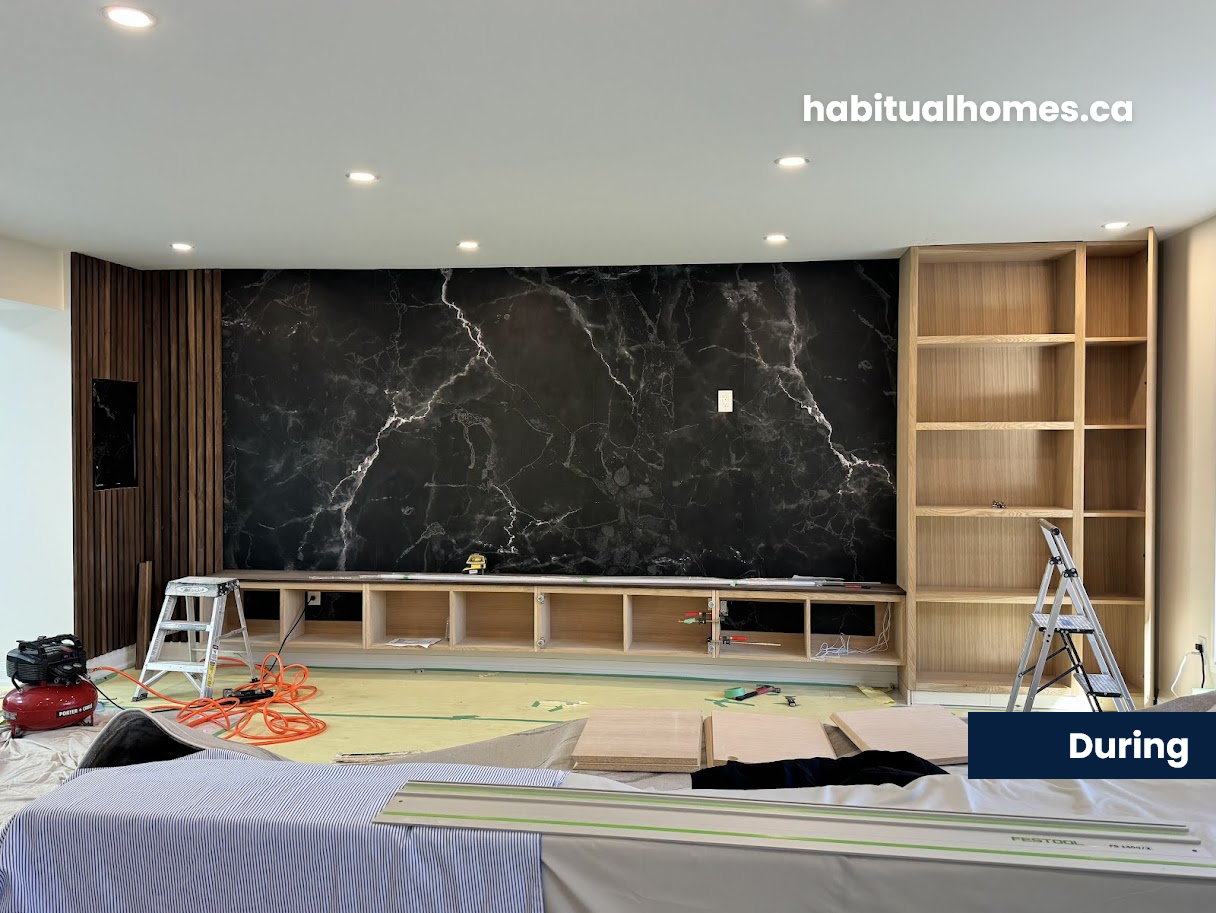
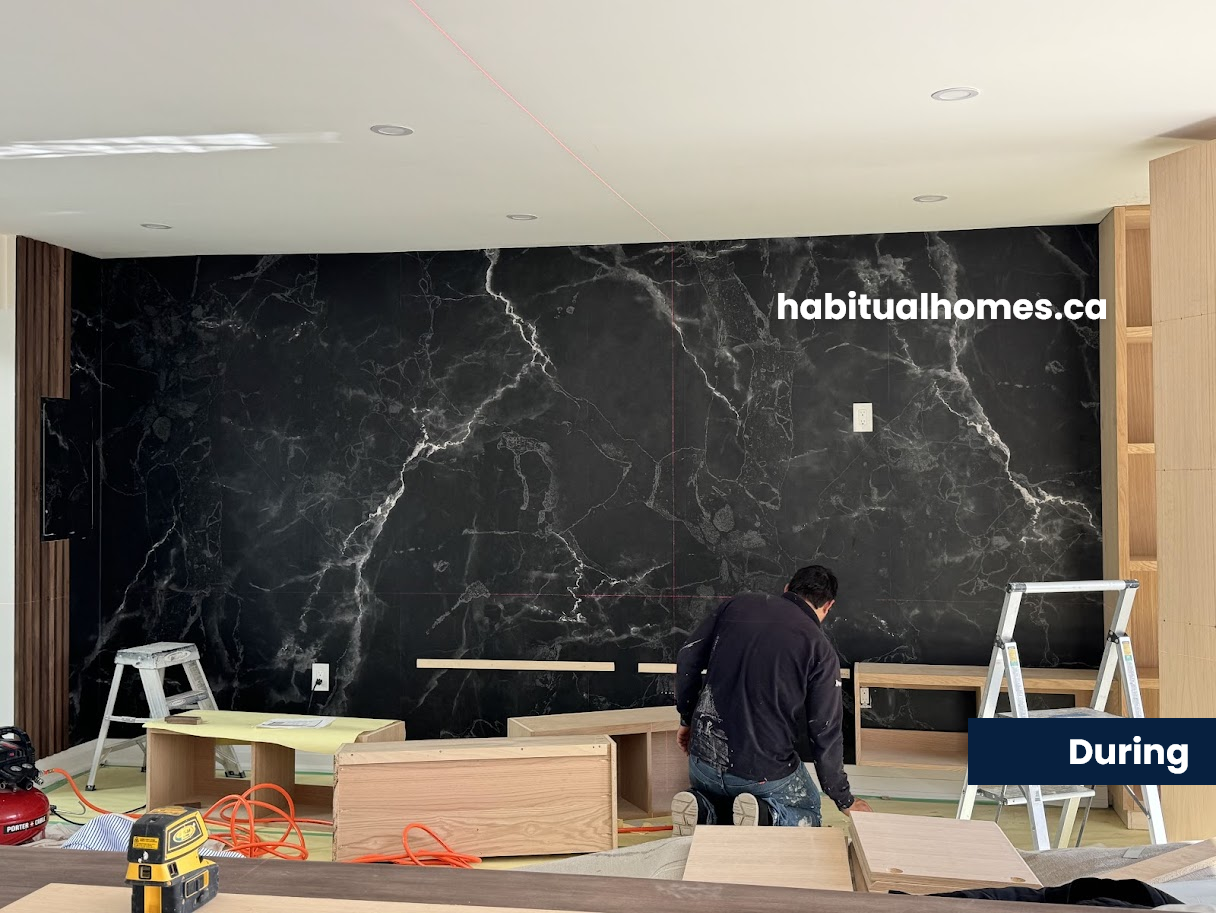
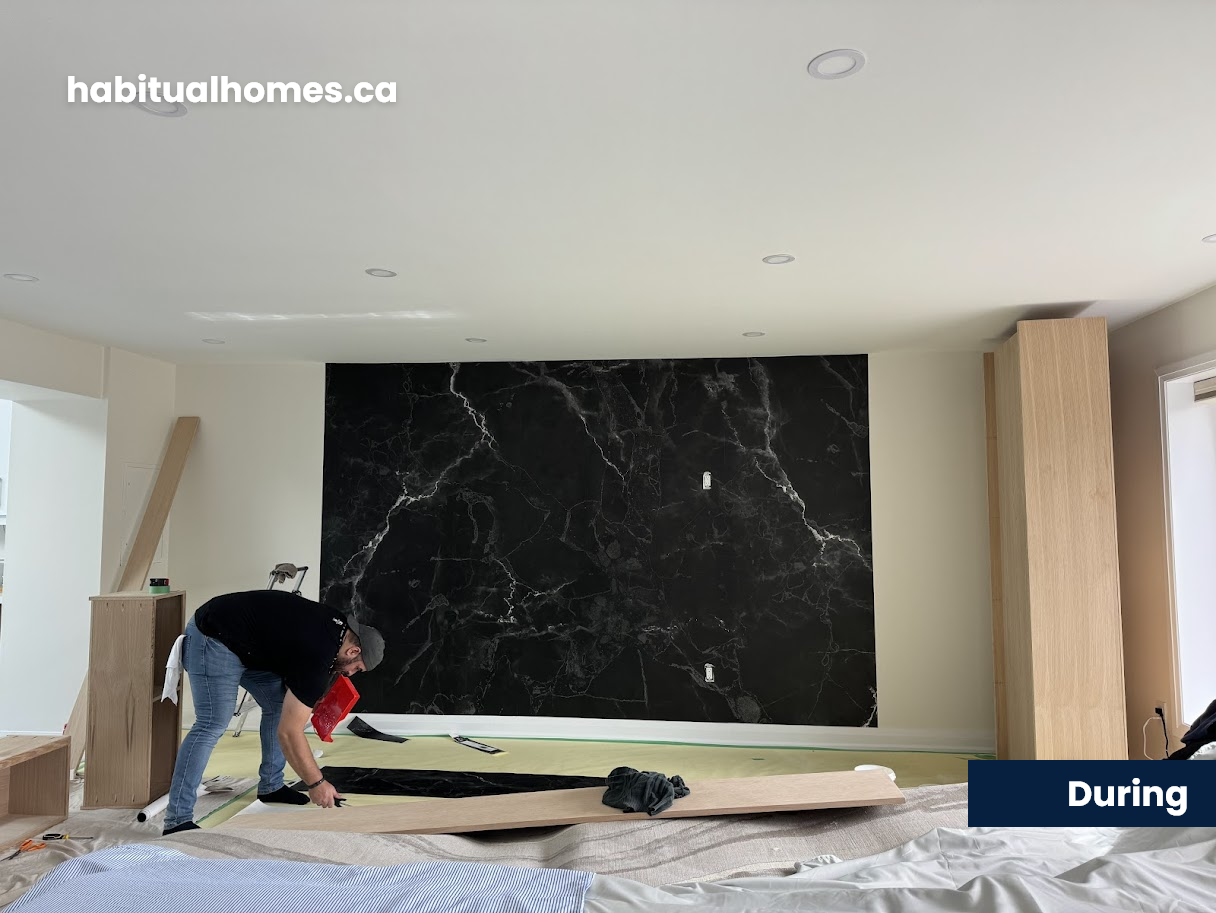
- Applied a black marble-textured wallpaper for added luxury
- Incorporated solid wood slats to conceal the electrical panel and tie into the design
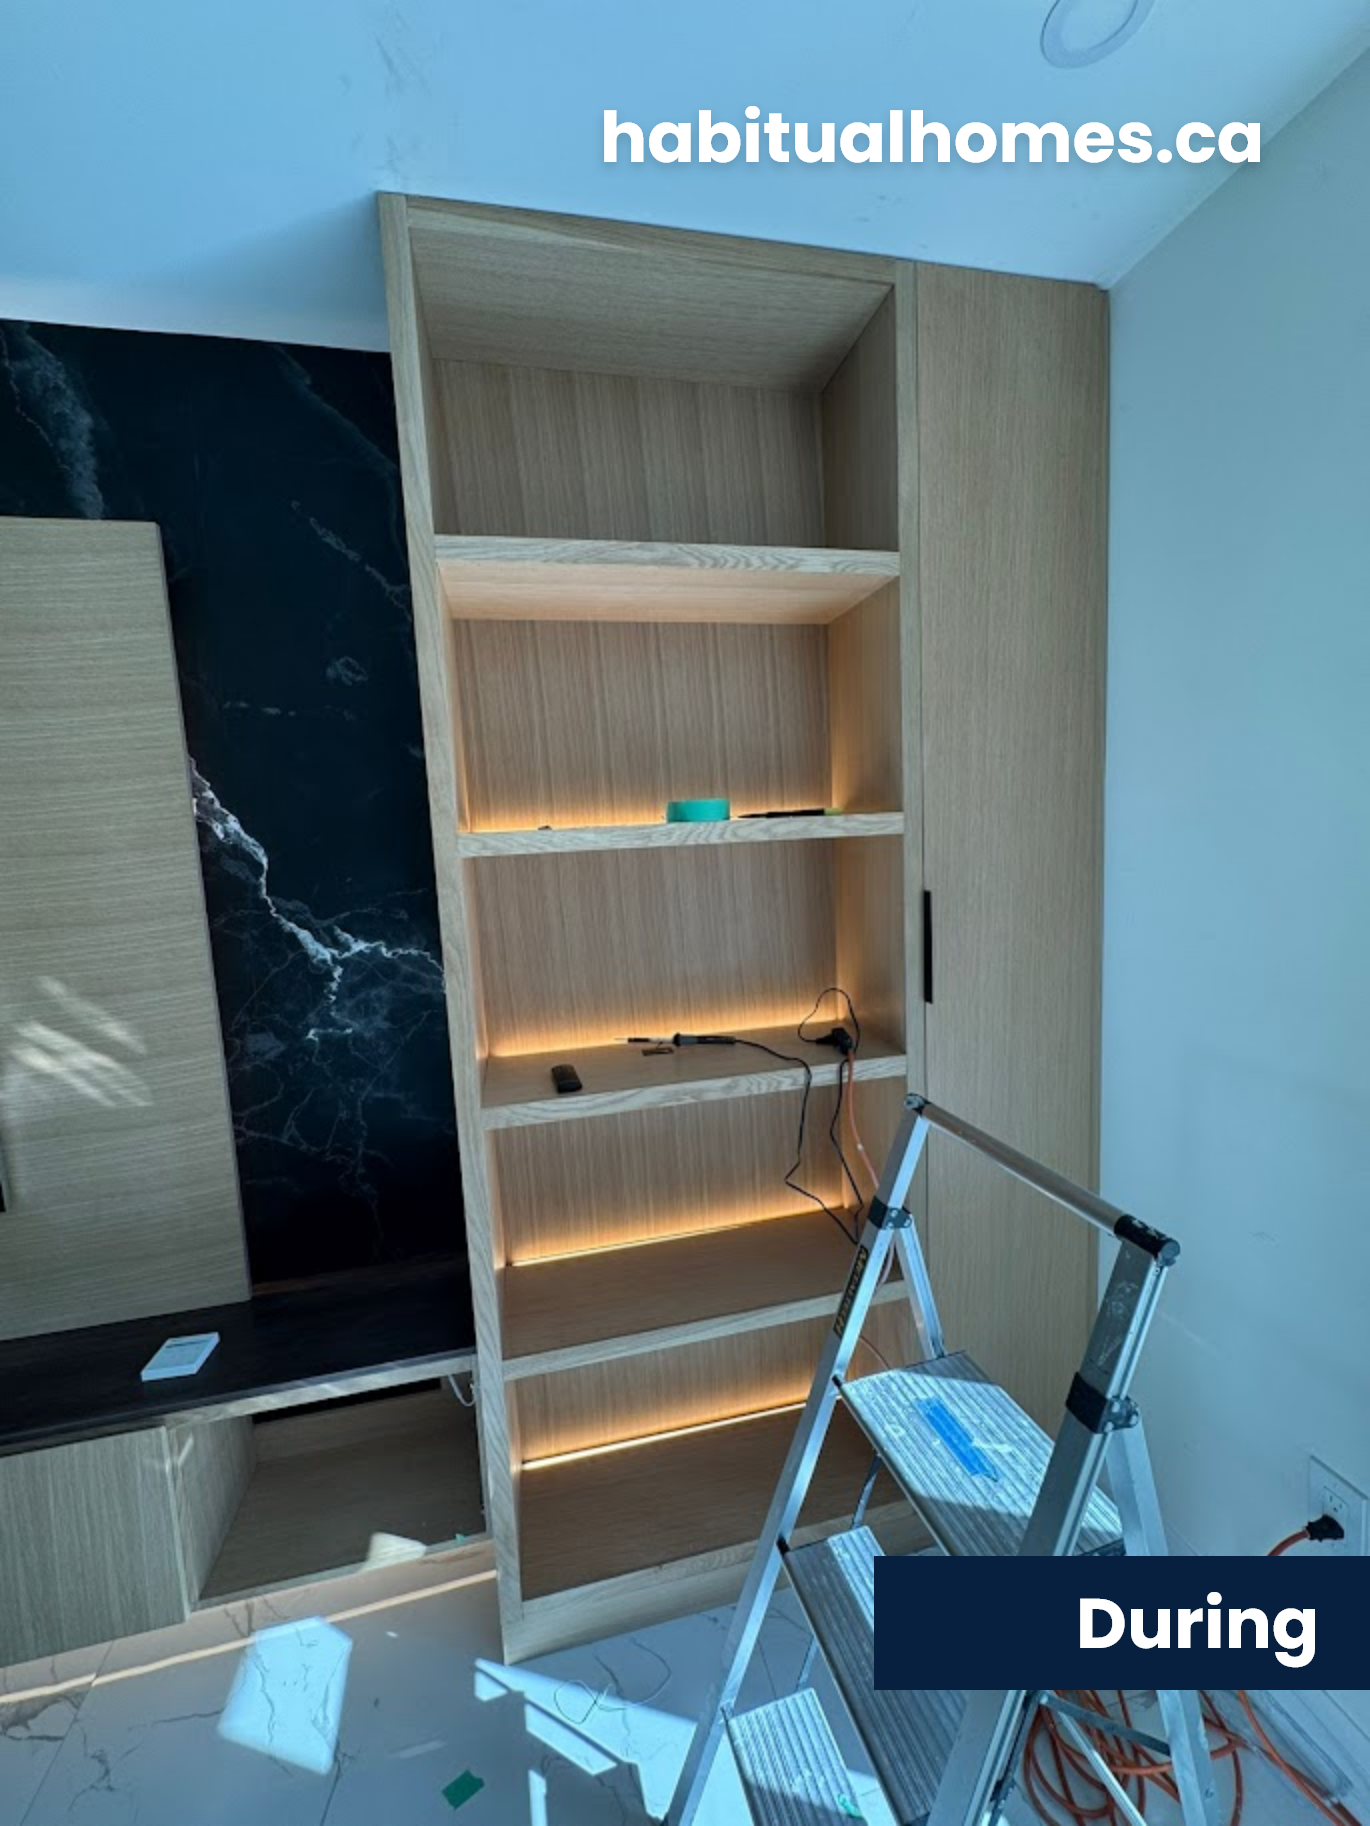
- Installed dimmable LED lighting around the TV, shelves, and under the console
- Mounted the TV and soundbar to ensure a sleek, integrated look
Materials Used:
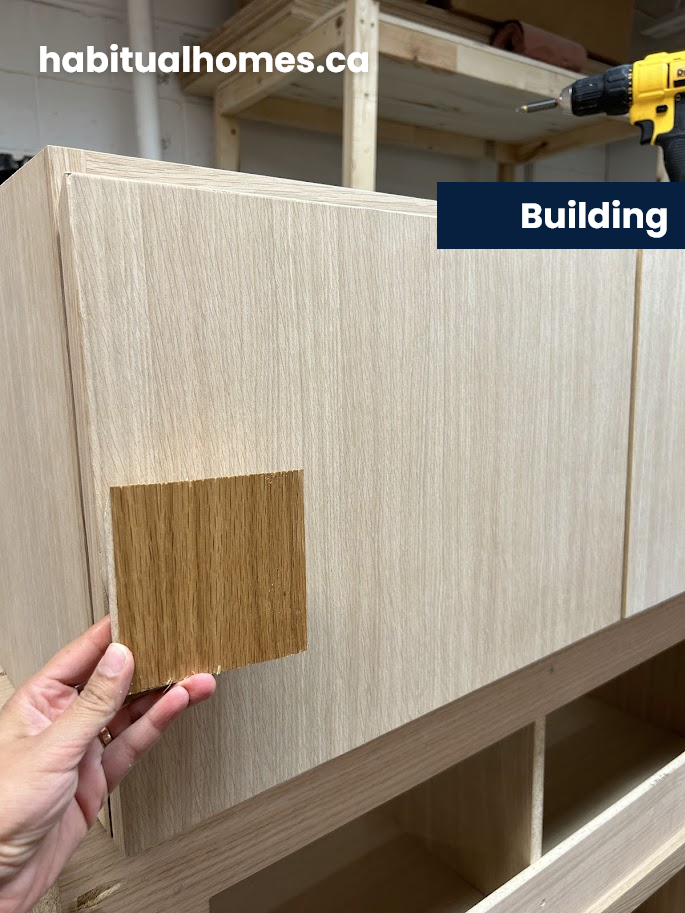
- White Oak Particle Board for the floating console and shelving
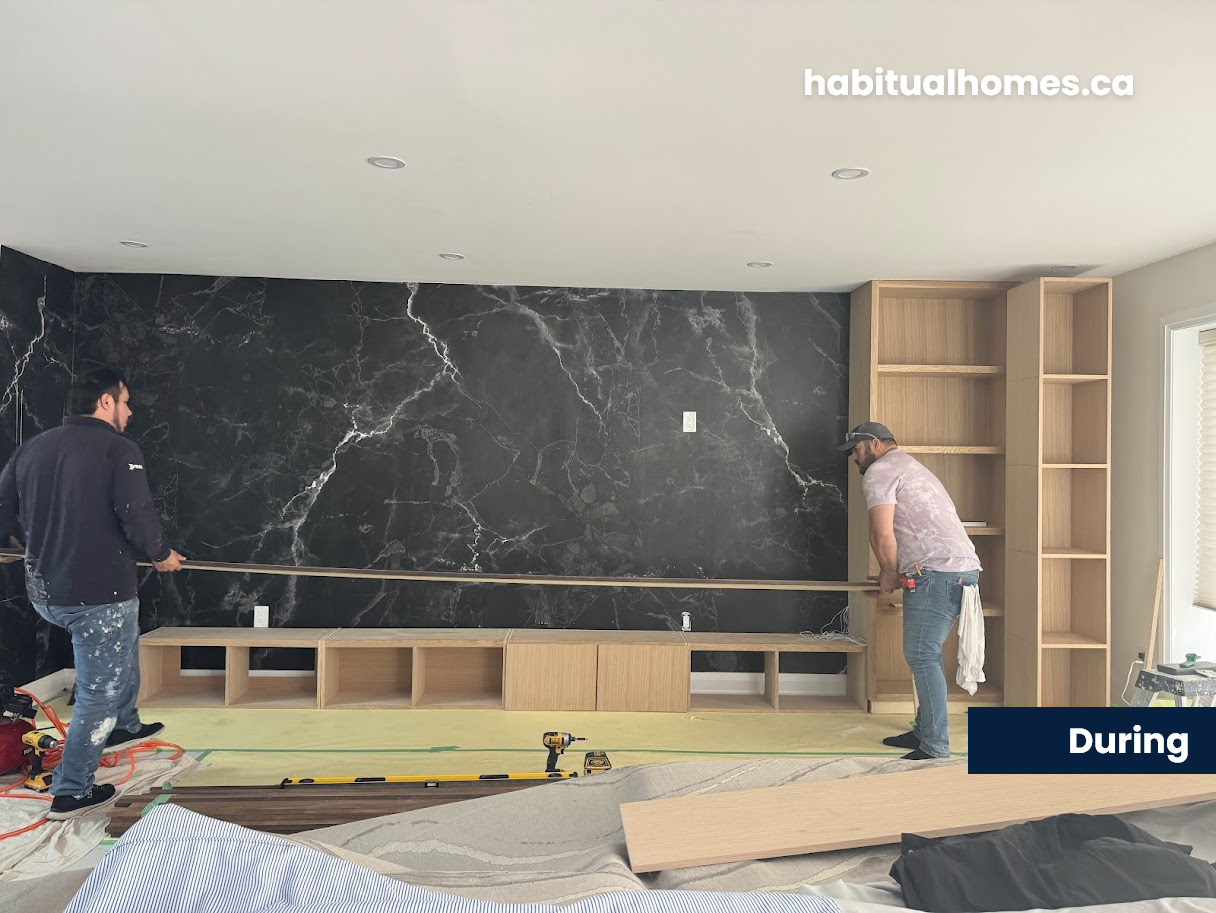
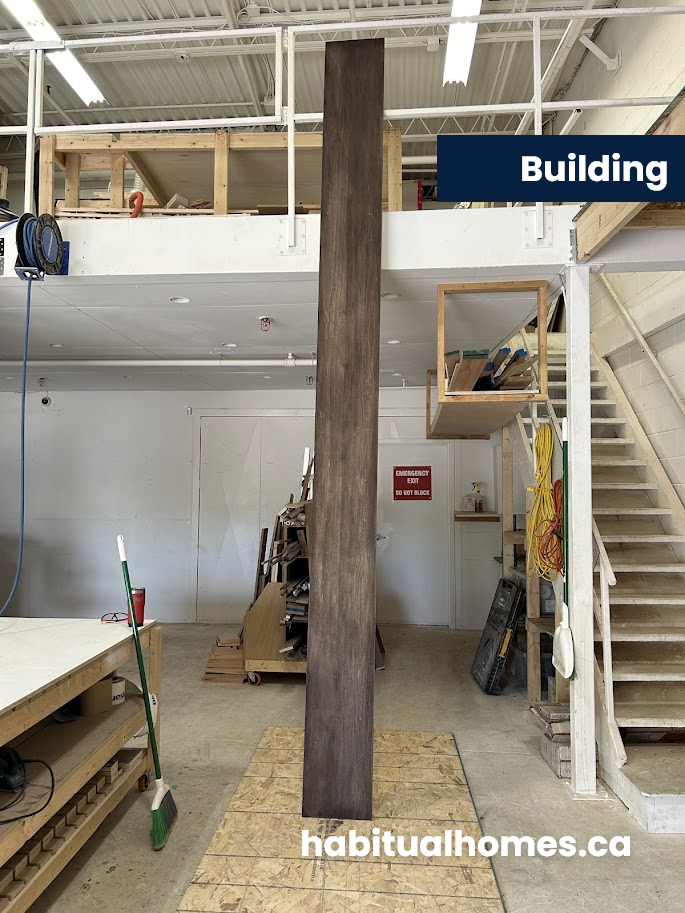
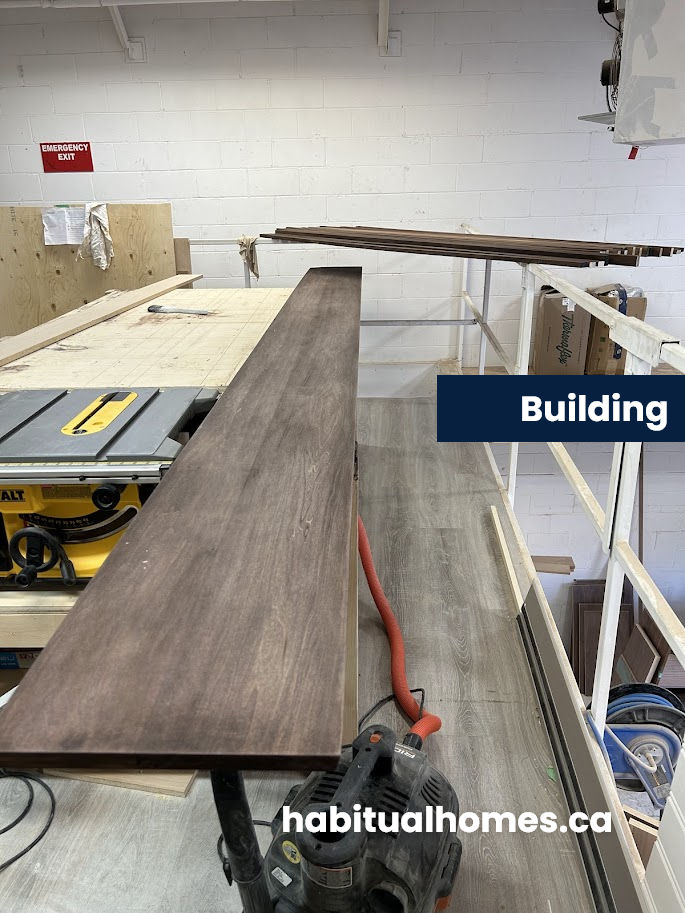
- Poplar Wood for the countertop, stained to match the kitchen’s walnut tone
- LED Lighting with a 3,000k warm glow, controlled via remote in three separate lighting zones
Exclusions:
While we handled the design, build, and installation, no electrical rewiring or hardwire modifications were part of this project.
The Installation Process: Step-by-Step
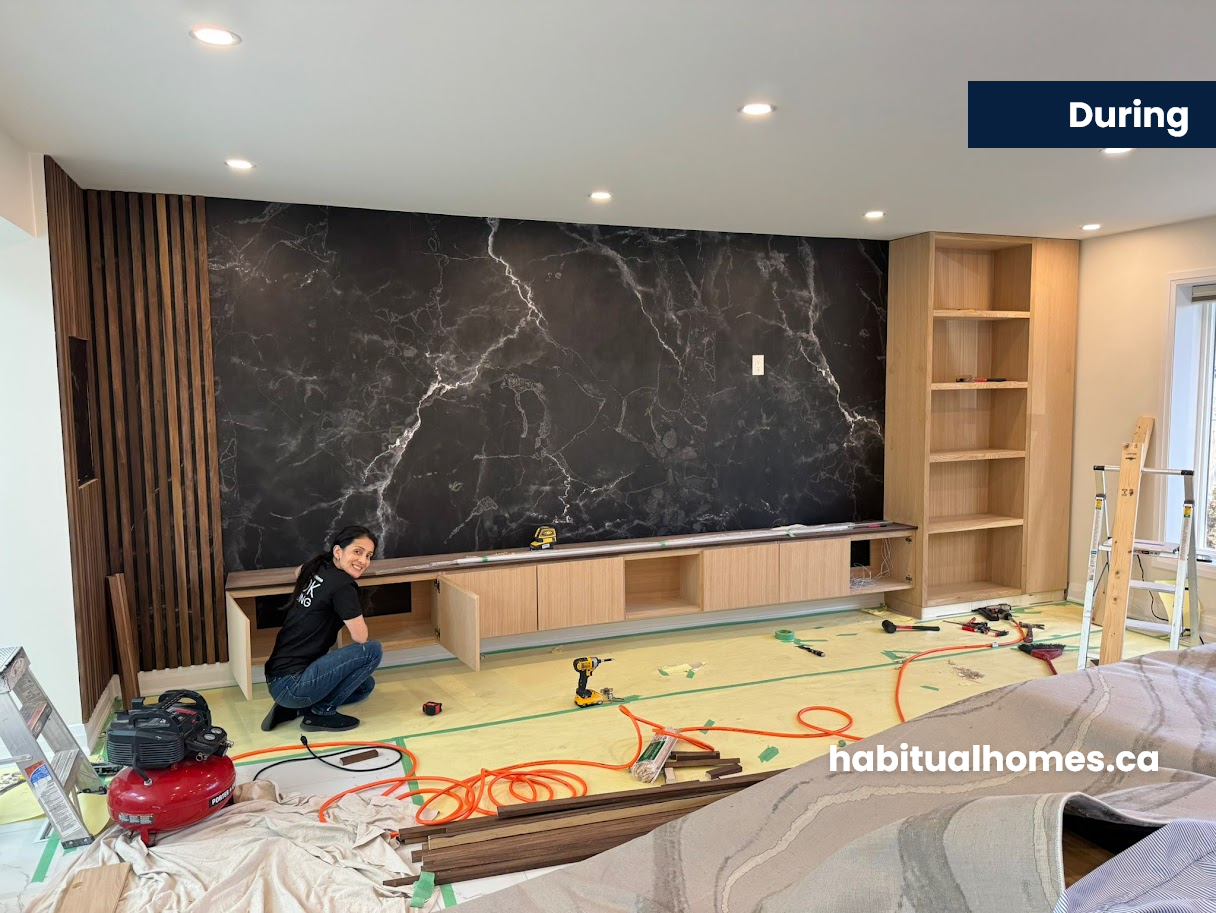
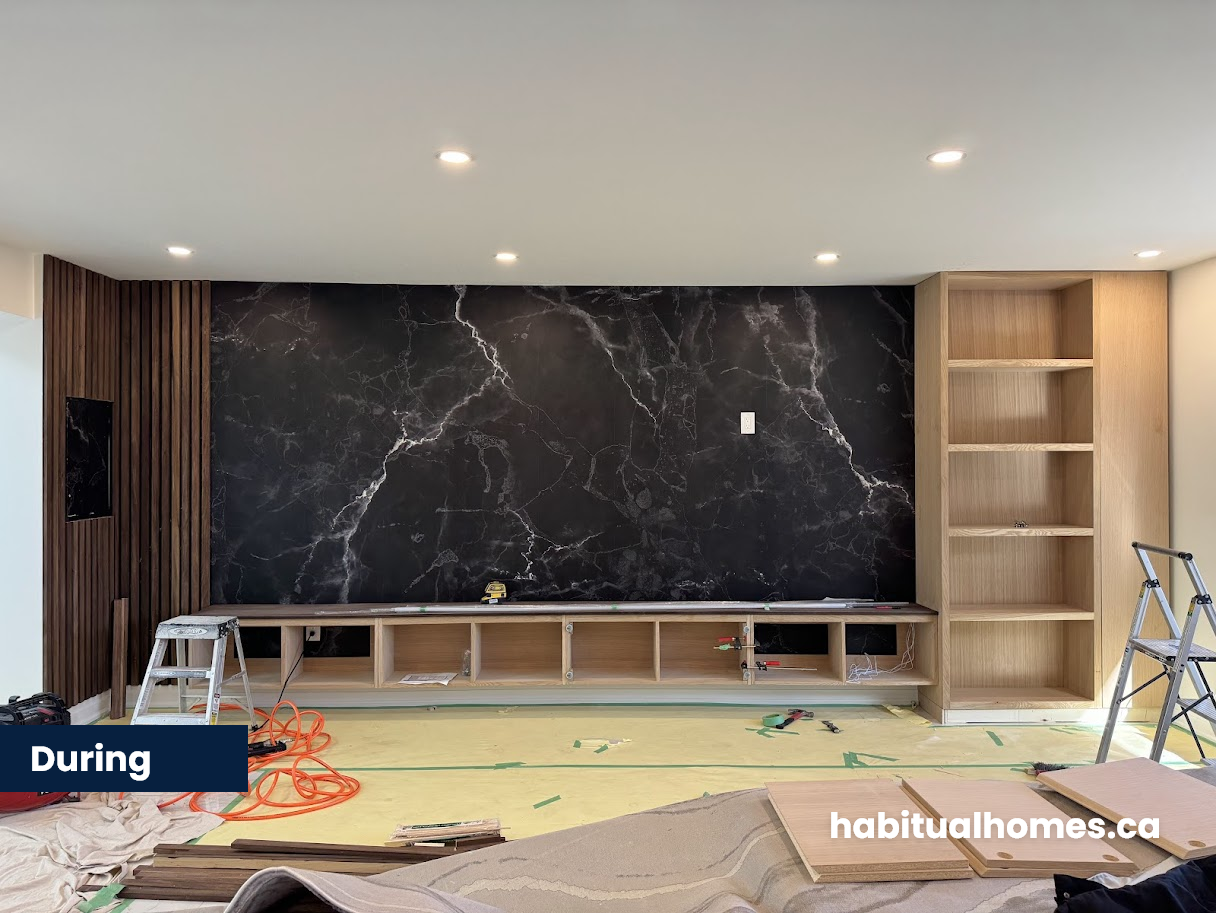
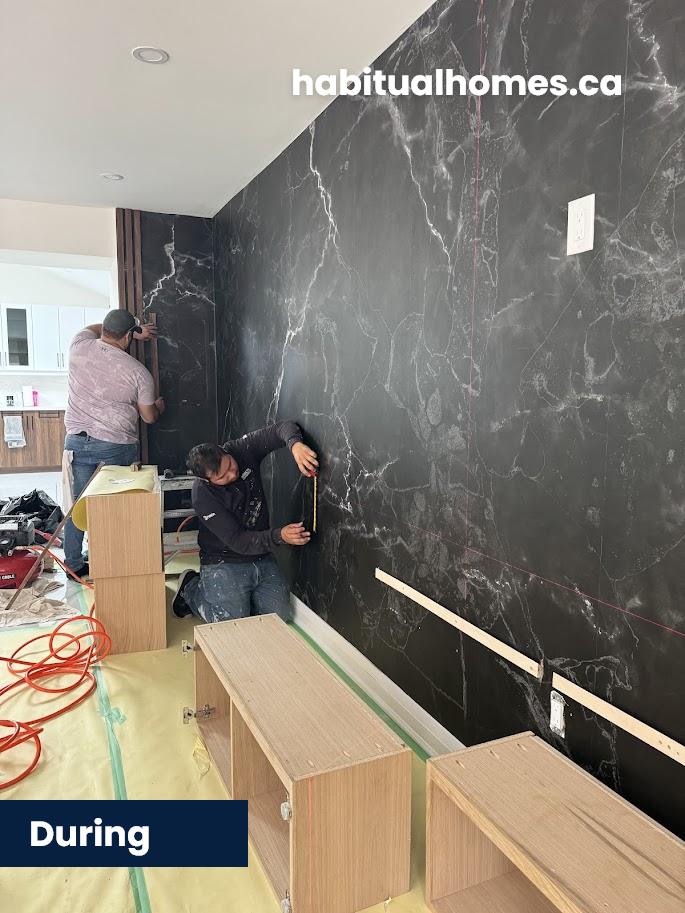
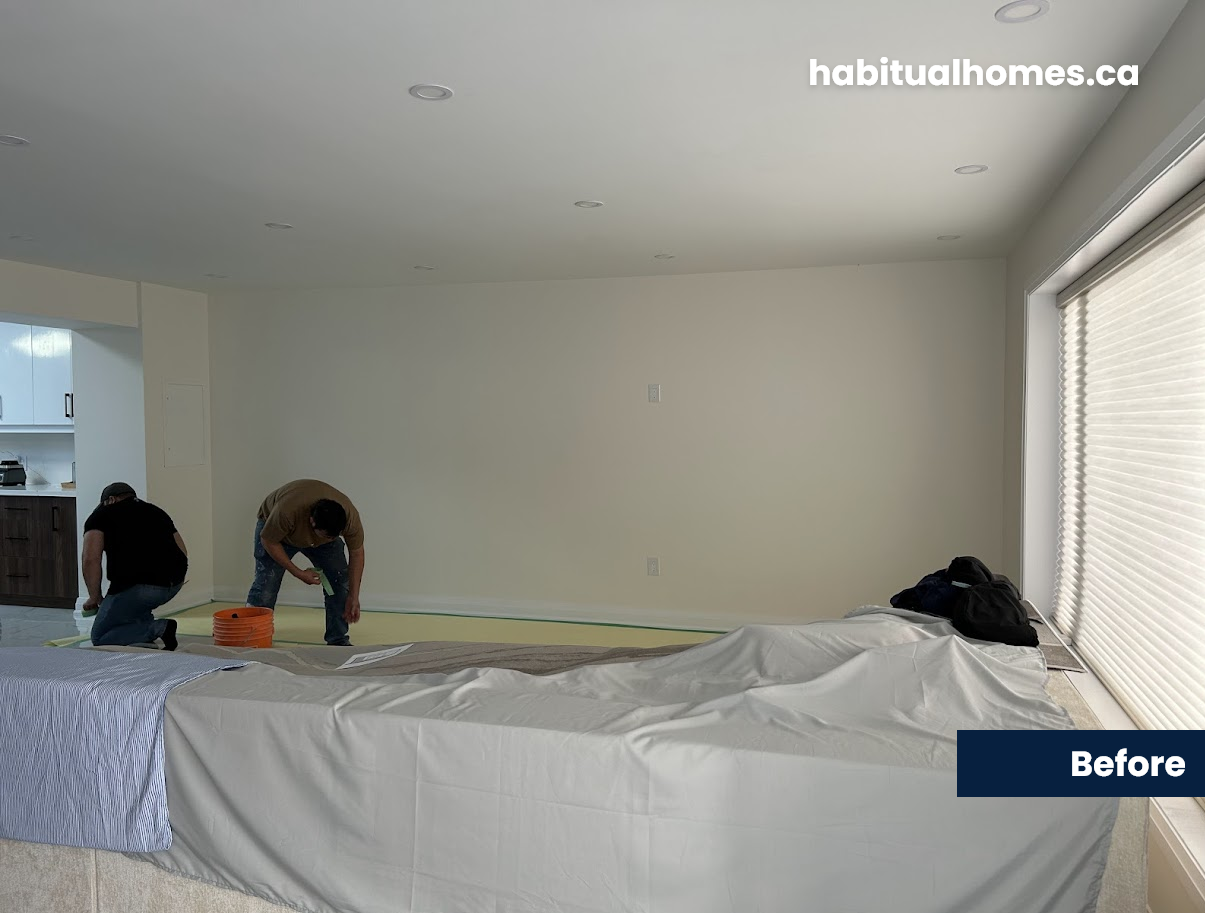
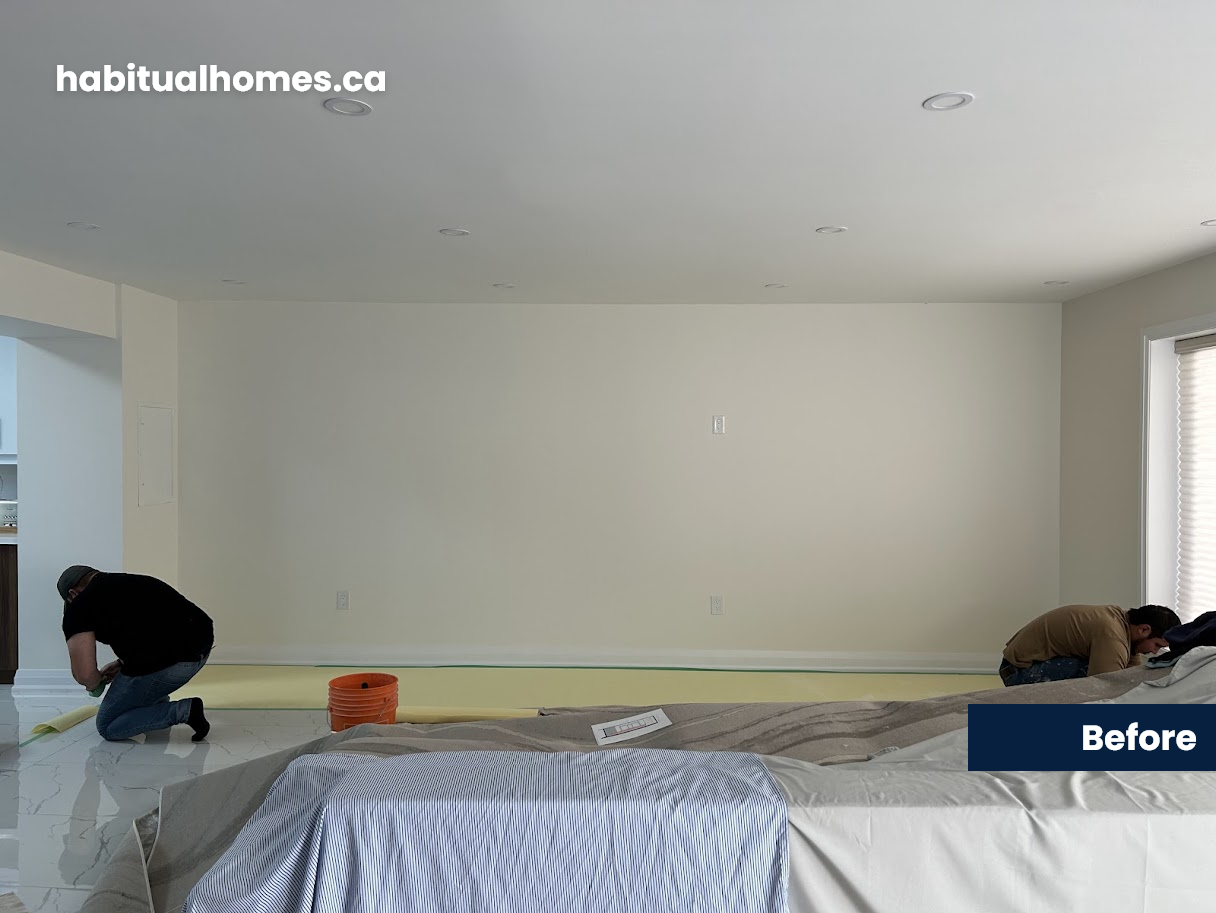
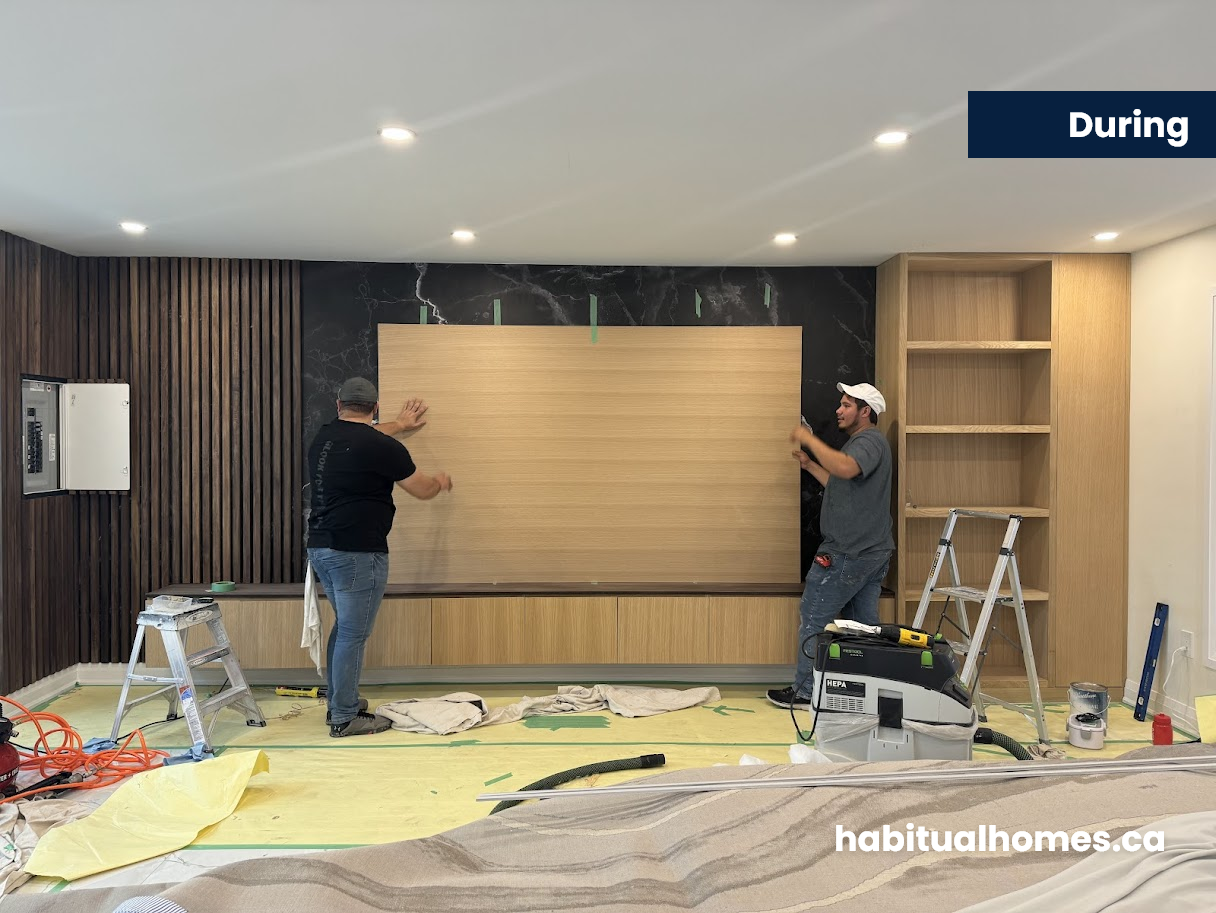
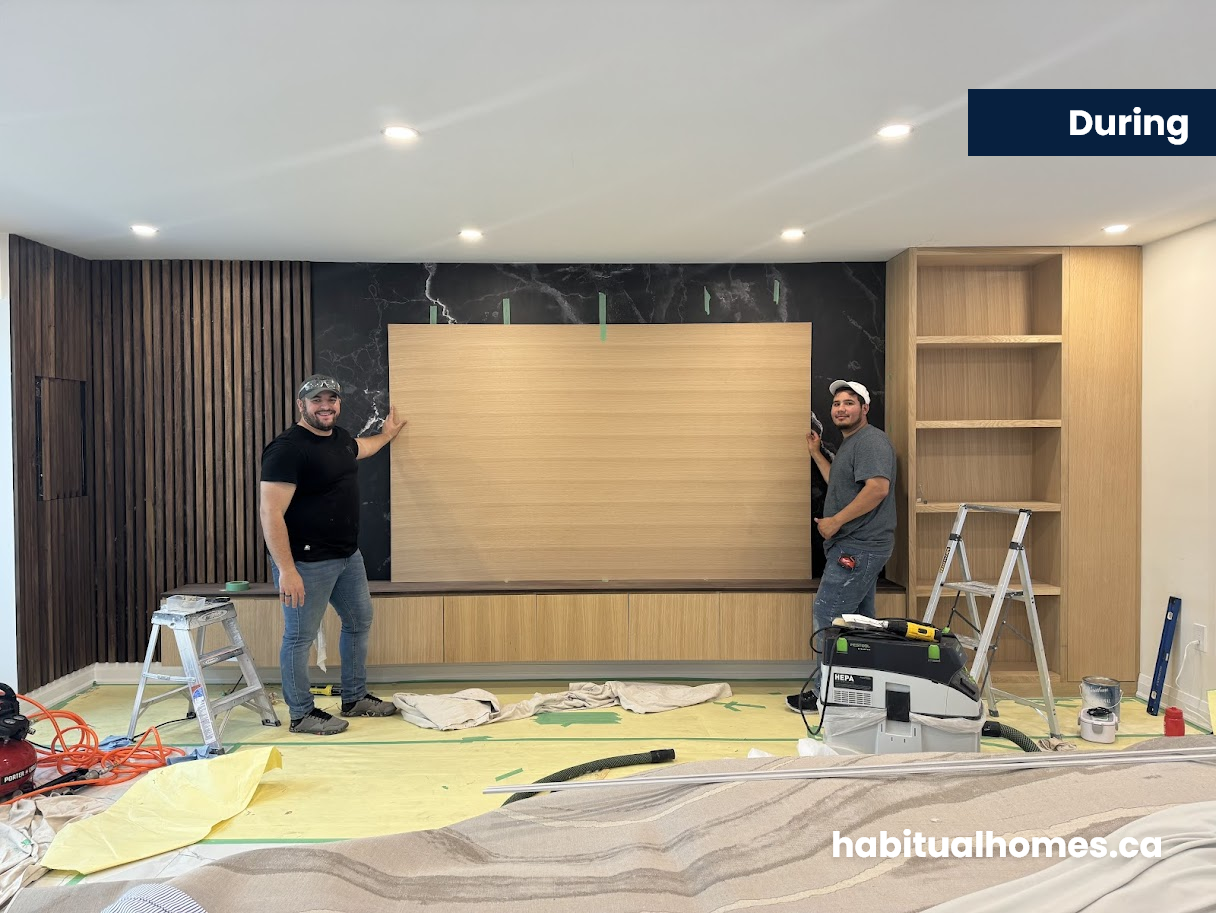
Once we started installation, our team took every precaution to protect the surrounding area, covering the floor, furniture, and high-traffic areas. The key steps in the process included:
- Taking final, on-site measurements to ensure precision.
- Cutting the baseboard to accommodate the floor-to-ceiling shelving.
- Installing the black marble-textured wallpaper as a continuous mural.
- Securing the tall cabinets and floating console using a French hook system for stability.
- Running the LED light channels through the shelves and around the TV to keep wiring hidden.
- Mounting the wood slats to cover the electrical panel seamlessly.
- Completing the project by installing the TV mount, soundbar, and connecting all electronics.
The LED lighting system, divided into three separate zones (shelves, console, and TV), can be controlled individually, offering a warm, continuous glow to enhance the room’s ambiance.
Challenges and Quick Adjustments
Like many renovation projects, there were a few challenges along the way. One of the major ones involved the LED lights, which proved tricky during installation. The connections were delicate and prone to disconnecting, requiring extra attention and soldering. Despite this, we completed the project just in time for the family to welcome their grandparents into their newly renovated space—something they were particularly excited about.
Before and After: A Stunning Transformation
Before this project, the living room wall was underutilized and lacked any design impact. After completing the custom entertainment center, the room transformed into the heart of the home. The white oak cabinetry ties beautifully into the walnut accents of the kitchen, creating a seamless flow between the spaces. The addition of warm LED lighting and black marble-textured wallpaper adds a luxurious yet modern touch, making this entertainment center not only functional but a true design statement.
Client Feedback:
“Thank you so much for fixing the lights and all your work on this project. We LOVE the look. You guys have done an amazing job, and I will be leaving a review as soon as it’s all finished up!”
— Yusuf
We’ll update this section once Yusuf leaves his full review on Google, but it’s clear the family is thrilled with the final result!
Project Timeline: From Design to Installation
- Design & Planning: 1 month
- Fabrication: 1 month (while in our project queue)
- Installation: 4 days
Conclusion: Custom Entertainment Centers that Elevate Your Space
Yusuf’s project demonstrates how a custom entertainment center can dramatically enhance the style and functionality of a home. Whether you’re looking for a modern media wall, floating console, or sleek TV setup, we’re here to bring your vision to life with precision and care.
Interested in a custom project for your home? Contact us today to discuss how we can help create the perfect solution for your living space.