What You Can Expect to Pay — And How to Avoid Surprises
So… how much does a bathroom renovation really cost in Toronto?
If you’ve been Googling this, you’ve probably seen numbers all over the place. $8,000? $40,000? $75,000?! What gives?
Here’s the real story:
Bathroom renovation costs in Toronto depend on four key factors:
- Size
- Scope (Cosmetic vs. Full Gut)
- Materials & Fixtures
- Labour
Let’s break it down so you know what to expect before you start ripping out tile.
Quick Snapshot: Average Cost by Type
| Renovation Type | Budget Range (Toronto 2025) |
|---|---|
| Basic Refresh (Cosmetic Only) | $8,000 – $15,000 |
| Mid-Range Remodel (Most Common) | $18,000 – $30,000 |
| Full Luxury Gut + Rebuild | $35,000 – $70,000+ |
1. Basic Refresh – $8K–$15K
Think: keeping the layout the same, but updating the look.
✅ New vanity
✅ Fresh paint or tile
✅ Light fixture upgrades
✅ Possibly a new toilet or sink
🚫 No layout changes
🚫 No plumbing relocation
🚫 No tearing down walls
Great for: resale prep, guest bathrooms, or budget-conscious updates.
2. Mid-Range Remodel – $18K–$30K
This is where most Toronto homeowners land.
✅ Full tile work (floor + shower walls)
✅ New tub or walk-in shower
✅ New vanity, toilet, lighting, accessories
✅ Improved storage (think: built-ins or niches)
✅ Modern finishes (matte black fixtures, LED mirrors)
Common upgrades in this range:
- Heated floors ($1,500–$2,500)
- Custom shower glass ($1,200–$1,800)
- Built-in storage or shelving
Note: Plumbing and electrical updates may eat into the budget fast.
3. High-End, Full Gut – $35K–$70K+
Custom millwork. Marble. Wall-mounted toilets. Hidden lighting. Spa-level luxury.
✅ Full demo + rebuild
✅ New layout or expansion
✅ Premium materials (stone, walnut, imported tile)
✅ Custom cabinetry, smart tech, designer lighting
✅ Professional interior design included
Expect:
- Permits and inspections
- Higher contractor and designer fees
- Up to 8–12 weeks of work
Common in: older Toronto homes where structure, plumbing, or insulation needs upgrading.
What Blows Up the Budget?
- Changing layout – Moving plumbing lines? Add $2,000–$5,000.
- Structural surprises – Water damage, mold, old wiring = extra $1,000–$10,000+.
- Imported or specialty materials – Can double your finish budget.
- Custom everything – Vanity, tile patterns, millwork = time + labour + $$$
How to Plan Your Budget Wisely
Rule of thumb:
Spend ~5% of your home’s value on a bathroom reno.
That keeps you in the smart investment zone for resale.
And always build in a 15–20% buffer for surprises. Especially in Toronto’s older homes.
Bonus: Real Client Example (Toronto Midtown, 2024)
Home Type: 1930s semi
Bathroom Size: 8′ x 6′
Scope: Full gut, new layout, walk-in shower
Cost: $27,500 (incl. permits + finishes)
Top upgrades:
- Heated floors
- Large format porcelain tile
- Floating vanity with under-cabinet lighting
Lessons learned? Moving plumbing cost $3K—but made the layout 100x better.
One Last Thing…
Don’t start a reno without a clear scope, written quote, and professional design plan.
The biggest budget blow-ups happen when people figure things out after demo starts.
Want a Personalized Estimate?
We offer a free consultation where we look at your space, talk goals, and give you a cost range based on real projects — not guesswork.
Cost Breakdown by Feature: Tile, Fixtures, Vanity & More
One of the most common questions homeowners ask after “What will it cost?” is “Where does all that money go?” Fair question.
Below is a line-by-line breakdown of what you can expect to pay for each major element in a Toronto bathroom renovation in 2025 — from the pretty finishes to the behind-the-wall essentials.
1. Demolition & Prep Work
Typical Cost: $1,000 – $3,000
Tearing out old tile, vanities, bathtubs and prepping the space. Expect more if there’s mold, rot, or asbestos hiding behind the walls — which is common in older Toronto homes.
🛁 2. Bathtub or Shower
Range: $1,000 – $6,000+
- Acrylic tub (basic): $500–$1,500
- Walk-in shower with glass: $3,000–$6,000
- Curbless or steam shower (custom): $6,000+
Pro Tip: Custom shower glass alone can run $1,200–$1,800.
3. Tile (Floor + Walls)
Range: $1,500 – $7,000
Tile is labour-intensive — especially if you want herringbone, vertical stack, or anything fancier than subway tile.
- Ceramic or porcelain (basic): $5–$10/sq. ft.
- High-end imported tile: $15–$35/sq. ft.
- Installation labour: ~$12–$25/sq. ft. (yes, labour often costs more than the tile)
Watch out for: heated floors ($1,500–$2,500 extra), custom niches, or tile baseboards.
4. Toilet
Range: $300 – $1,200
- Standard dual flush: ~$400
- Wall-mounted or one-piece: $900–$1,200+
Plumbing rough-ins or relocating the toilet? Budget another $1,000–$2,000.
5. Vanity & Sink
Range: $1,000 – $5,000+
- Off-the-shelf (IKEA or big box): $800–$1,500
- Semi-custom: $2,500–$4,000
- Custom millwork: $4,000–$7,000+
Don’t forget: faucets can cost $200–$800 depending on finish and brand.
6. Lighting & Ventilation
Range: $500 – $2,000
- Vanity lights: $150–$600
- Pot lights or dimmable lighting: $300–$800
- Exhaust fan with humidity control: $200–$500
Lighting changes that require rewiring? Add another $500–$1,000 in labour.
7. Plumbing & Electrical (Behind the Walls)
Range: $2,000 – $5,000+
- New copper or PEX lines
- Electrical panel upgrades if required
- GFCI protection (code requirement)
Older homes often need more electrical work than expected.
8. Drywall, Paint & Trim
Range: $1,000 – $2,500
- Moisture-resistant drywall (green board)
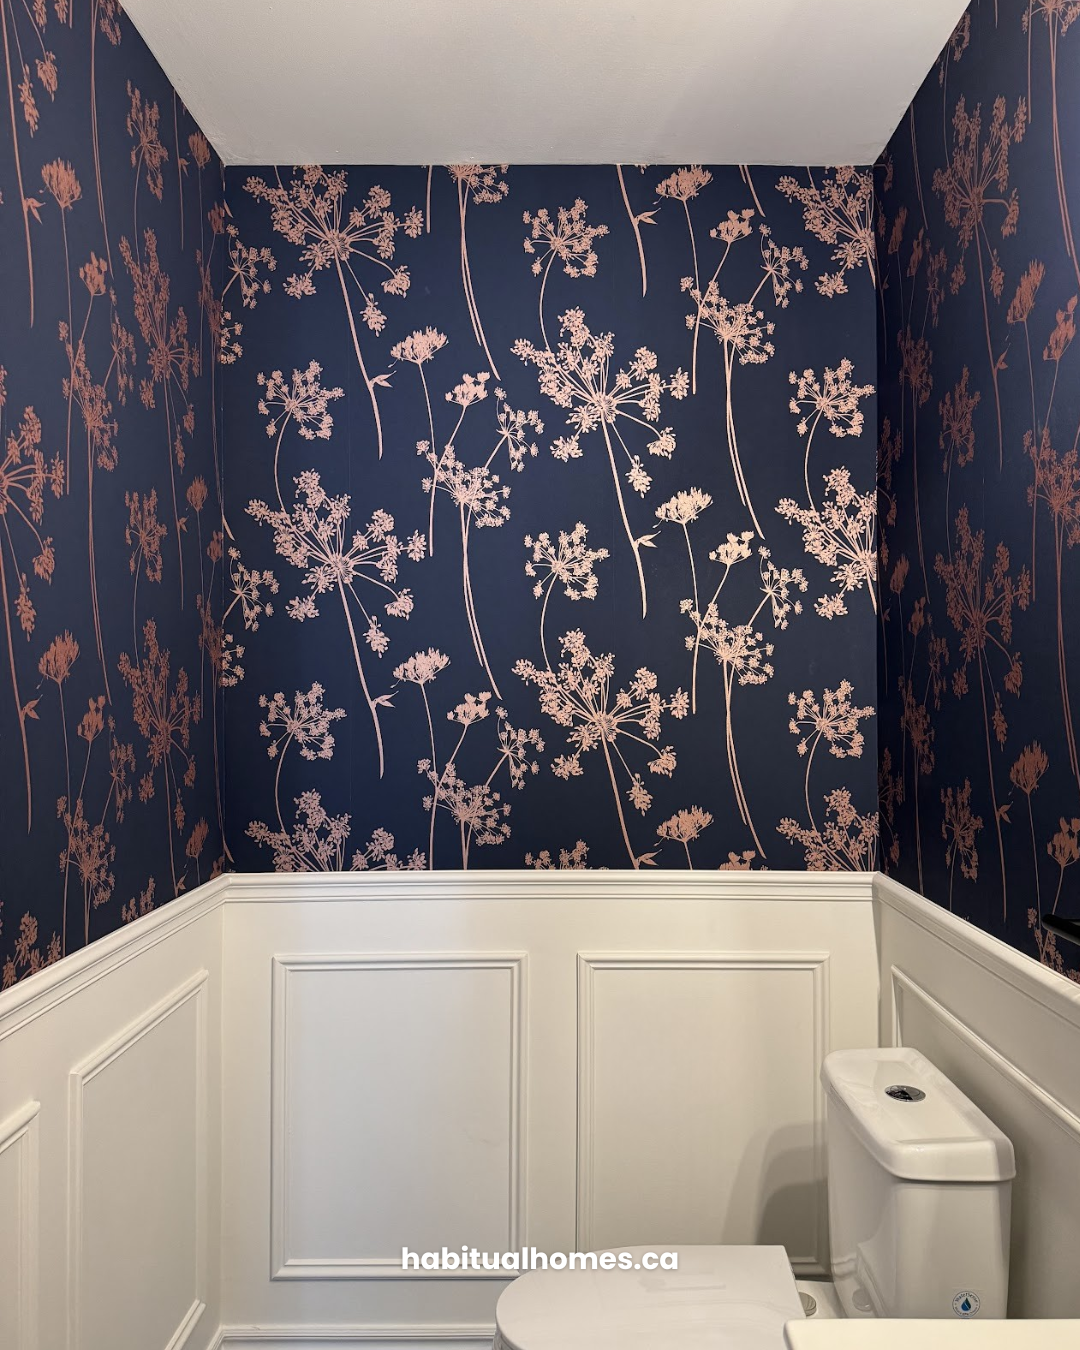
- Crown moulding or wall panelling (optional)
- High-quality paint (Benjamin Moore or similar): $75–$150/gallon
9. Labour & Project Management
Labour = 30%–50% of your total budget
A $25,000 reno might include $10,000–$13,000 in trades and project oversight. That includes:
- Tile setters
- Electricians
- Plumbers
- General contractor / project manager
Well worth it to stay on schedule and within scope.
Summary Table: Mid-Range Reno Feature Breakdown
| Feature | Low Estimate | High Estimate |
|---|---|---|
| Demolition & Prep | $1,000 | $3,000 |
| Bathtub / Shower | $1,500 | $6,000 |
| Tile | $1,500 | $7,000 |
| Toilet | $300 | $1,200 |
| Vanity & Sink | $1,000 | $5,000 |
| Lighting & Ventilation | $500 | $2,000 |
| Plumbing & Electrical | $2,000 | $5,000 |
| Drywall & Finishes | $1,000 | $2,500 |
| Labour / Management | $7,000 | $13,000 |
| Total Estimated Range | $15,800 | $44,700 |
Hidden Costs in Toronto Bathroom Renovations — And How to Avoid Them
Let’s be real — budget blowouts happen fast in bathroom renos, especially in Toronto’s older homes. You set a budget. You think you’re safe. Then the surprises hit.
Here are the top hidden costs you need to be ready for — and how to sidestep them like a pro.
1. Water Damage Behind Walls
Why it happens:
Old tile = old waterproofing = water slowly sneaking behind the walls for years.
The cost surprise:
Mold remediation or water-damaged framing can run anywhere from $800 to $3,000+ depending on severity.
How to avoid it:
Ask your contractor to do a pre-reno inspection if possible. Budget a 10–15% contingency for structural surprises — especially in homes 40+ years old.
2. Upgrading to Meet Code
Why it happens:
Toronto’s building code is strict, especially for bathrooms. That old electrical wiring or plumbing might work, but it doesn’t meet code today.
The cost surprise:
- GFCI upgrades, circuits, bonding = $800–$2,000
- Plumbing updates = another $1,000+
How to avoid it:
Hire a licensed contractor or designer who works regularly in Toronto. They’ll build code upgrades into the quote — not spring it on you later.
3. Moving Plumbing Fixtures
Why it happens:
Want to move your tub to the opposite wall? Install a double vanity where there was one sink before?
The cost surprise:
Moving drain lines or vent stacks through old floors/walls can cost $1,500–$5,000+, depending on access and structure.
How to avoid it:
If budget is tight, stick with the existing layout. You can dramatically upgrade style without touching plumbing lines.
4. Imported or Out-of-Stock Materials
Why it happens:
That stunning tile you saw on Pinterest? Might be imported, special order, or out of stock in Canada.
The cost surprise:
- Shipping/duty fees: $200–$1,000+
- Timeline delays = longer labour costs
How to avoid it:
Choose materials that are locally available or stocked through reliable Canadian suppliers. Always ask your designer or contractor for lead times before placing any orders.
5. Structural Surprises in Older Homes
Why it happens:
Heritage homes and pre-war builds are beautiful — but unpredictable. You might find knob-and-tube wiring, joist issues, even asbestos.
The cost surprise:
Can range from $500 (wiring fixes) to $10,000+ if major remediation is required.
How to avoid it:
If you’re in a pre-1950s home, have a home inspector or contractor check structure, wiring, and plumbing before demo. Build a larger contingency (20–25%) into your budget.
6. Custom Work That Goes Off-Script
Why it happens:
You decide halfway through that you want recessed lighting, built-in shelving, or a floating vanity.
The cost surprise:
- Custom framing, wiring, and millwork add up quickly — $500–$3,000 extra
- Labour timelines stretch out
How to avoid it:
Lock your scope and design before demo day. If you’re unsure, stick to modular options and upgrades that don’t require opening walls.
🔐 Pro Tip: Build a Buffer — Always.
The best way to avoid panic is to plan for surprises from Day 1.
A realistic budget isn’t just about what you want to spend — it includes what you might have to spend unexpectedly.
Recommended buffer:
- Newer homes (<30 yrs): 10–15% of total budget
- Older homes (30+ yrs): 20–25% buffer
Bonus: What to Ask Before You Hire
Use this mini checklist to reduce risk:
✅ “What’s your approach to uncovering hidden issues early?”
✅ “How do you handle code upgrades — are they priced in or added later?”
✅ “Can you provide a fixed quote or just an estimate?”
✅ “Who sources the materials and ensures stock availability?”
✅ “Do you recommend a contingency budget, and why?”
How to Choose Cost-Effective Colours and Finishes That Look High-End (Without the Luxury Price Tag)
Let’s be honest: it’s easy to make a bathroom look expensive when your budget is $70K+.
But what if you want a high-end feel without high-end costs?
Here’s how smart Toronto homeowners are achieving luxe, magazine-worthy bathrooms — while staying in the $18K–$30K range.
1. Go Light, Go Neutral — But Be Strategic
White bathrooms look clean and timeless — until the undertones clash.
Budget-friendly trick: Choose a complex cream or greige instead of a stark white.
Why? These shades:
- Work with warm flooring and stone finishes
- Soften the look in rooms with limited natural light
- Are less likely to look “cheap” or harsh
✅ Best picks for 2025 (based on Maria Killam’s colour system):
- BM OC-23 Classic Gray
- BM CC-110 Muslin
- SW Accessible Beige
- BM Maritime White (OC-5)
💡 Pro Tip: Test your paint next to your vanity, flooring, and tile samples — not just the wall.
2. Choose Matte Over Gloss
High-gloss finishes scream “builder-basic” unless they’re paired perfectly. Matte or satin finishes? Always upscale.
Where to use it:
- Tile: Go for a matte porcelain tile that mimics stone. It gives that European boutique hotel vibe.
- Paint: Use an eggshell or satin finish on walls — easy to clean but not shiny.
Bonus: Matte finishes hide imperfections better, saving you money on wall prep.
3. Pick One “Wow” Element (Then Keep the Rest Simple)
Don’t try to make everything the star. Instead, choose one focal point — like a bold floor tile, floating vanity, or statement light fixture — and let the other elements support it.
Examples:
- Patterned floor tile + simple white subway walls
- Basic vanity + dramatic wall sconce lighting
- Neutral tile + matte black or brushed brass plumbing fixtures
This creates visual contrast without increasing costs across the board.
4. Use Large Format Tile for a Clean, Luxe Look
Large tiles (24″x24″ or larger) reduce grout lines, making your space look sleek and custom.
They also save on installation labour — fewer cuts, less time.
Top picks:
- Matte porcelain in soft beige or grey
- Textured concrete-look tiles
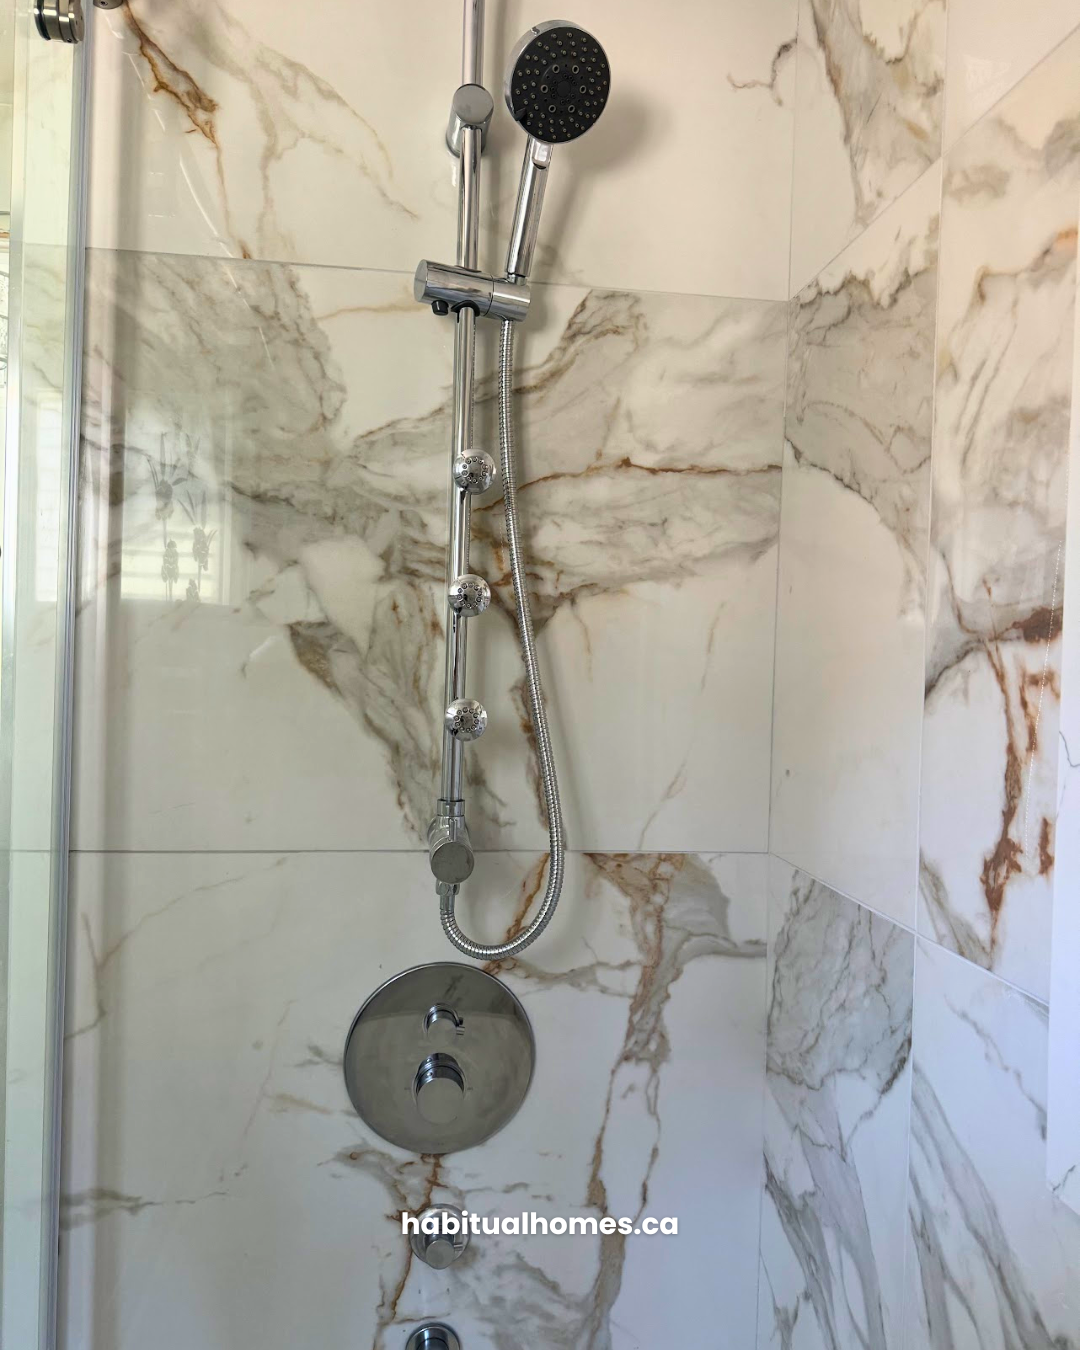
- Marble-look tile (without the real marble price)
5. Mix High & Low
Here’s the secret sauce of every great design-savvy reno: mix budget materials with one or two premium ones.
| High-Low Combo Idea | How It Pays Off |
|---|---|
| IKEA Godmorgon Vanity + Custom Quartz Top | Custom feel for $1,500–$2,000 less |
| Mid-range subway tile + Designer Niche or Shower Hardware | Highlights elevate the look |
| Matte black faucet + Standard tub | Style win without splurge |
The key? Make sure the finishes feel cohesive — not like a random mash-up.
6. Add Trim, Lighting & Mirrors Like a Designer
Even a simple bathroom can feel luxurious with the right finishing touches:
- Framed mirror instead of builder-basic glass
- Crown moulding or ceiling trim for a finished look
- Layered lighting: Add dimmable sconces beside mirrors, not just an overhead light
These touches don’t cost much, but they make your space feel intentional — like it was designed, not just renovated.
✅ Quick Recap: Affordable Upgrades That Look Expensive
| Upgrade | Cost Estimate | High-End Payoff |
|---|---|---|
| Complex cream paint colour | $60–$120 | Avoids cheap white clash |
| Matte porcelain tile | $5–$9/sq. ft. | Looks custom, hides flaws |
| Floating vanity (budget version) | $1,200–$1,800 | Clean, modern lines |
| Black or brass fixtures | $200–$500 each | On-trend & elegant |
| Designer lighting (Wayfair, CB2, IKEA hacks) | $150–$600 | Sets the mood |
DIY vs. Professional Bathroom Renovation Costs in Toronto — What You Really Save (and Risk)
Let’s get one thing straight: doing your own bathroom reno can save you money.
But in Toronto? Between strict codes, older homes, and renovation complexity — the line between “smart DIY” and “expensive mistake” is razor-thin.
Here’s a realistic, side-by-side comparison of DIY vs. hiring a pro in 2025 — so you can choose wisely, not wishfully.
🛠️ DIY Bathroom Renovation – The Cost Breakdown
Best for: Handy homeowners doing cosmetic upgrades, not structural or code-related work.
Typical DIY Cost (Toronto, 2025): $7,000 – $15,000
| Item | DIY Cost Estimate | Notes |
|---|---|---|
| Demolition | $0 (your time) | Messy, but doable. Beware plumbing behind tile. |
| Paint & Patching | $300 – $800 | Doable with basic tools. |
| Vanity & Sink | $800 – $2,000 | IKEA, Wayfair, or big box store options. |
| Toilet Replacement | $300 – $700 | Relatively simple if plumbing stays put. |
| Tile (materials only) | $1,000 – $2,500 | Floor + shower walls; DIY tile is not beginner-friendly. |
| Fixtures (faucets, lighting) | $800 – $1,500 | Can be DIY’d, but electrical should be inspected. |
| Tools, Supplies, Rentals | $300 – $1,200 | Wet saw, mixing tools, etc. Add up fast. |
| Contingency Buffer | $500 – $2,000 | Materials miscounts, broken tiles, re-dos. |
✅ What You Save: Labour (worth $8K–$15K)
❌ What You Risk: Time, frustration, inspection failures, costly mistakes
Hidden Truth: Most DIYers end up calling a pro halfway through — usually after a plumbing leak or tile disaster.
Professional Renovation – The Cost Breakdown
Best for: Full or mid-range remodels, structural changes, waterproofing, layout updates, heritage homes.
Typical Pro Cost (Toronto, 2025): $20,000 – $40,000
| Item | Pro Cost Estimate | Why It Costs More |
|---|---|---|
| Full Project Management | Included | Coordination = fewer delays & errors |
| Demo & Disposal | $1,500 – $3,000 | Done cleanly & safely |
| Plumbing & Electrical | $3,000 – $7,000 | All up to code, includes permits |
| Vanity, Fixtures, Toilet | $2,000 – $5,000 | Installed perfectly, no leaks |
| Custom Tile & Waterproofing | $3,000 – $8,000 | Proper slope, no leaks, lifetime materials |
| Paint, Finishing, Trim | $1,000 – $2,500 | Clean, professional finish |
| Labour + Contractor Overhead | $7,000 – $13,000 | You’re paying for expertise, not just hands |
| Warranty + Liability | Included | You’re protected if something goes wrong |
✅ What You Gain: Peace of mind, legal compliance, better resale value
❌ What You Pay: More upfront — but fewer surprise costs later
Real Cost Comparison: Same Scope, Two Paths
Scenario: Remodel an 8′ x 6′ Toronto bathroom
Goal: New tile, vanity, toilet, lighting, paint, plumbing fixtures
| Category | DIY Approx. | Pro Approx. |
|---|---|---|
| Materials | $6,500 | $7,500 |
| Tools + Rentals | $700 | — |
| Labour (self vs pro) | Free (your time) | $12,000–$15,000 |
| Design & permits | — | $1,500+ |
| Mistakes, Redos, Contingency | $2,000+ (likely) | $1,500 buffer |
| Total | $9,200+ | $22,000+ |
BUT:
- DIY may take 3–4 weekends over 2–3 months
- A professional team can finish in 2–4 weeks
So, Should You DIY?
Here’s a quick decision matrix:
| Ask Yourself… | If YES | If NO |
|---|---|---|
| Are you very handy and detail-oriented? | Consider DIY | Hire a pro |
| Do you have 3+ weekends free to focus? | DIY might work | Hire it out |
| Are you changing layout or moving plumbing? | Call a pro | Maybe DIY |
| Do you want resale-ready quality? | Hire a pro | DIY carefully |
| Can you fix your own mistakes (time + $$)? | Maybe DIY | Safer to go pro |
💡 Pro Tip: Consider a Hybrid Approach
Want to save money and avoid major mistakes? Go hybrid.
- DIY the demo + painting + fixture install
- Hire pros for tile, plumbing, and waterproofing
You could save 20–30% while avoiding most high-risk mistakes.
Top 5 Money-Saving Bathroom Reno Choices That Won’t Compromise Design
Let’s face it — you’re not looking to cheap out. You want a bathroom that feels elevated, curated, and modern — without setting fire to your bank account.
Here are 5 strategic design decisions Toronto homeowners are using in 2025 to stretch their budget without sacrificing style.
1. Choose a Stock Vanity — Then Hack the Look
Savings: $1,500–$4,000 vs. custom
Why it works: Brands like IKEA, Home Depot, and Wayfair now offer vanities that look custom — especially when you tweak a few details.
✅ Add a stone/quartz countertop (from a remnant supplier)
✅ Replace basic hardware with brass or matte black
✅ Wall-mount it for a floating look (great in small spaces)
🔨 Pro tip: IKEA Godmorgon with a custom top = sleek, modern, under $2,000 all-in.
2. Use Basic Tile Patterns — With High-Impact Layouts
Savings: $2–$6 per sq. ft. on tile, plus less installation time
Why it works: Classic subway or hex tile can feel expensive when used creatively.
Try:
- Vertical stack to add height
- Herringbone floors with affordable ceramic
- Half-wall tile height with a painted upper wall (less tile = less $$)
🎯 You’re paying for labour by the hour — simple patterns save time and money.
3. Skip the Tub — Go Walk-In Shower (Smartly)
Savings: $1,000–$2,500 (no tub + simplified waterproofing)
Why it works: Walk-in showers feel modern, minimal, and open up tight floor plans.
To save even more:
- Use a prefab shower base instead of tiling the floor
- Go with a fixed glass panel instead of full custom doors
- Skip niches — do a slim shower shelf instead
✅ Bonus: great for resale and aging in place.
4. Stick to the Existing Layout
Savings: $2,000–$6,000+
Why it works: Moving plumbing (toilets, sinks, showers) in Toronto often means cutting into concrete or relocating stacks — aka $$$.
Instead, use:
- A new vanity with better drawers
- A wall-mounted mirror cabinet for storage
- Smart lighting and paint to reshape how the space feels
💬 As one client put it: “We didn’t move a single pipe, and the space still looks completely transformed.”
5. Mix High & Low Finishes
Savings: Strategic and scalable
Why it works: Spend where it counts — hardware, tile, or lighting — and save on less-noticed elements like towel bars or shelving.
Pair:
- A mid-range vanity with a statement faucet
- Big-box ceramic tile with a designer mirror
- Affordable matte black fixtures with premium lighting
This approach lets you create contrast, elevate the vibe, and stay in budget.
🧾 Real-World Example: Budget Breakdown Using These 5 Tricks
| Feature | Standard Approach | Smarter Swap | Estimated Savings |
|---|---|---|---|
| Custom Vanity | $4,000 | IKEA + Quartz Top + Hardware Upgrade | $2,500 |
| Designer Tile | $15/sq. ft. | Subway Tile + Vertical Stack | $1,800 |
| Full Glass Shower | $2,500 | Fixed Panel + Prefab Base | $1,200 |
| Plumbing Relocation | $3,000 | Keep Layout as-is | $3,000 |
| All Premium Fixtures | $2,500 | Premium Faucet + Standard Accessories | $800 |
| Total Saved | $9,300 |
✨ Final Thought:
Smart bathroom renos aren’t just about “spending less.” They’re about knowing where your money makes the most visible impact — and where you can cut back without anyone noticing.
Design is 90% decisions. These five let you spend where it matters — and save where it doesn’t.
Ready to Start Planning Your Bathroom Reno?
Whether you’re dreaming of a full spa-like transformation or just want a smarter, more stylish space — it all starts with a plan (and a real conversation).
We’ll walk you through what’s possible with your budget, help you avoid common pitfalls, and show you how to make the biggest impact with every dollar.
👋 Let’s talk. Book your free 20-minute consultation and get one step closer to a bathroom that works — and wows.
👉 Click here to schedule your call — no pressure, no obligation. Just expert advice, tailored to your home.
💬 Want to Go Deeper? Check Out These Helpful Reads:
🔹 What’s a Good Budget for a Bathroom Renovation in Toronto?
Real cost breakdowns, what you can do with $5K, $10K, or more — and how to plan realistically without surprises.
🔹 How to Choose Tile for a Small Bathroom (Our 3 Go-To Styles)
Our design team’s top picks for timeless, space-smart tile layouts that look bigger, cleaner, and stay stylish for years.
🔹 Why a Bathroom with Black Fixtures Might Not Stand the Test of Time
We unpack the pros, cons, and longevity of this bold trend — and offer tips if you still love the look.