A Home with History — and a Need for a Fresh Start
Staircase painting in Wychwood Park isn’t just about looks—it’s about preserving character. When our client bought their 100-year-old home in this historic Toronto neighbourhood, they fell in love with its charm.
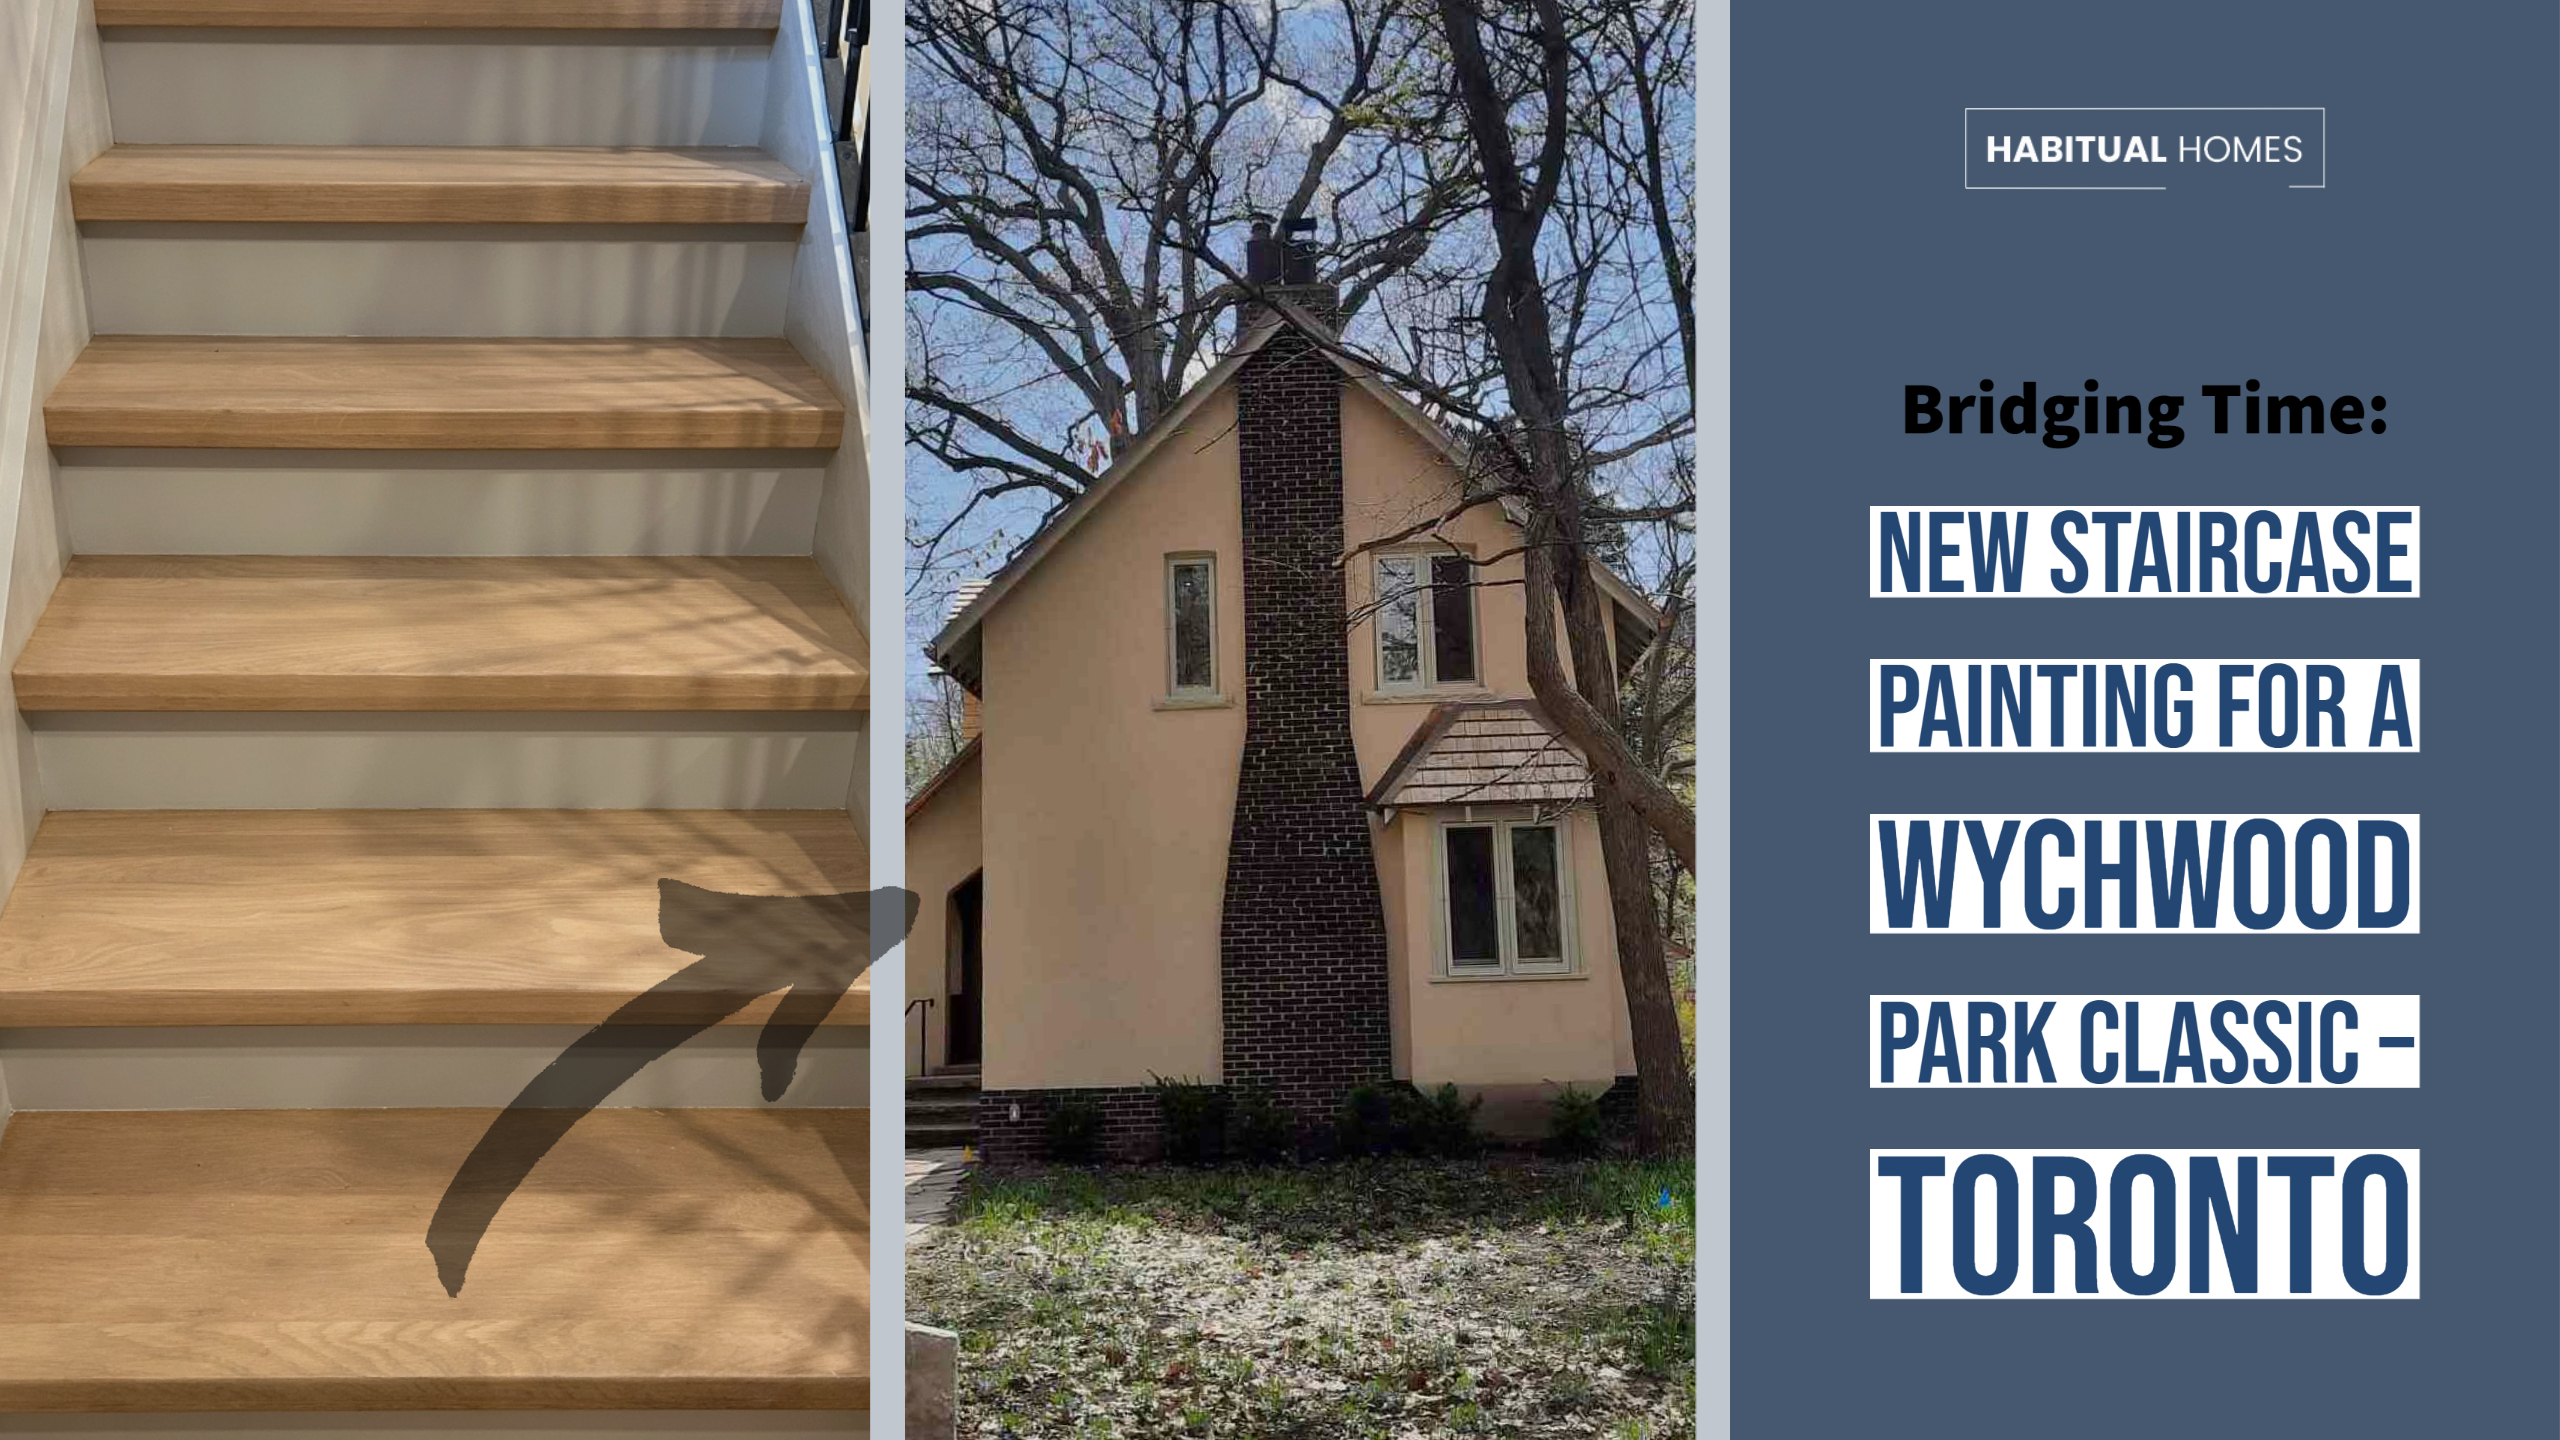
Original details, high ceilings, and architectural quirks gave the house personality, but parts of it needed an update to match their lifestyle. That’s where we came in. They had already added two new wooden staircases — one leading to the basement and the other connecting the kitchen to the upstairs bedrooms — but the project needed finishing touches to feel truly complete.
The Challenge: Make New Feel Original
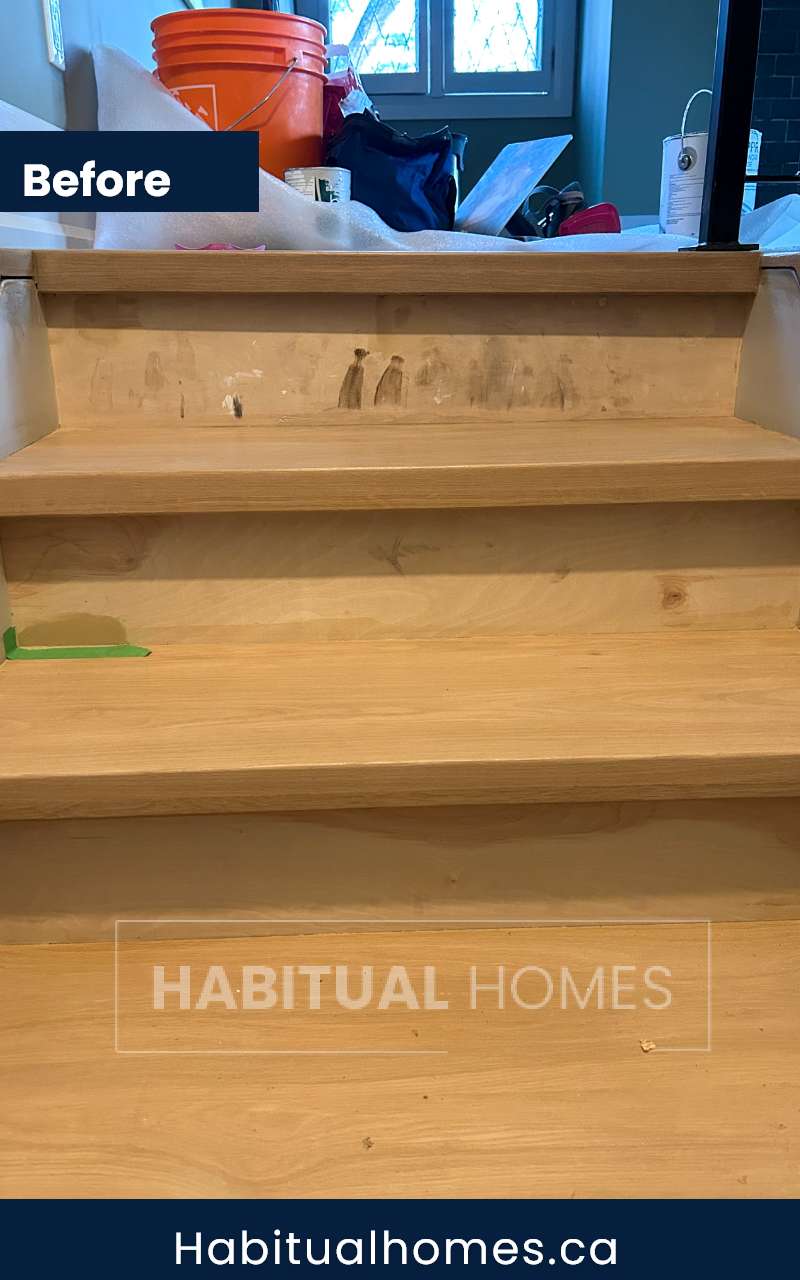
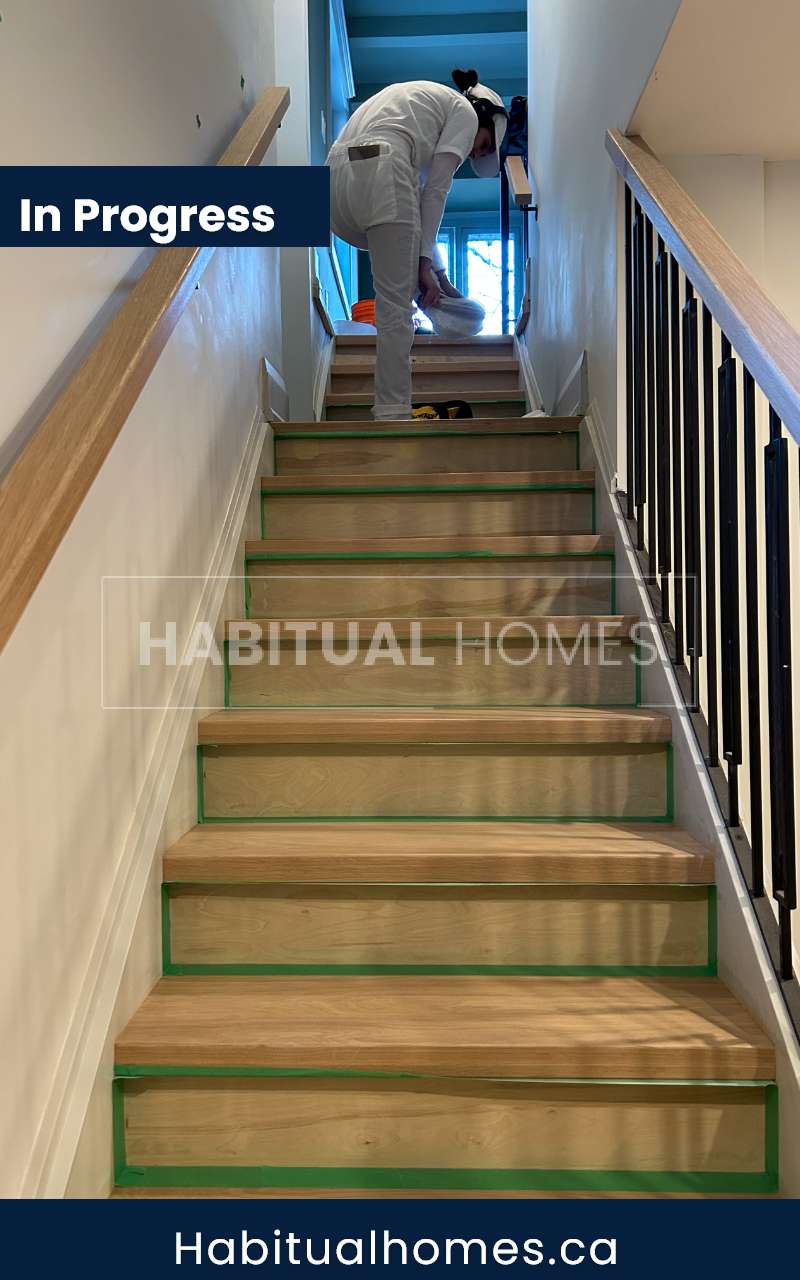
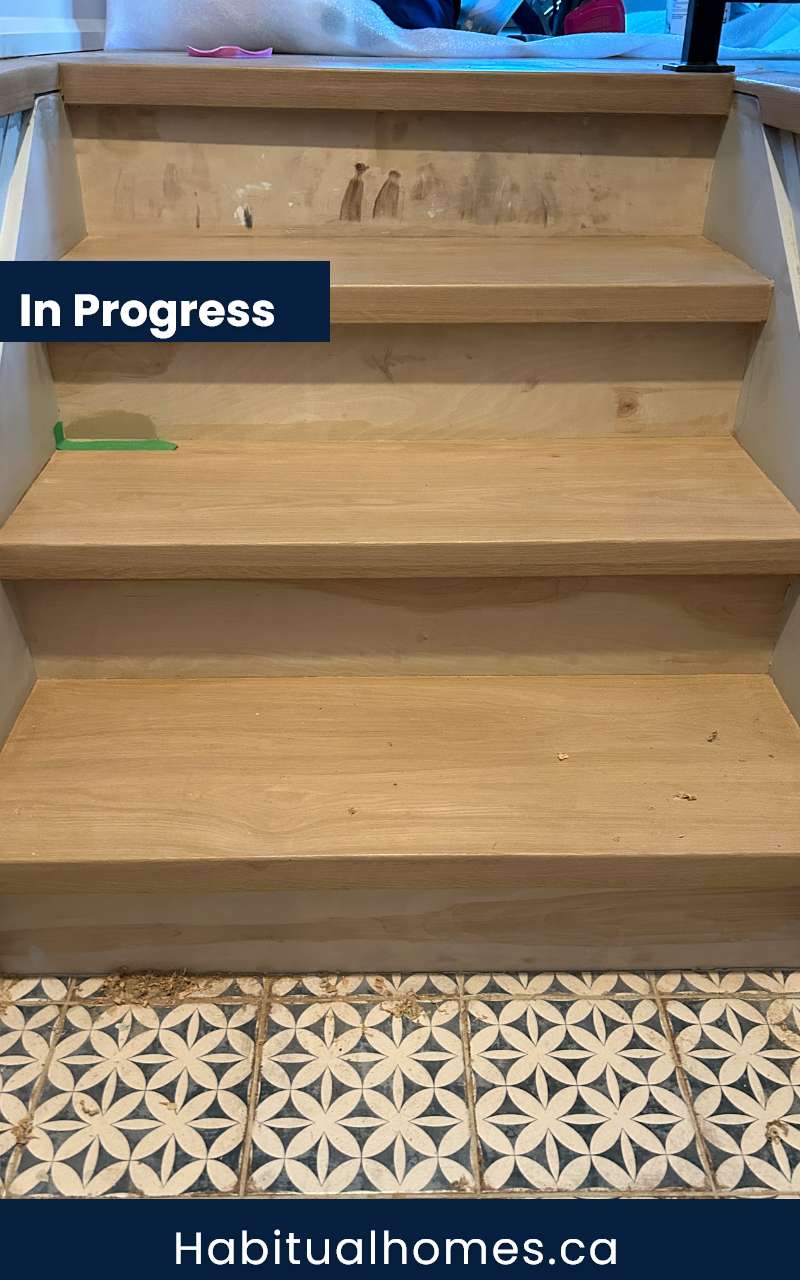
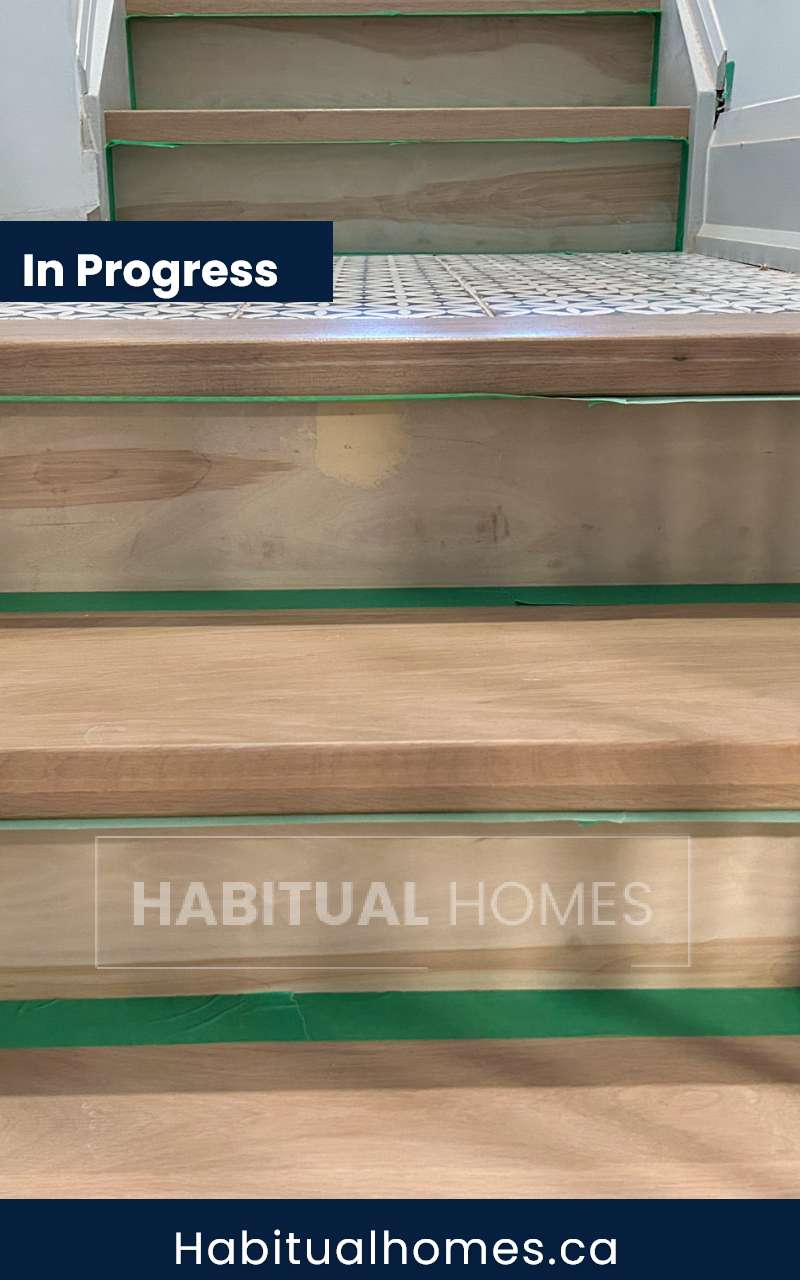
The stairs were built, but the risers were still unfinished. The treads had been stained by another subcontractor, and while the woodwork itself was beautiful, it didn’t yet feel like it belonged. That’s the trick when working on a historic home — every detail needs to feel intentional. The paint couldn’t be too glossy or too flat. The colour couldn’t clash with the baseboards or trim. It had to feel like it had always been there.
That’s what this interior painting project was really about: making something new look like it belonged from the start.
A Painting Process Built on Precision
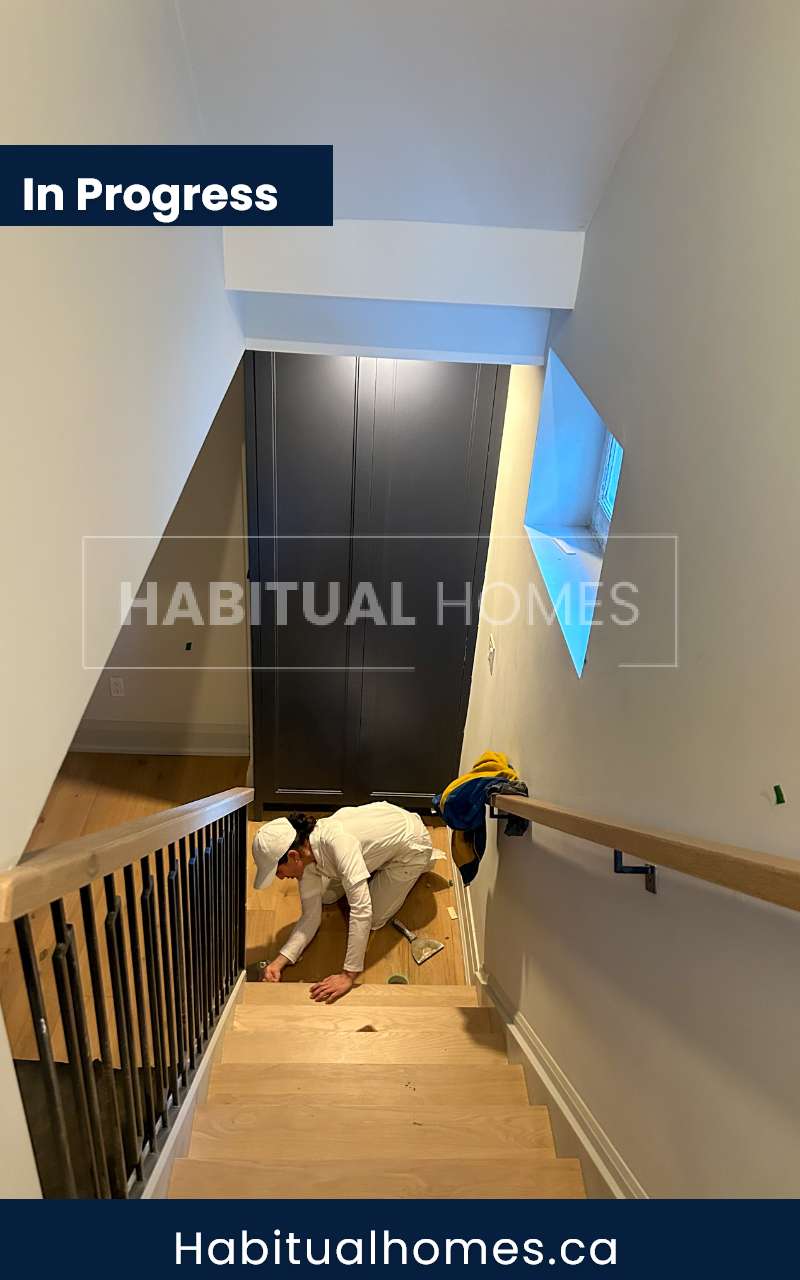
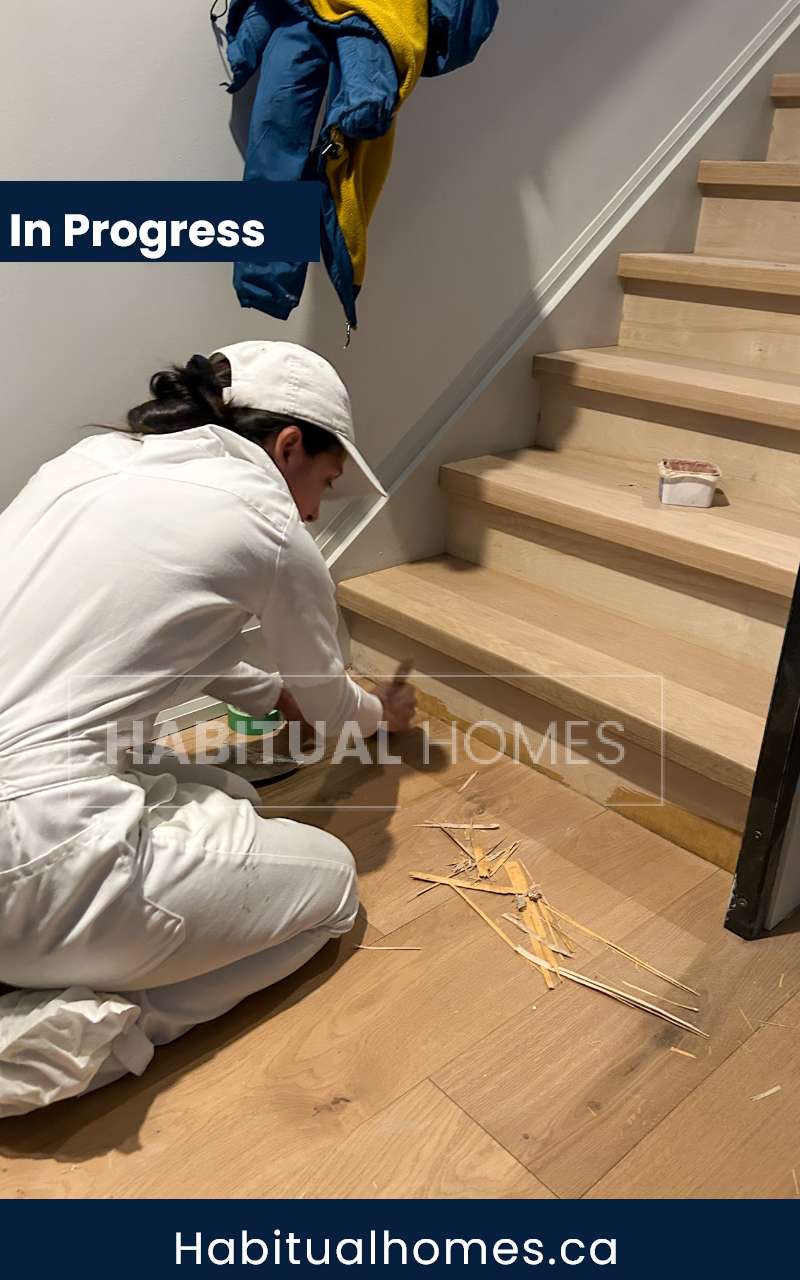
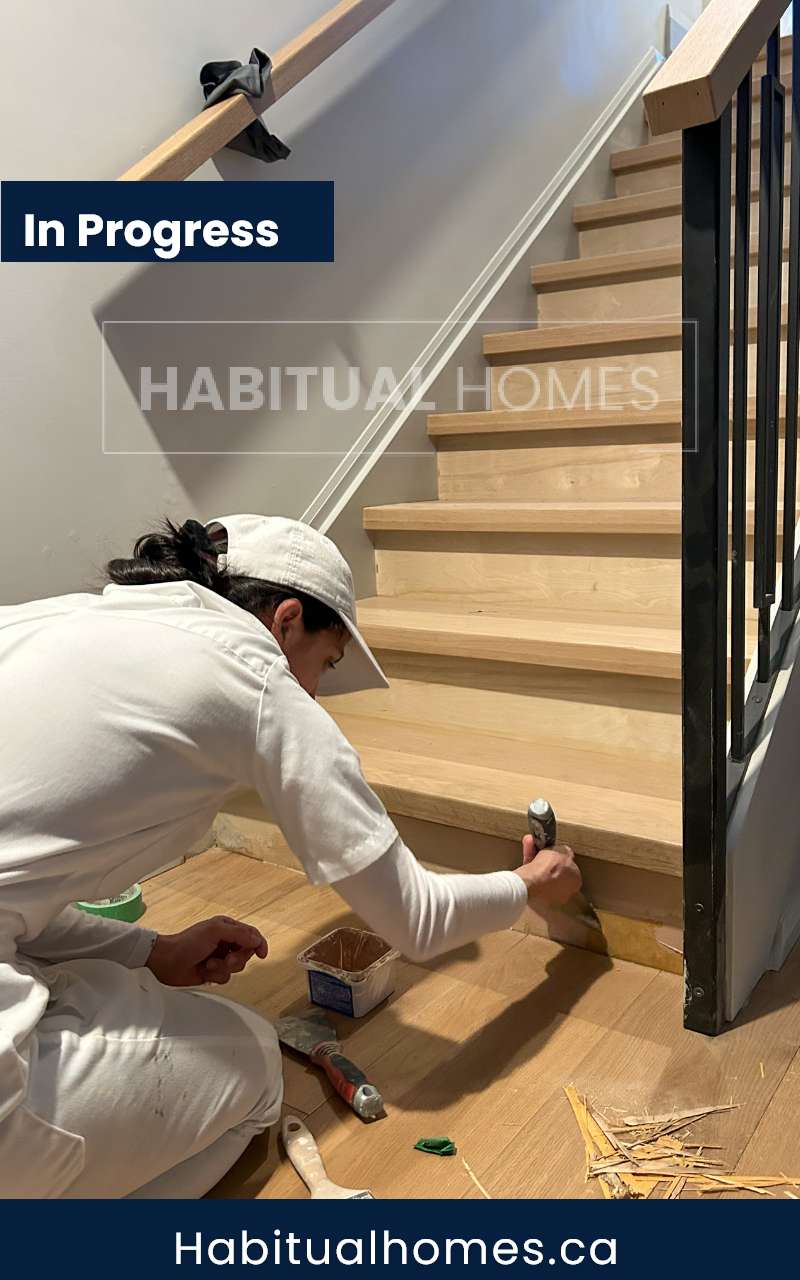
Step 1: Understand the Vision
Every home renovation project starts with listening. We sat down with the homeowner to understand what they loved about the house and what they hoped the staircase would look and feel like once it was painted. They wanted something classic, not trendy — a finish that would feel right at home next to original moldings and updated floors.
Step 2: Careful Prep Work
Before any paint touched the wood, we spent time preparing the surfaces. That meant sanding each riser to smooth out imperfections and applying wood filler to dents or nail holes. These steps may seem small, but they make a big difference in the final look and durability of the job.
Step 3: Choosing the Right Products
We used Benjamin Moore’s interior primer to ensure a strong bond between the paint and the wood. For the top coat, we chose a grey semi-gloss from their Ben line — the same finish used throughout the home on baseboards and door casings. This created a seamless look from floor to ceiling and helped tie the staircase into the rest of the home’s interior design.
Step 4: Painting with Intention
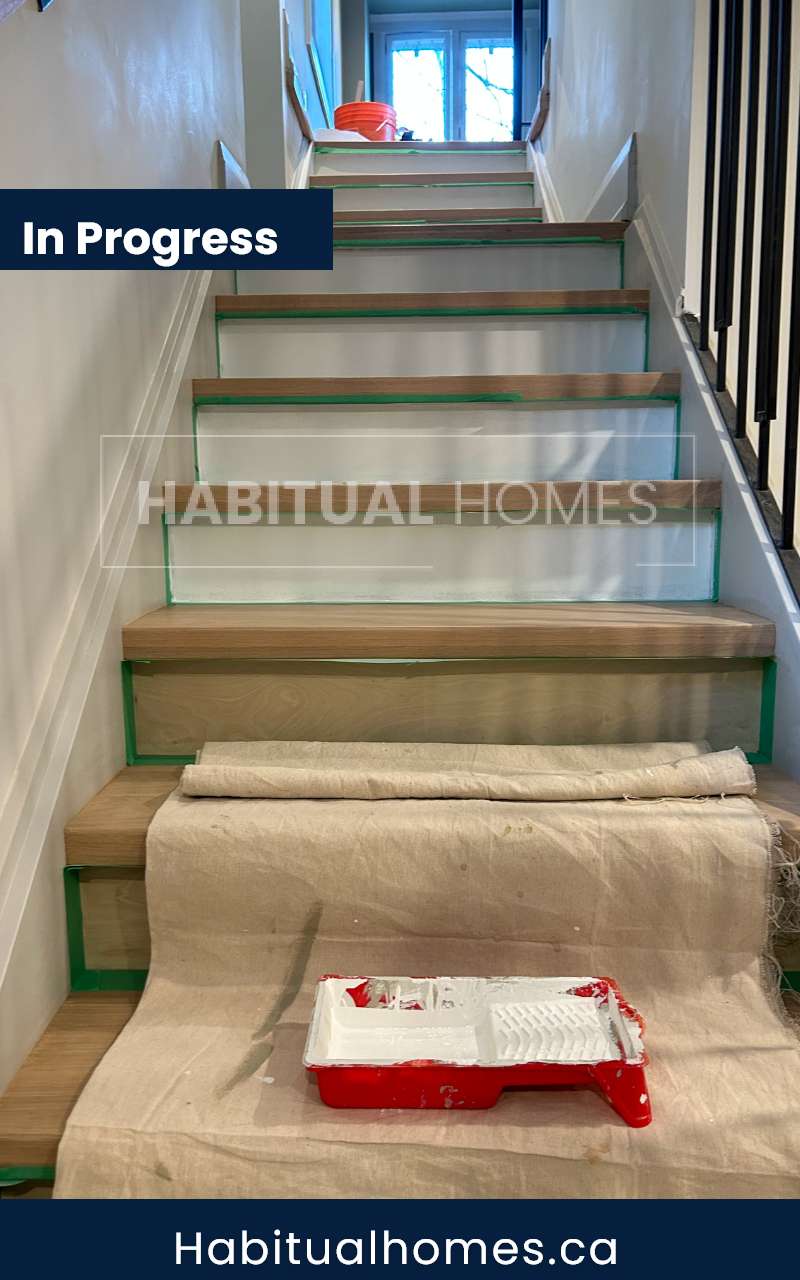
Once the risers were primed and ready, we carefully applied the grey paint in clean, even strokes. We paid close attention to the transitions between treads, risers, and side trim to ensure sharp lines and a polished finish. Our crew worked methodically, respecting both the home’s architecture and the homeowner’s expectations.
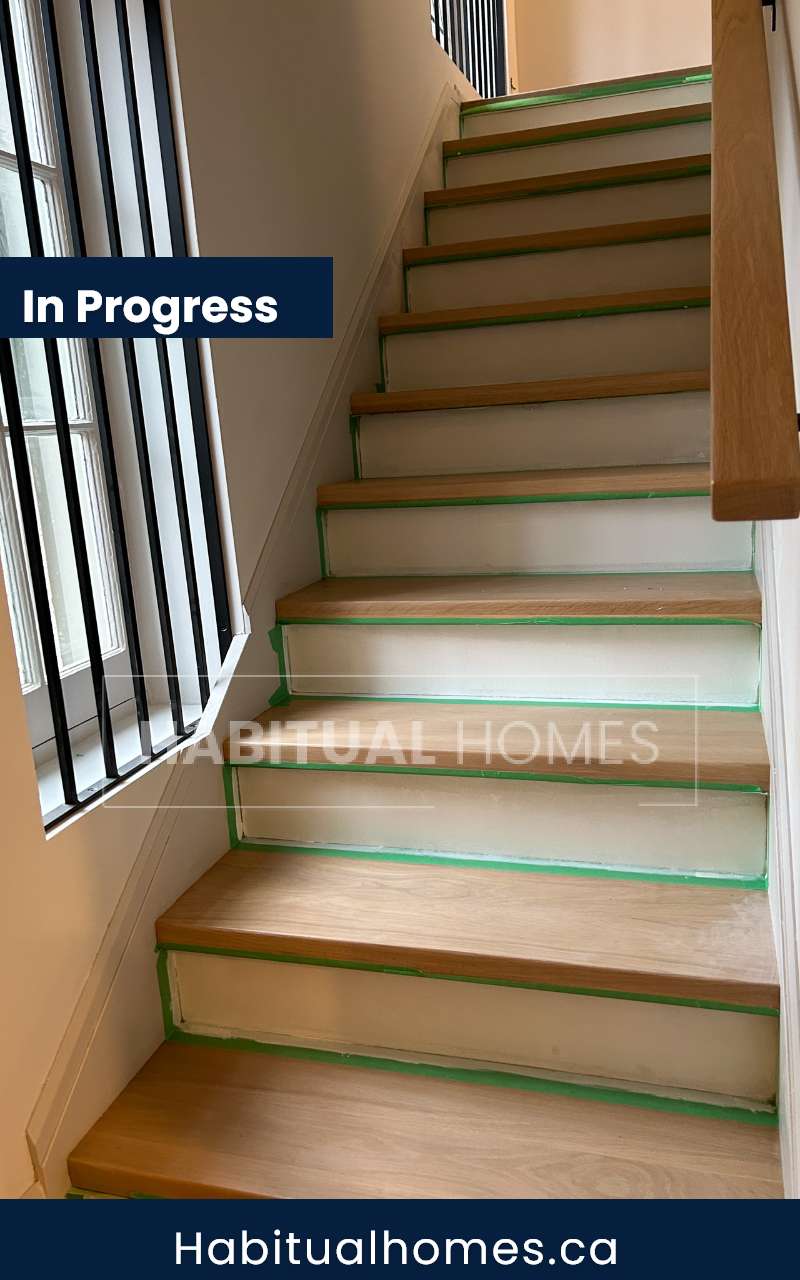
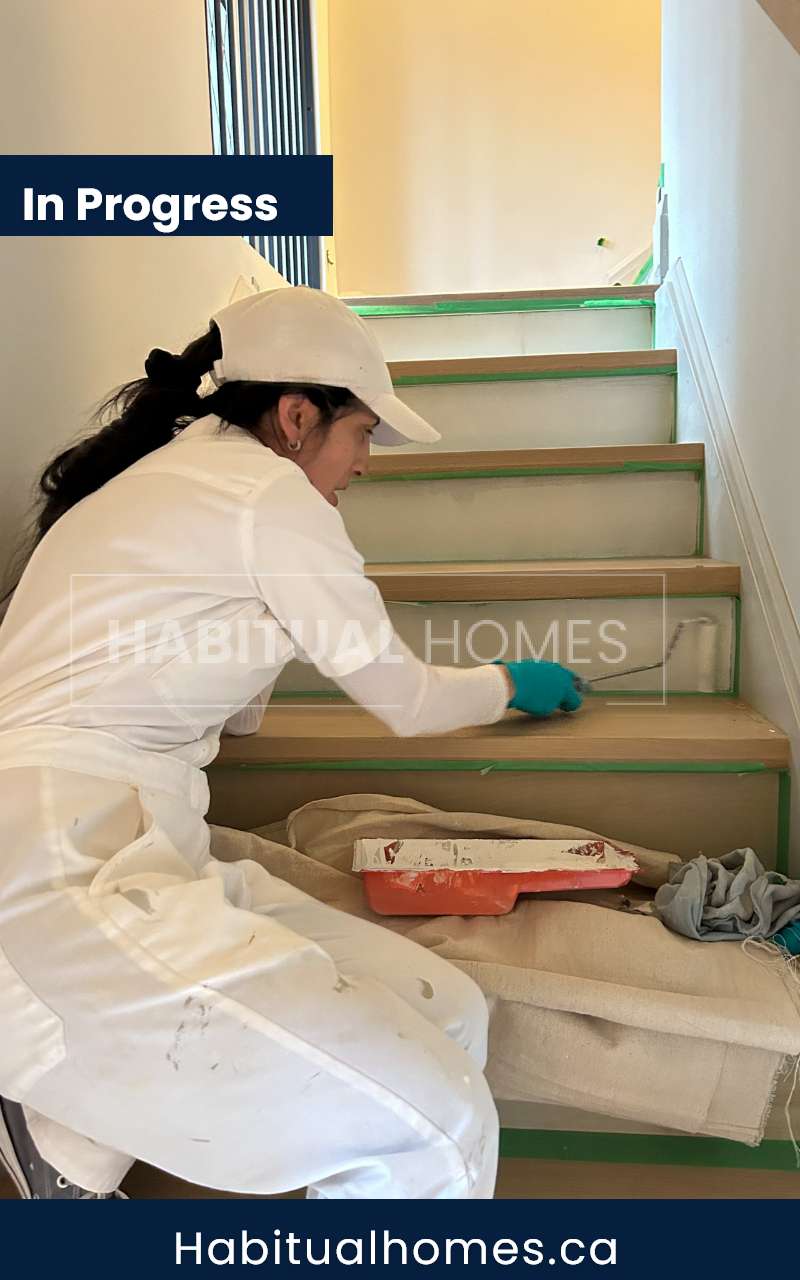
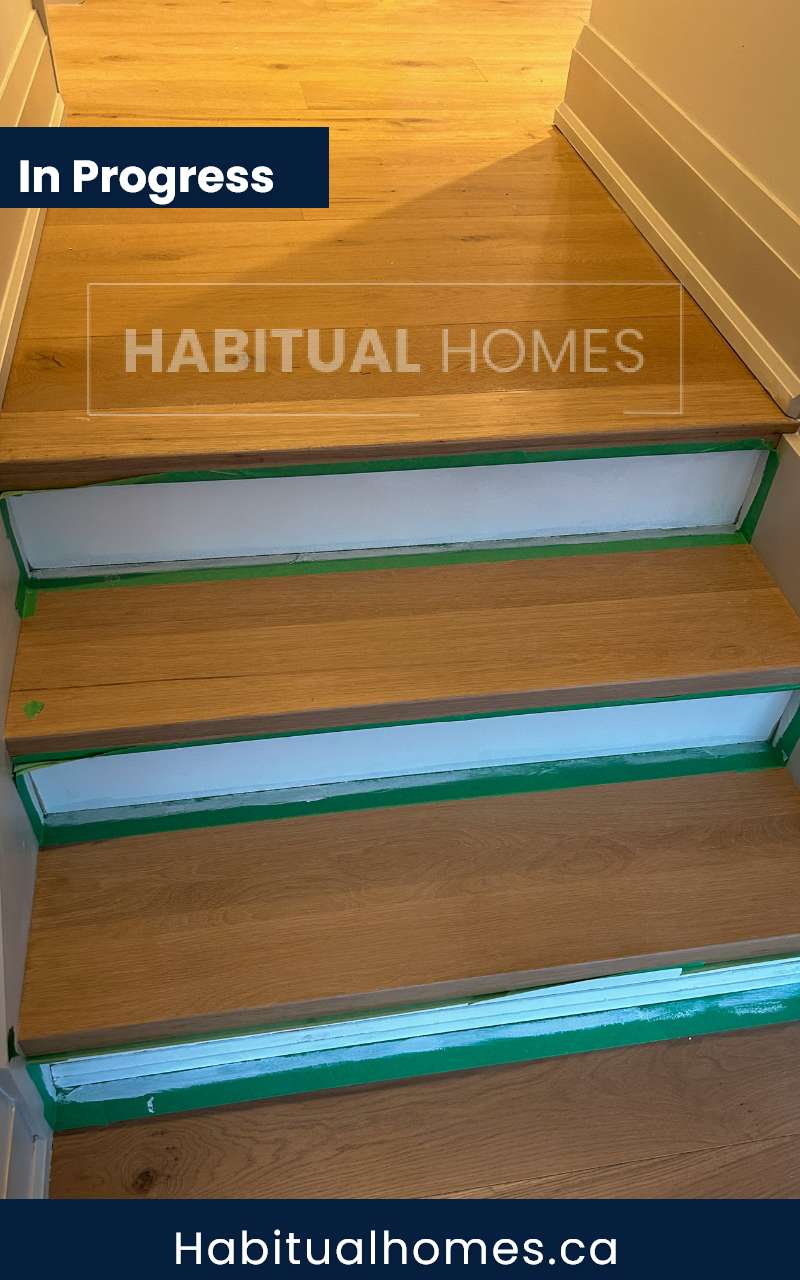
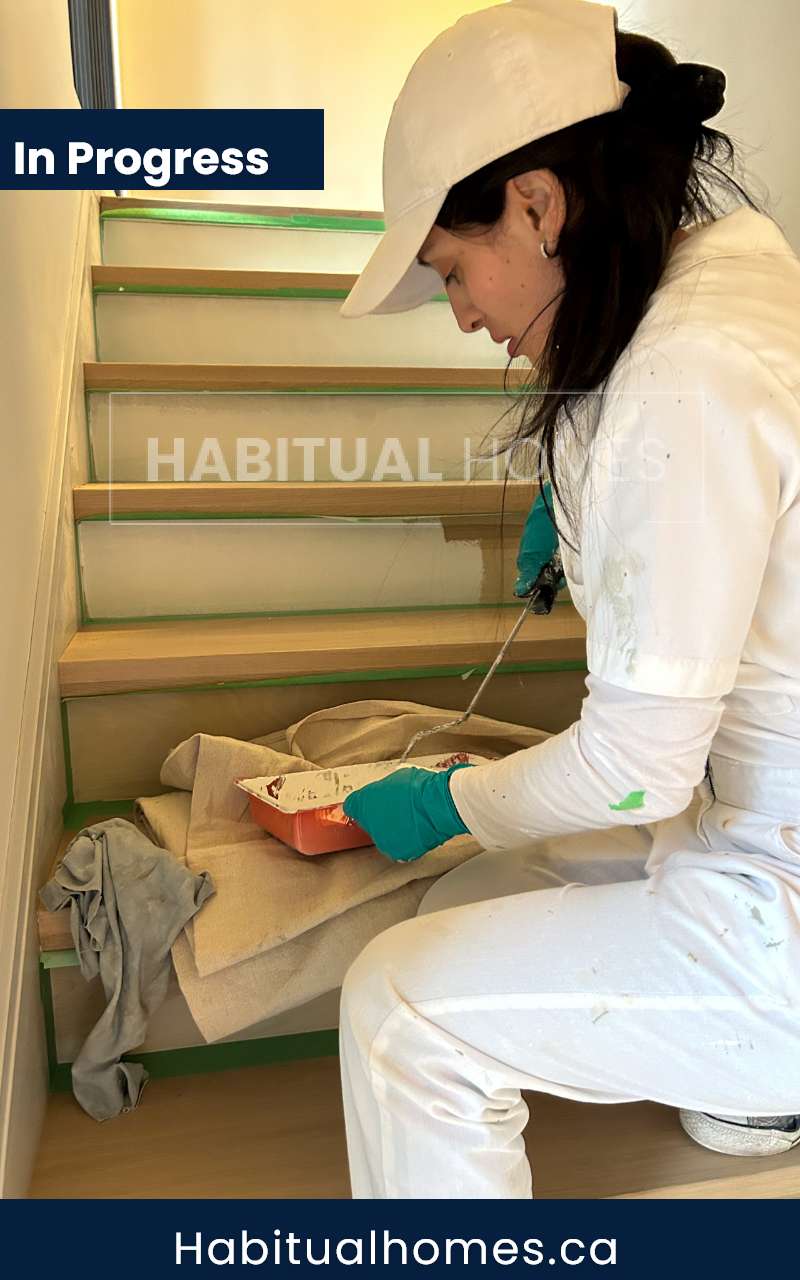
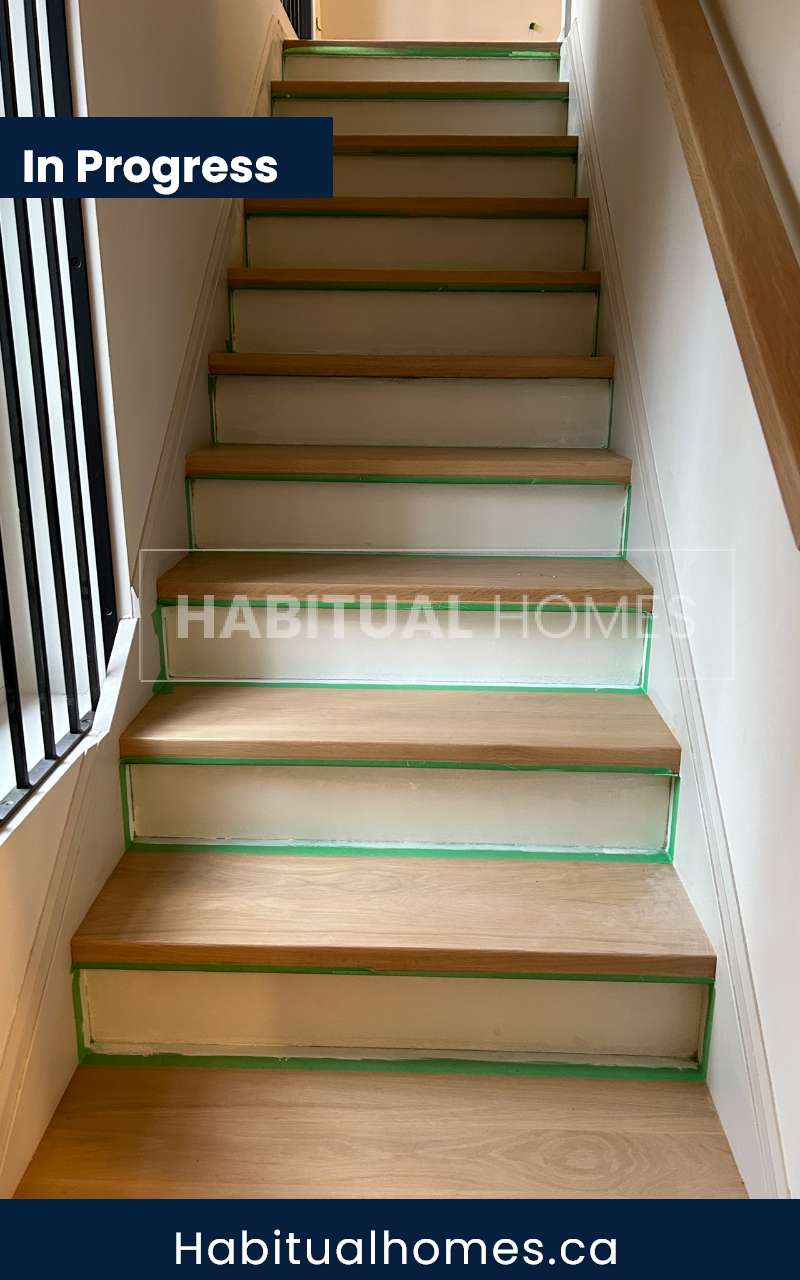
If you’re planning staircase painting in Wychwood Park, choosing the right colour, prep, and finish is essential to match the home’s historic details.
The Results: A Seamless Blend of Old and New
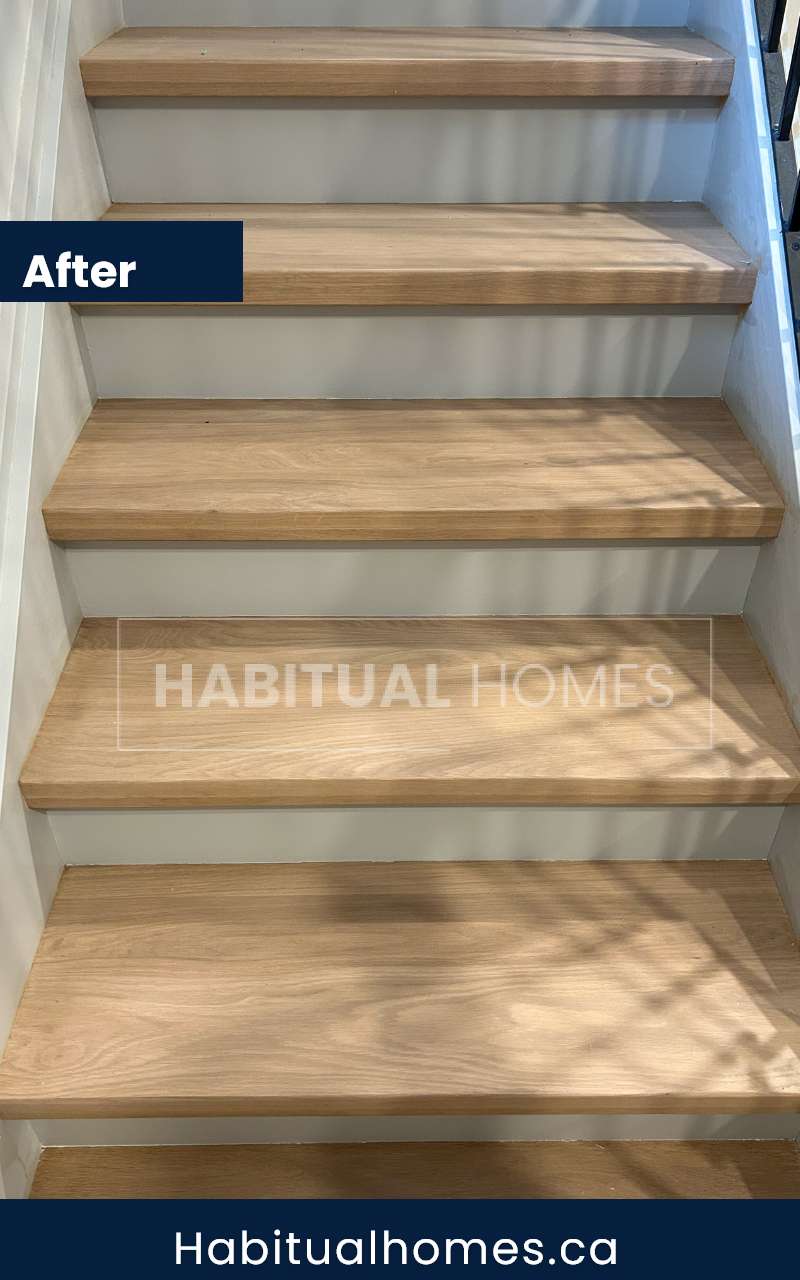
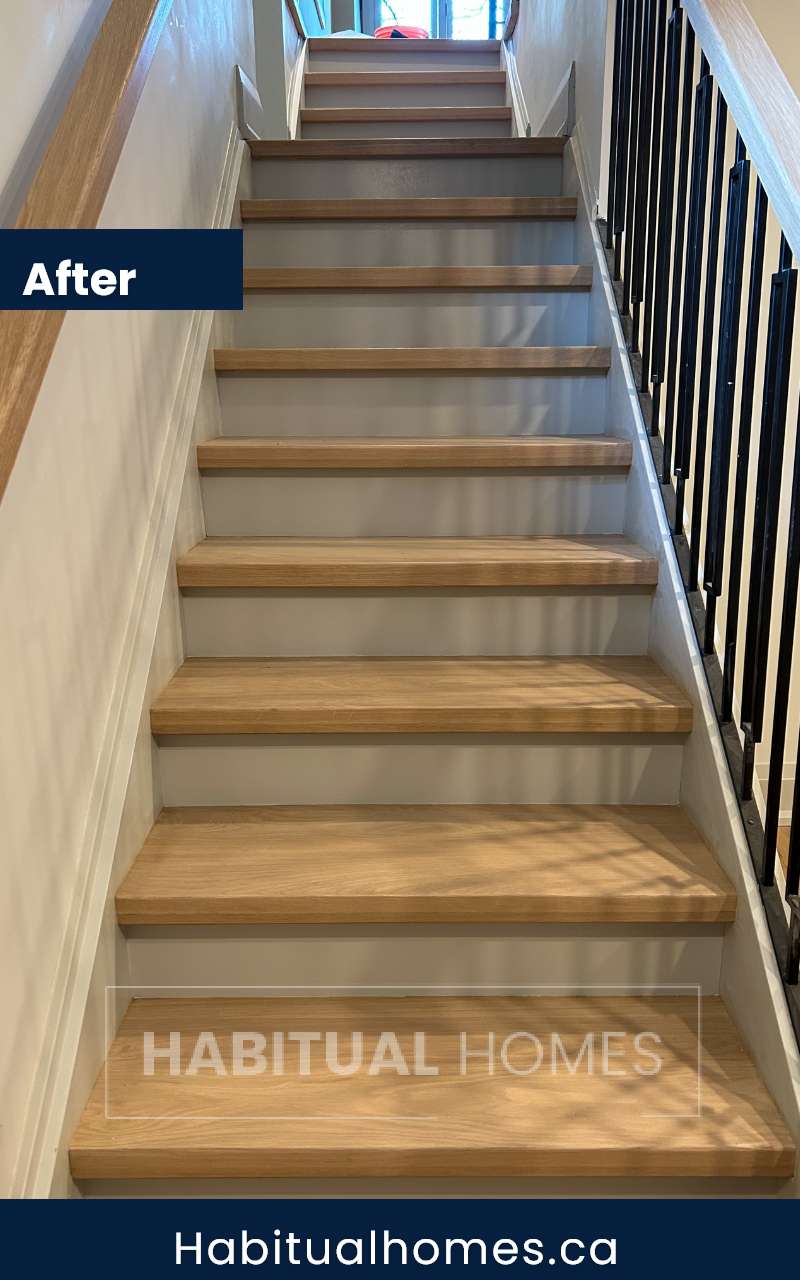
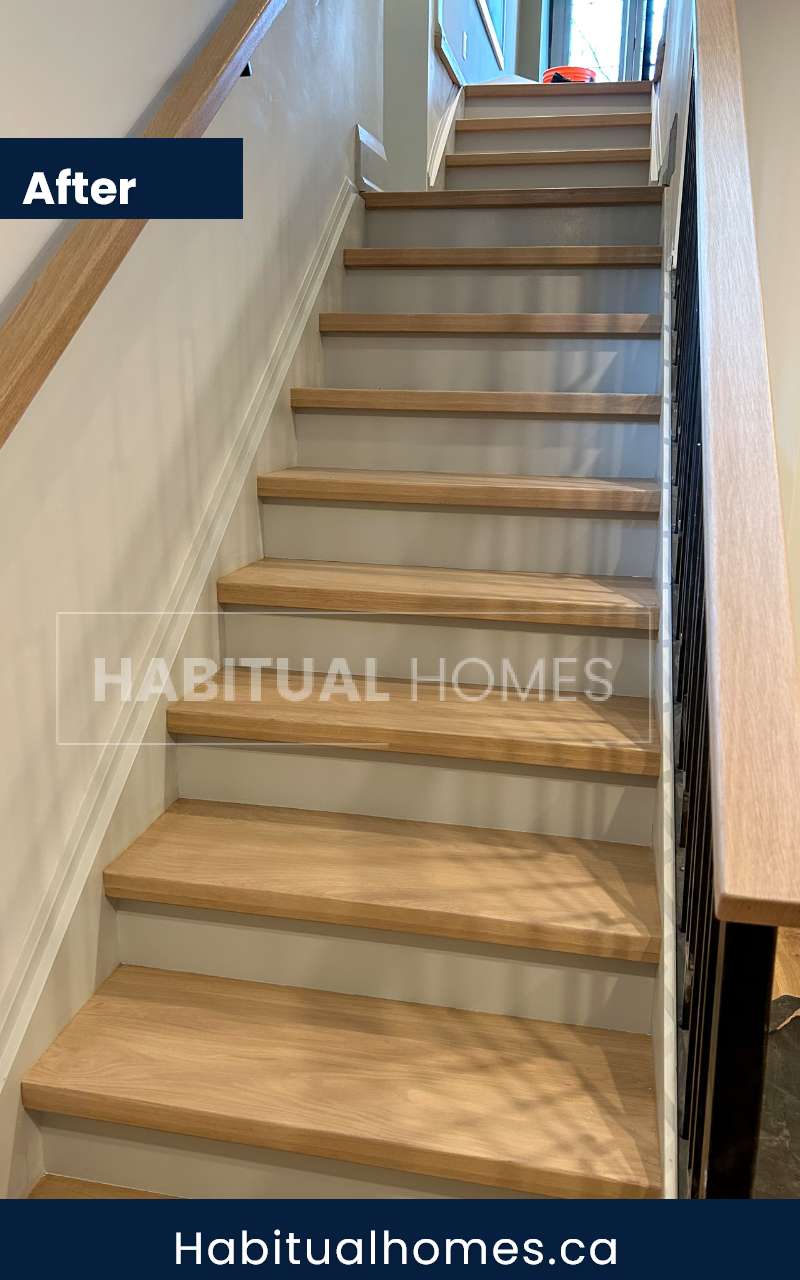
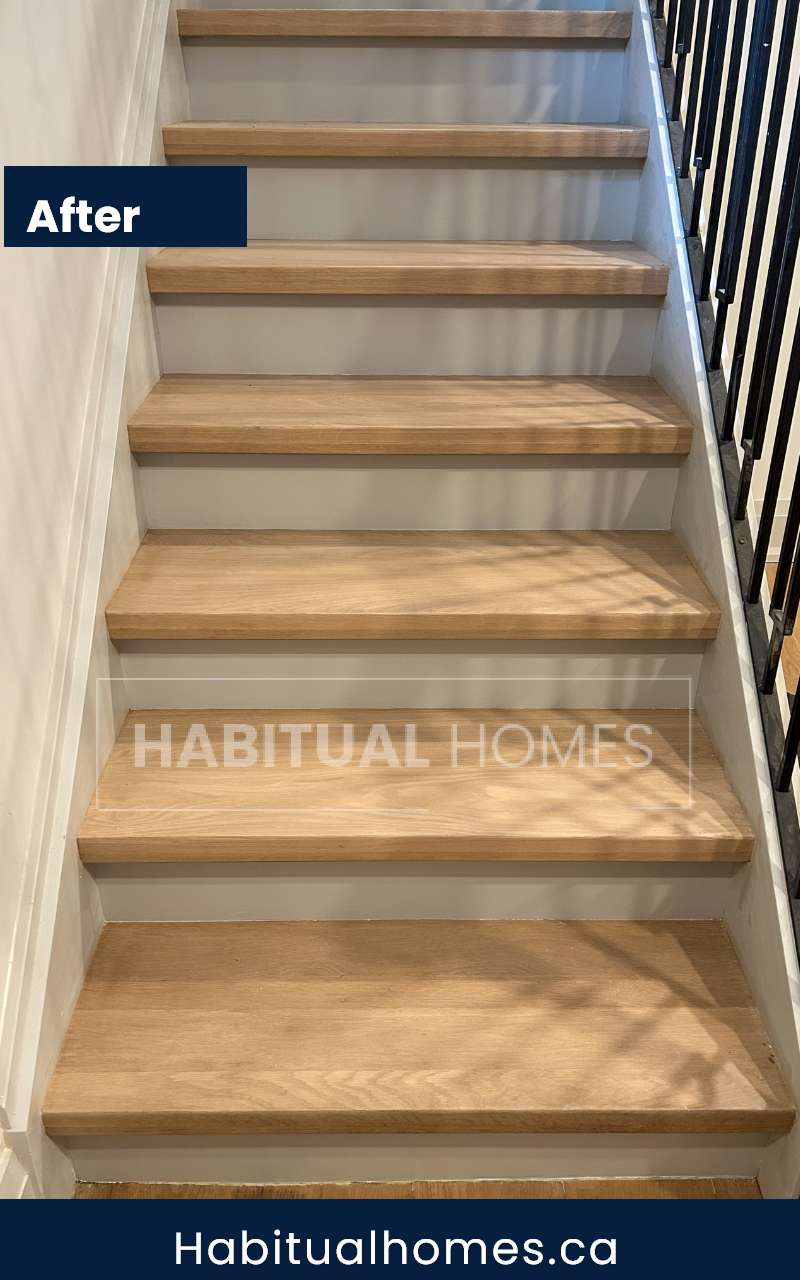
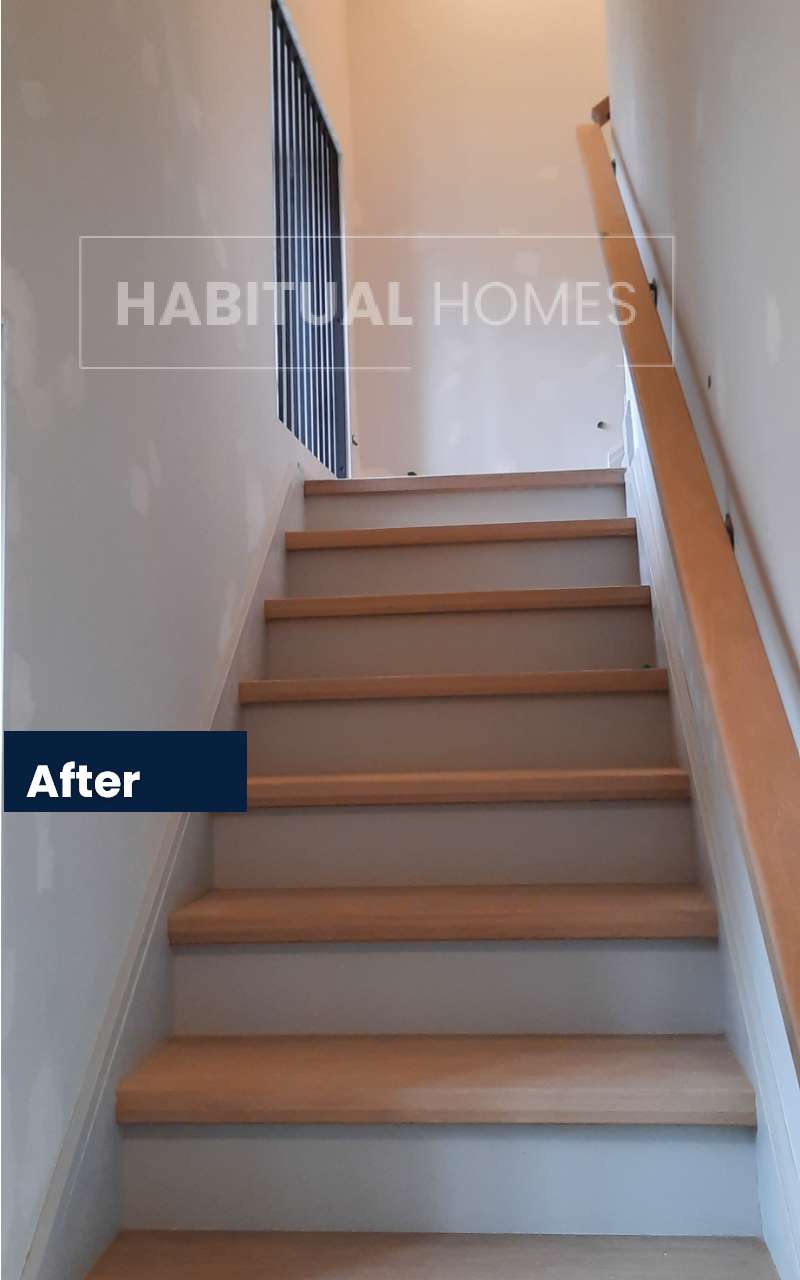

The end result? A staircase that looked like it had always belonged in the house. The grey finish played beautifully against the warm tones of the stained wood treads. Every riser had a smooth, even surface. And the colour tied in perfectly with the surrounding wood trim, creating visual harmony from one room to the next.
More importantly, the homeowner was thrilled. Their vision for blending the home’s history with a few modern updates had come to life — all with the help of a professional interior painting team that understood how much the little details matter.
Why It Worked
- Attention to Detail: No shortcut prep or rushed paint jobs. We treated each step like it was the final one.
- Matching Existing Finishes: We didn’t just pick a colour that “looked nice.” We matched the exact paint used elsewhere in the home.
- Respect for the Home’s Character: We understood that painting a staircase in a historic home isn’t just about colour. It’s about tone, finish, and feel.
Is Your Home Telling a Similar Story?
If you’re living in a historic home — or planning a home renovation project in Toronto — we get it. You want to respect the past while still making your home feel fresh, functional, and yours. Whether it’s painting trim, refinishing cabinets, or transforming your staircase like we did in Wychwood Park, our team brings the care and precision your project deserves.
You don’t need a massive renovation to breathe new life into your space. Sometimes, a well-executed painting project is all it takes to elevate the entire home.
This project was a great example of how staircase painting in Wychwood Park can breathe new life into a classic home without losing its soul.
Why Choose Habitual Homes?
We’re not just painters — we’re problem solvers who care about design. We’ve helped homeowners across Toronto transform spaces through intentional, professional interior painting. Whether your project is part of a larger home renovation or a focused update like this staircase, we’re here to guide the process, work with your schedule, and deliver beautiful results.
- Clear communication and estimates
- Colour matching and design advice
- Attention to fine details that most painters miss
- Reliable, clean, and respectful team
Let’s Talk About Your Staircase (or Any Other Space)
You don’t have to tackle your painting project alone. Whether you’ve just installed a new staircase, are renovating a century-old home, or simply want to update your interiors, we’re happy to help.
Reach out using the contact form below — and let’s get started turning your ideas into results that look and feel right at home.
Frequently Asked Questions About Staircase Painting
1. What’s the best paint for wooden stairs?
For durability in high-traffic areas, use a high-quality interior floor paint or porch paint. It’s designed to hold up on stair treads and landings.
2. Do I need a good primer before painting stairs?
Yes. A good primer ensures better adhesion, especially on bare wood or previously painted dark stairs. It helps the top coats last longer.
3. Should I sand old paint off before starting?
If the old paint is flaking or glossy, give it a light sand to create a smooth surface. A damp cloth helps clean off dust before the next step.
4. How many coats of paint do I need?
Usually, two coats of paint plus one coat of primer are ideal. Some darker colors or lighter paints may need a third coat for full coverage.
5. Can I use the same color for risers and treads?
You can—but using a slightly different paint color for risers and treads adds visual interest and helps hide dirt on stair treads.
6. What’s the best way to protect edges while painting stairs?
Use painter’s tape or frog tape to protect stair runners, trim, and newel posts. Press firmly to avoid bleeding.
7. How long does drying time take between coats?
Drying time varies. Follow the manufacturer’s instructions—most interior paints need 4–6 hours between coats.
8. What’s the best paint finish for stairs?
For stair risers, semi-gloss or eggshell paint works well. For stair treads, use a floor-rated satin or low-sheen paint for slip resistance.
9. Can I paint over dark stairs with a lighter color?
Yes, but be prepared for extra coats of paint and primer. Start with a good primer designed to block dark colors.
10. Should I paint the entire staircase or just parts of it?
If the wood is in good condition, painting just the risers or landings can give a fresh update without covering the whole thing.
11. What if my old staircase is scratched and worn?
Clean, sand, and patch with wood filler before priming. A fresh coat of paint can bring even old staircases back to life.
12. How do I reach the top of the stairs safely while painting?
Use a combination ladder or extension pole for hard-to-reach spots like ceilings or stairwell edges.
13. What’s the first step in a staircase makeover?
Prep is key: clean the stairs, sand where needed, and tape off areas with painter’s tape before applying your first coat.
14. Is staircase painting a good first project for DIYers?
Yes, it’s a manageable task. Just take your time and follow each step—primer, first coat, second coat, and cleanup.
15. How do I clean up after painting stairs?
Use a damp cloth to wipe drips immediately. Remove tape while the paint is still slightly tacky for the best results.
16. How do I choose the right paint color?
Consider natural light, wall color, and how much dirt will show. Darker tones hide scuffs; lighter tones feel more airy.
17. How long will a painted staircase last?
With proper prep and a good paint job, your staircase can stand the test of time—even in high-traffic areas.
18. Can I save money doing the painting myself?
Yes, it’s an inexpensive way to refresh your own home. You’ll save a ton of money if you’re willing to put in the hard work.
19. Should I call a professional painter for better results?
If you want flawless results or don’t have much time, hiring a professional painter ensures good coverage and efficiency.
20. What’s the next step after painting?
Let it cure for a couple of weeks before heavy use. Then enjoy your staircase renovation—it’ll feel like a whole new space.
Related Posts You Might Like
- How We Modernized a 100-Year-Old Staircase in Toronto See how we refreshed another heritage staircase with care and precision—ideal if you love old homes but want them to feel current.
- Common Mistakes Homeowners Make When Hiring Painters Hiring a painter? This post helps you avoid costly mistakes and choose the right pro for the job.
- Interior Painting in Leslieville Toronto Tour a cozy east-end Toronto home where paint made all the difference.
- Professional Wall Crack Repair & Painting Learn how proper prep work—just like we did on the staircase risers—can transform even damaged walls.
- Full House Painting Service Thinking of painting more than just your stairs? See how we handle full-home makeovers with clean lines and durable finishes.