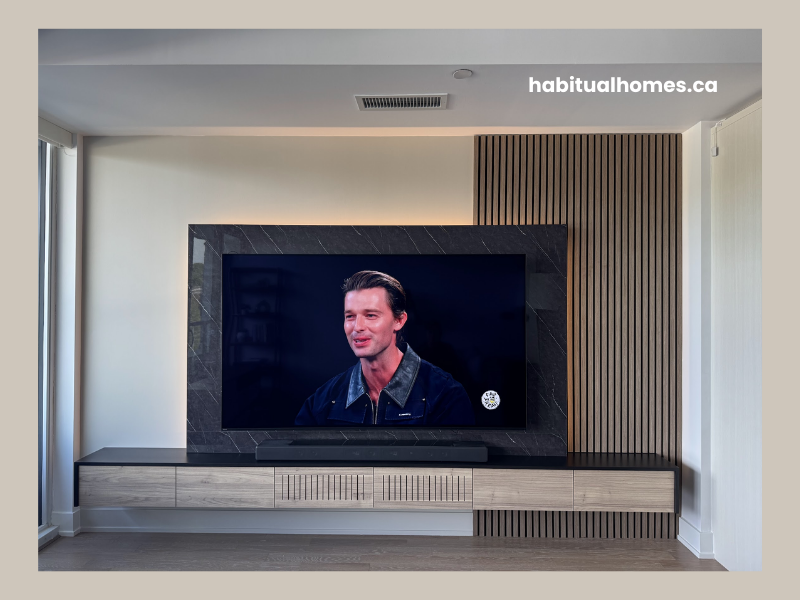
A 130-inch floating TV console either stays on the wall forever, or it crashes down and takes your TV with it. There’s no middle ground.
When our Yonge and Lawrence client called about spanning his entire living room wall with a floating console, we knew this wasn’t a job for weekend warriors. One mistake with the mounting, and you’re looking at thousands in damage plus a very unhappy client.
Most contractors walked away from this project. The ones who stayed either only wanted to install something he designed himself, or they’d build but couldn’t help with the design process.
We handled both – designed the custom floating console for his specific space and then installed it properly. That’s the difference between getting a floating console that works and getting one that fails.
Why Long Floating Consoles Are Risky Business
Here’s what we see when floating console installations go wrong:
Complete failure – The whole thing rips out of the wall. Usually happens 6-12 months after installation when the mounting gradually loosens. Your TV, sound system, everything crashes down.
Gradual sagging – Poor internal structure means the middle starts drooping. Once it starts, it gets worse until the mounting points fail completely.
Visible mounting hardware – Brackets showing through because the installer couldn’t figure out how to hide them properly. Ruins the whole floating effect.
Cable nightmare – Installer mounts it first, then tries to figure out cable management. Always ends up with visible cables running everywhere.
The client had already gotten quotes from other installers. Half of them said a 130-inch floating span couldn’t be done safely. The other half wanted to add visible support legs underneath – which defeats the point of floating.
The Installation Challenge We Faced
This Yonge and Lawrence condo had everything that makes floating console installation tricky:
130-inch span – Almost 11 feet of console that needs to stay perfectly level and supported across the entire length.
Unknown wall structure – We expected steel framing behind the drywall like most Toronto condos. Instead, we found solid concrete. Had to completely change our anchoring approach on the spot.
Existing electrical placement – Random outlets scattered across the wall that the client needed to keep functional but completely hidden.
High visibility – Open concept layout meant any installation mistakes would be obvious from the kitchen and dining areas.
Heavy loading – Client planned to store gaming systems, books, sound equipment, and other gear. Not just decorative – this console had to work hard.
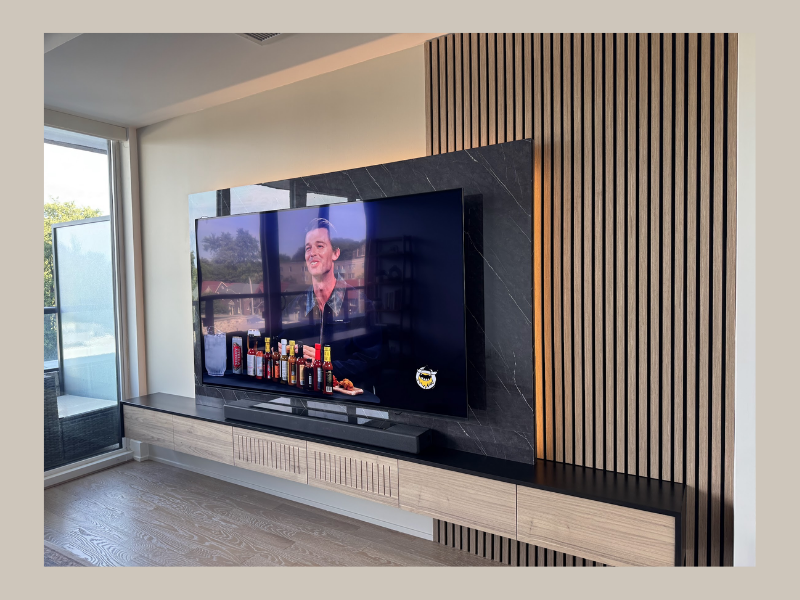
Our Design-Build Approach
Before we could engineer the installation, we had to design the right solution for his space. The client sent us inspiration photos of floating consoles he liked, and we worked remotely to understand how he wanted to use the wall.
Then we brought material samples to his condo – uniboard options, wood stain samples for the countertop, different finish choices. He needed to see everything in his actual lighting before making decisions.
Once he selected his materials, we designed the 130-inch floating console specifically for his wall conditions and outlet locations. Not a standard design adapted to fit – a custom solution engineered for floating installation from the start.
The design phase is critical for floating consoles. You can’t just hang any cabinet on the wall and hope it stays up. The mounting points, internal structure, and weight distribution all have to be planned before you cut the first piece of wood.

How We Engineered the Installation
Wall Assessment and Adaptation First surprise: no steel framing where we expected it. Just concrete behind drywall. This actually gave us a stronger foundation, but required different anchoring hardware and drilling techniques.
Load Distribution Planning
A 130-inch span can’t hang from just the ends. We mapped out seven mounting points across the length to distribute weight evenly. Each anchor point handles a fraction of the total load instead of everything depending on two end brackets.
Internal Framework Design The console needed internal steel reinforcement to prevent sagging over that span. We built a rigid framework inside that keeps everything straight even when fully loaded. From the outside, you see clean lines. Inside, it’s engineered to last.
Concrete Anchoring Process Drilled through drywall into concrete at precise locations using heavy-duty anchors rated for way more weight than we needed. Each mounting point was tested before hanging anything. No guesswork – each anchor had to pass a pull test.
Hidden Cable Management Routed all cables through channels built into the console structure. Power, internet, HDMI cables – everything runs hidden from each compartment to the existing outlet locations. The outlets stay accessible inside the cabinet compartments but completely hidden from the client’s sight line when he’s sitting on his sofa.

Materials Built for Floating Installation
Console Structure: Uniboard (melamine) cabinet boxes chosen for dimensional stability and clean appearance. The countertop is solid poplar wood with black stain and clear coat for durability and visual contrast.
Internal Support: Steel framework inside prevents any sagging or flexing over time. The console could probably support twice the intended load.
Mounting Hardware: Heavy-duty concrete anchors and concealed brackets rated well above the actual requirements. Over-engineering the mounting is how you prevent failures.
Finish Selection: Sequoia Mimosa uniboard chosen from samples we brought to his space. Had to see how the color looked in his actual lighting conditions before making the final decision.
Installation Day Reality
Getting a 130-inch console perfectly level and securely mounted takes patience and precision. One cabinet section slightly off throws the whole installation out of alignment.
We used laser levels and made micro-adjustments until every section lined up perfectly. The concrete anchoring took longer than expected – each hole had to be drilled precisely to avoid cracking the drywall or hitting unexpected reinforcement.
The trickiest part was routing cables through the console structure to reach outlets that were nowhere near where they should have been. Everything had to be accessible but completely invisible.
Testing every mounting point under load before considering the job complete. This isn’t furniture assembly – it’s structural work that has to hold for years.
What Makes This Installation Last
Proper Engineering: The console was designed specifically for floating installation from the beginning. Not a regular cabinet we tried to hang on the wall.
Redundant Support: Seven mounting points instead of two. If one anchor point ever loosened, the other six would still hold everything safely.
Quality Materials: Uniboard cabinet construction and steel internal framework. Built to handle the stress of floating installation.
Professional Execution: Concrete anchoring done right the first time. No shortcuts that create problems later.
The Finished Installation
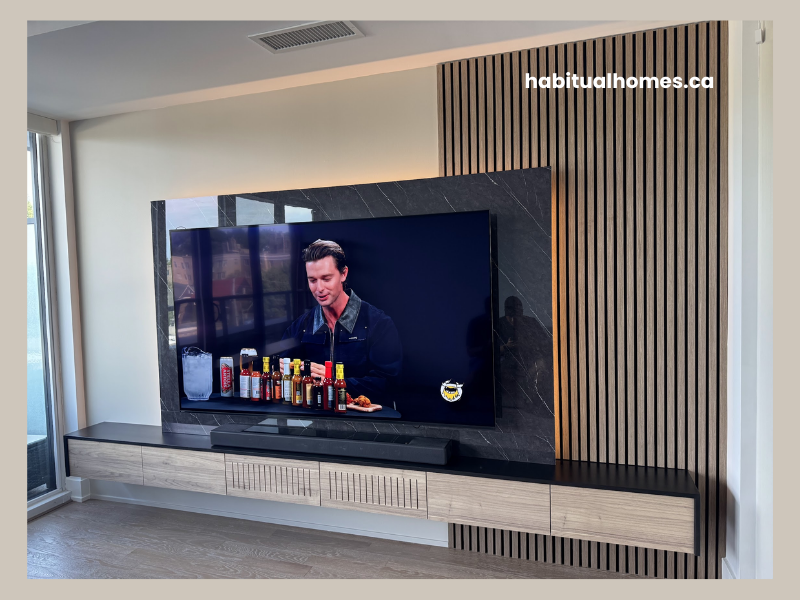
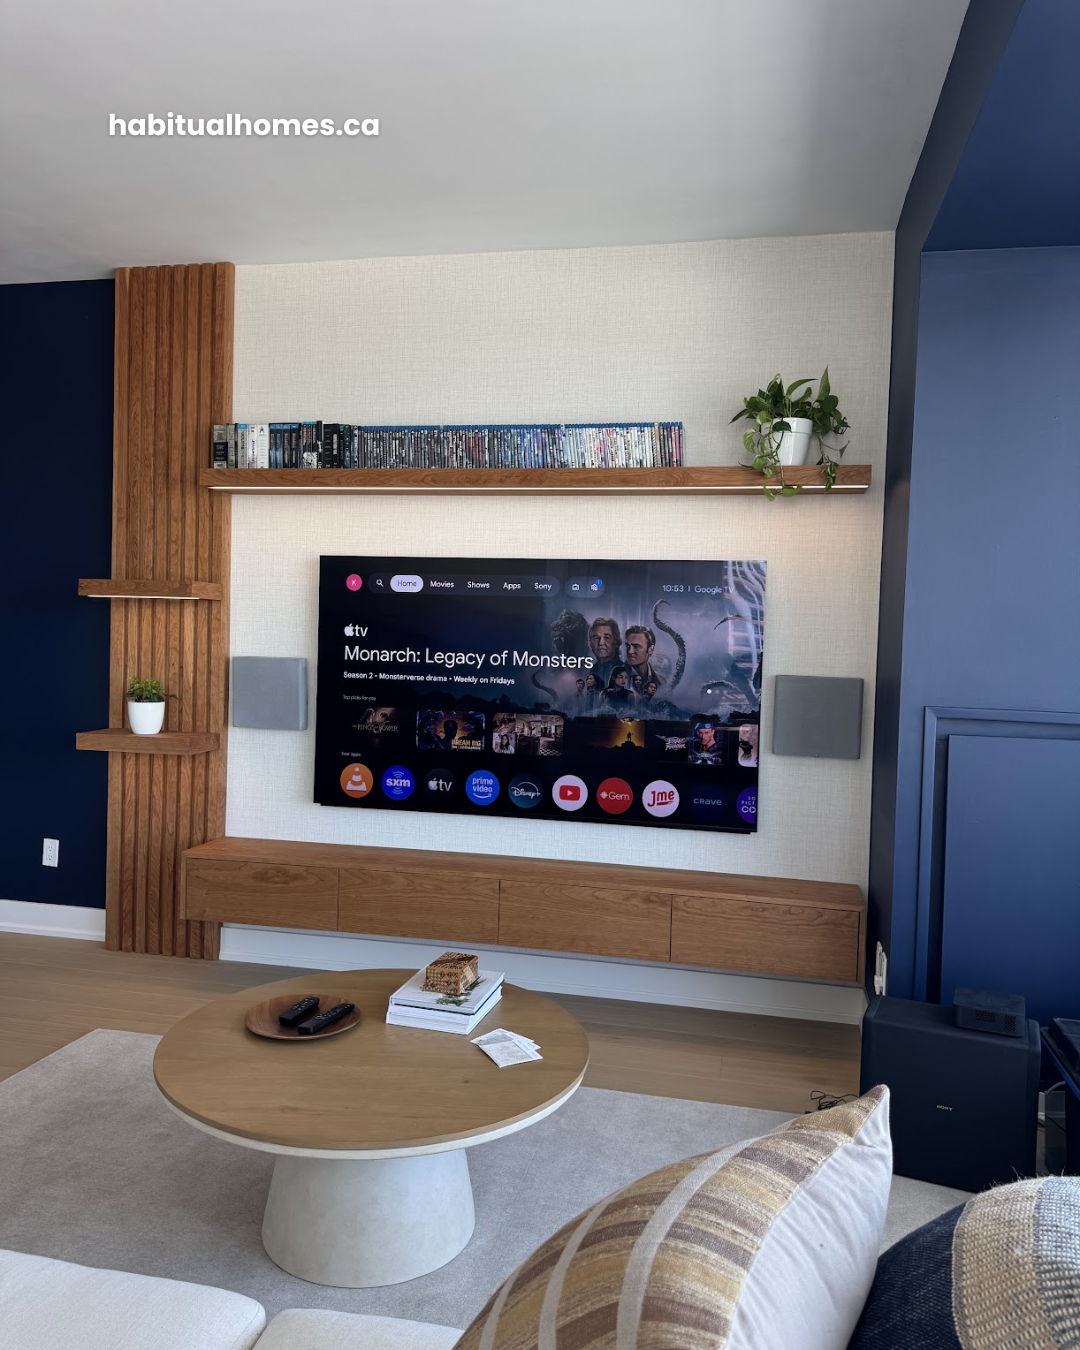
The console looks like it’s suspended in mid-air. No visible mounting hardware, no sagging, cables completely hidden. The client can access all his outlets inside the cabinet compartments without any electrical mess visible from his seating area.
The 130-inch span transforms the proportions of his living room. Instead of a blank wall with random outlets, he has a substantial architectural feature that anchors the entire space.
From any angle, you can’t tell how it’s mounted – which is exactly the point of floating installation done right.
What Could Have Gone Wrong
Poor wall assessment: Assuming standard framing and using the wrong anchoring approach could have led to complete failure.
Inadequate load distribution: Hanging everything from just the ends would have created stress concentrations leading to gradual failure.
Cheap mounting hardware: Using drywall anchors or undersized concrete anchors for this span and load would have been a disaster waiting to happen.
No internal structure: The console would have sagged in the middle within months of installation.
Poor cable planning: Trying to hide cables after installation never works as well as building cable management into the design.
The Real Cost of Floating Console Installation
Most people focus on the upfront cost of floating console installation. But what’s the cost if it fails?
Replacing a damaged TV, sound system, and whatever else was stored in the console. Repairing the wall damage. Finding someone to redo the installation properly the second time.
Getting the installation right the first time costs less than dealing with a failure later. Plus you actually get to enjoy your floating console instead of worrying about it.
When to Walk Away from Floating Console Projects
Not every wall can handle a floating console, especially long spans like this one. If an installer won’t assess your wall structure properly or wants to use drywall anchors for a heavy floating console, find someone else.
If they can’t explain how they’ll prevent sagging over a long span, or if they won’t show you the mounting hardware they plan to use, those are red flags.
Good installers will tell you honestly if your wall can’t handle what you want. Bad ones will take your money and hope for the best.
Getting Floating Console Installation Right in Toronto
Most installers can hang a small floating shelf. A 130-inch floating TV console that needs to hold heavy equipment for years? That requires structural understanding, proper tools, and experience with different wall construction types.
We engineer every floating console installation for the specific conditions. Your wall type, the span you need, the weight you’ll put on it – everything gets factored into the mounting approach.
The difference between a floating console that looks good for a few months and one that’s still perfect years later comes down to the installation quality.
Ready for a Floating Console That Won’t Fall Down?
If you’re in Toronto and want a floating TV console that will stay securely mounted for years, let’s talk about what proper installation involves.
We handle the assessment, engineering, and installation from start to finish. Every floating console is custom-designed for your specific wall conditions and properly mounted for the span and load requirements.
Book a consultation – we’ll assess your wall structure and give you honest advice about what’s possible and what it takes to do it right. No sales pressure, just real answers about real installations.